This post may contain affiliate links. As an Amazon Associate I earn from qualifying purchases. If you click and buy, I may receive a small commission at no extra cost to you. Read our Disclosure Policy
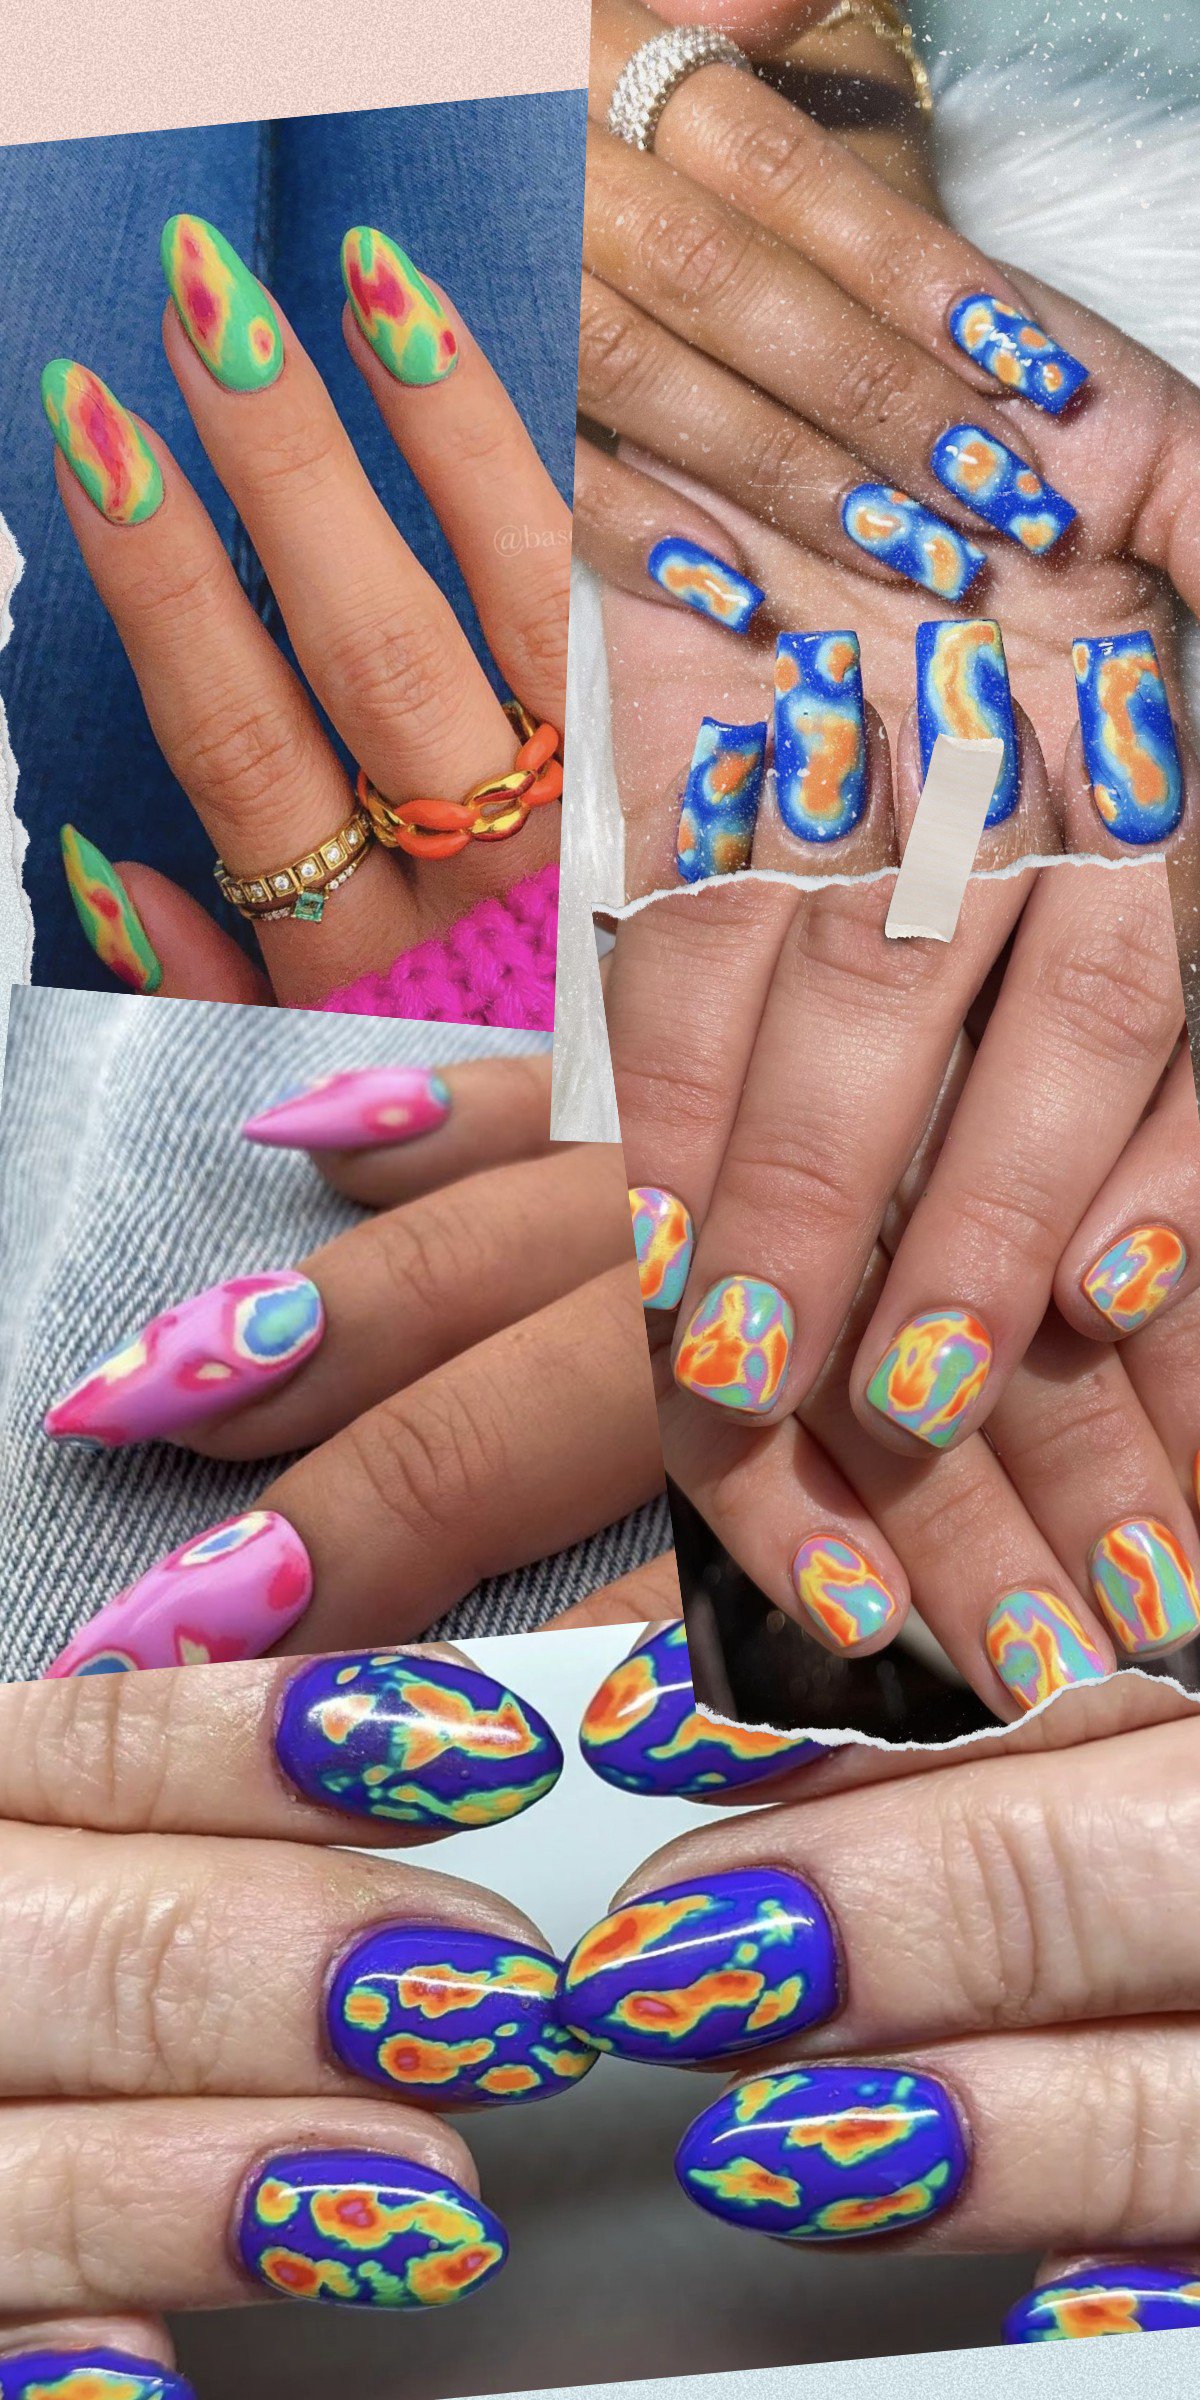
Transform your nails with the hottest trend of the season: thermal map nails! Inspired by the dynamic and colorful patterns of geothermal maps, this nail art is perfect for those looking to add a burst of color to their style. Learn how to achieve this look and get inspired by our roundup of gorgeous heat map designs. #ThermalMapNails #NailArtInspiration #BeautyTrends
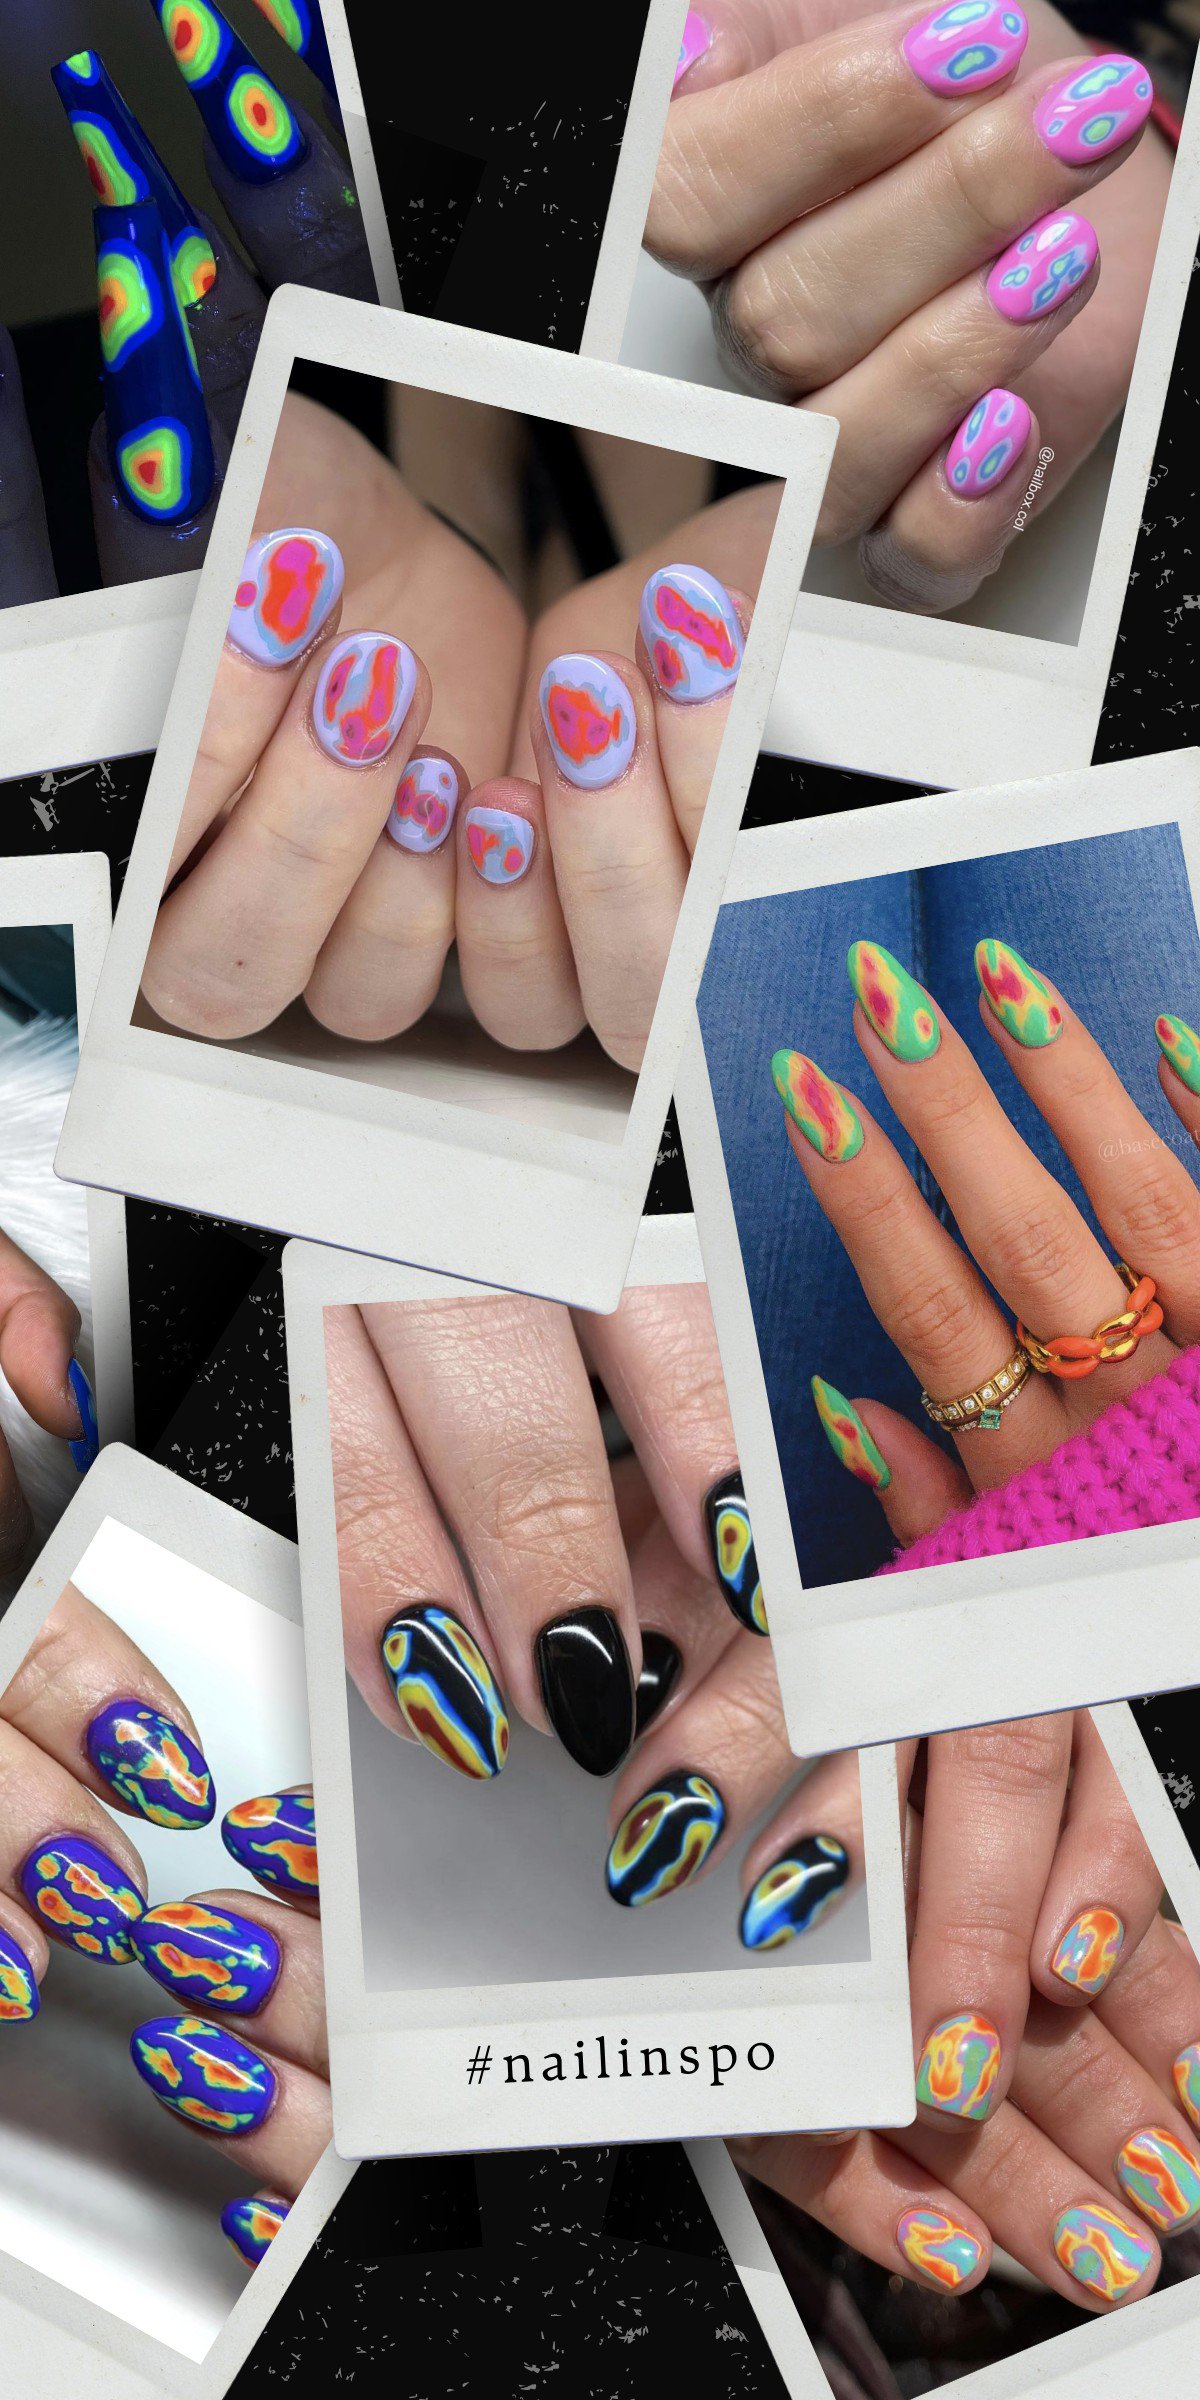
Inspired by the vibrant and dynamic patterns of geothermal maps, this nail art trend brings a burst of color and creativity to your fingertips. Imagine your nails mimicking the mesmerizing gradients seen on weather maps, transitioning from fiery reds to cool blues. Whether you’re a nail art novice or a seasoned pro, thermal map nails are a fun and eye-catching way to express your unique style. Ready to dive into this trend Here are some thermal map-inspired nail designs to spark your creativity and help you embrace this hot trend!
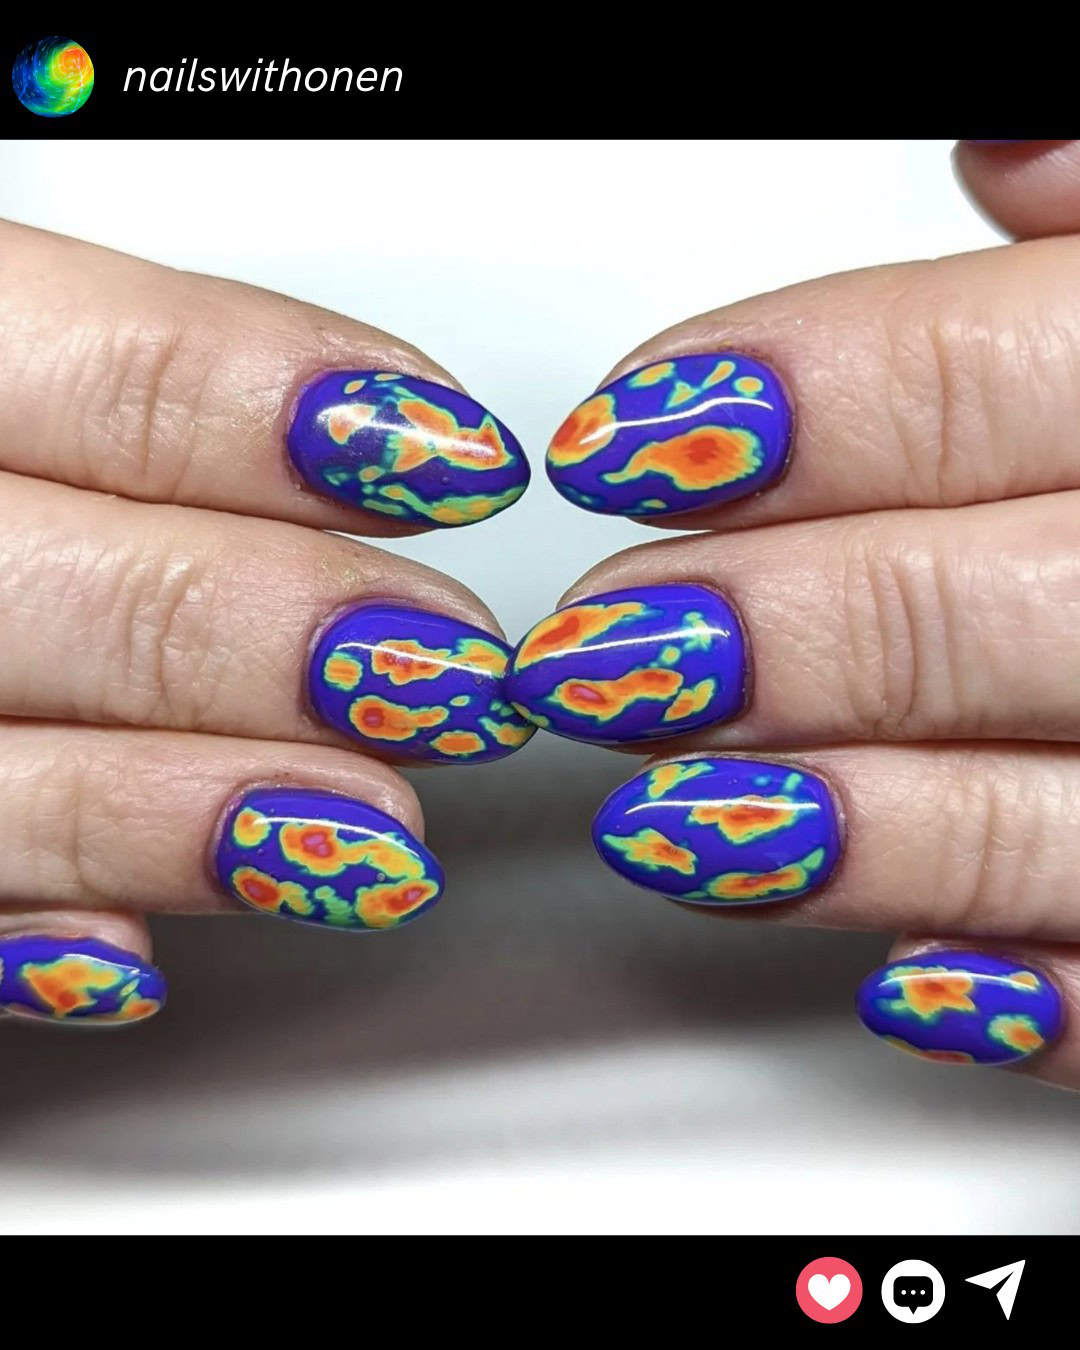
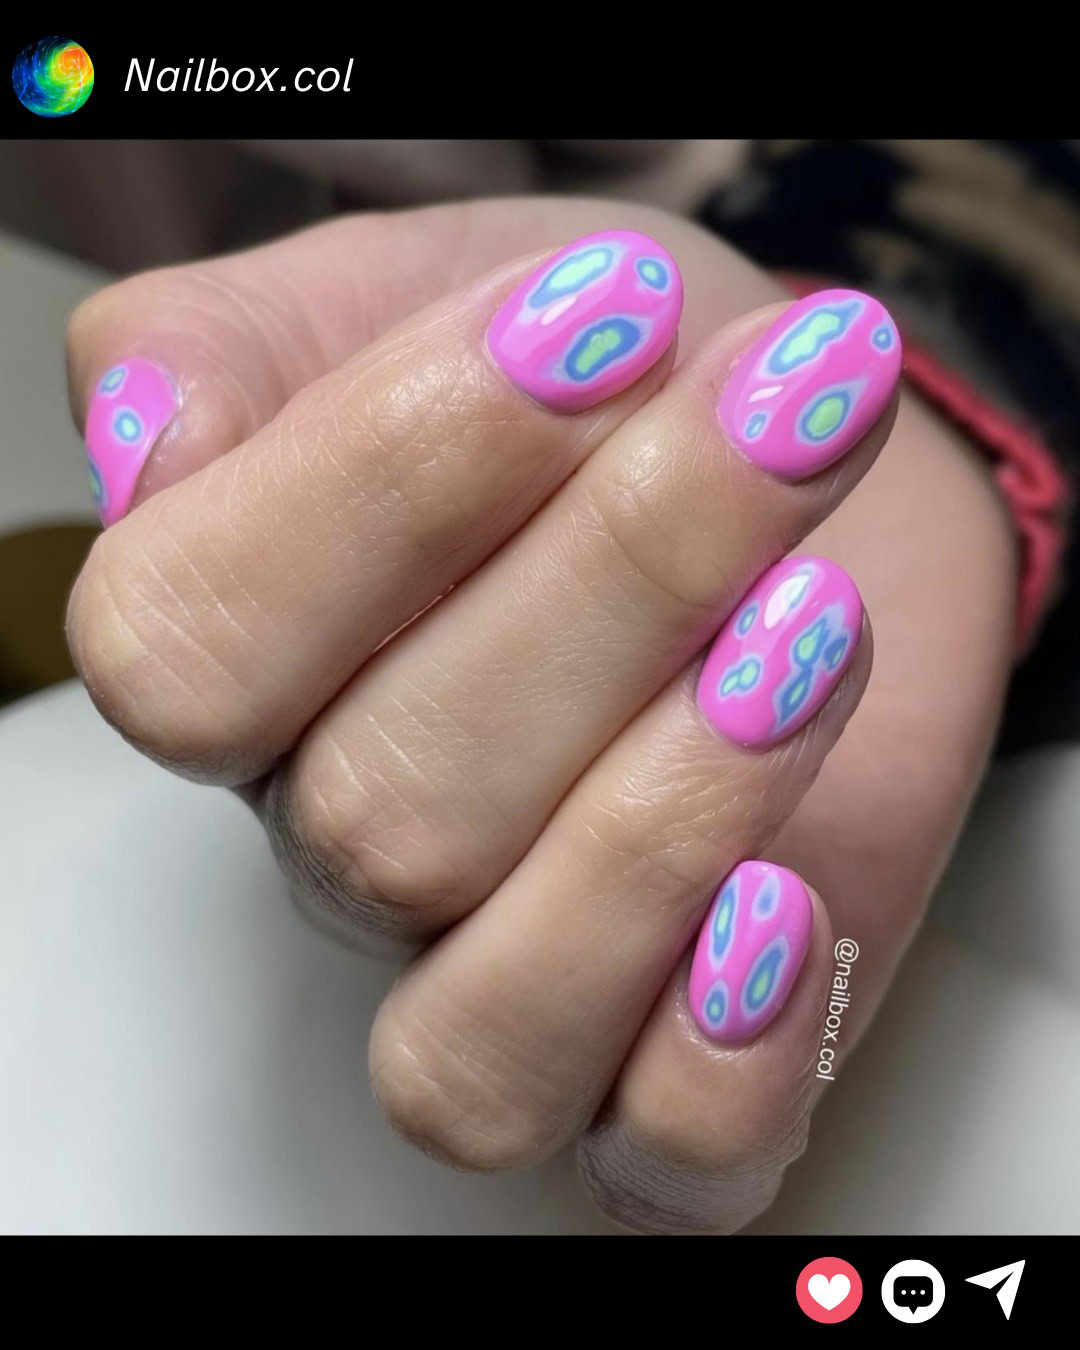
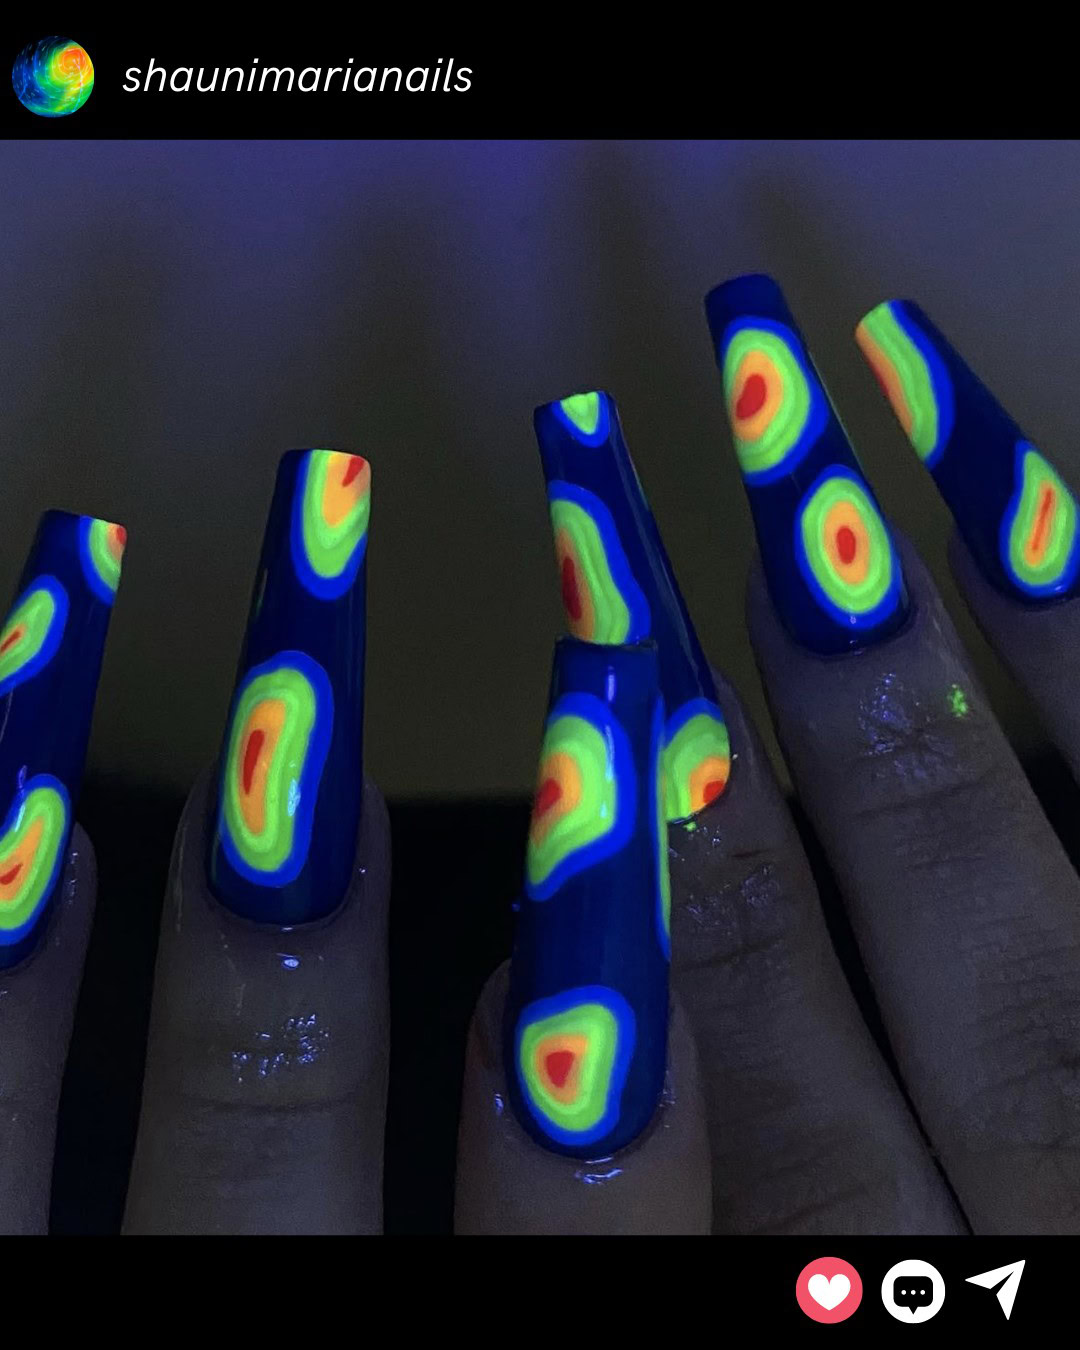
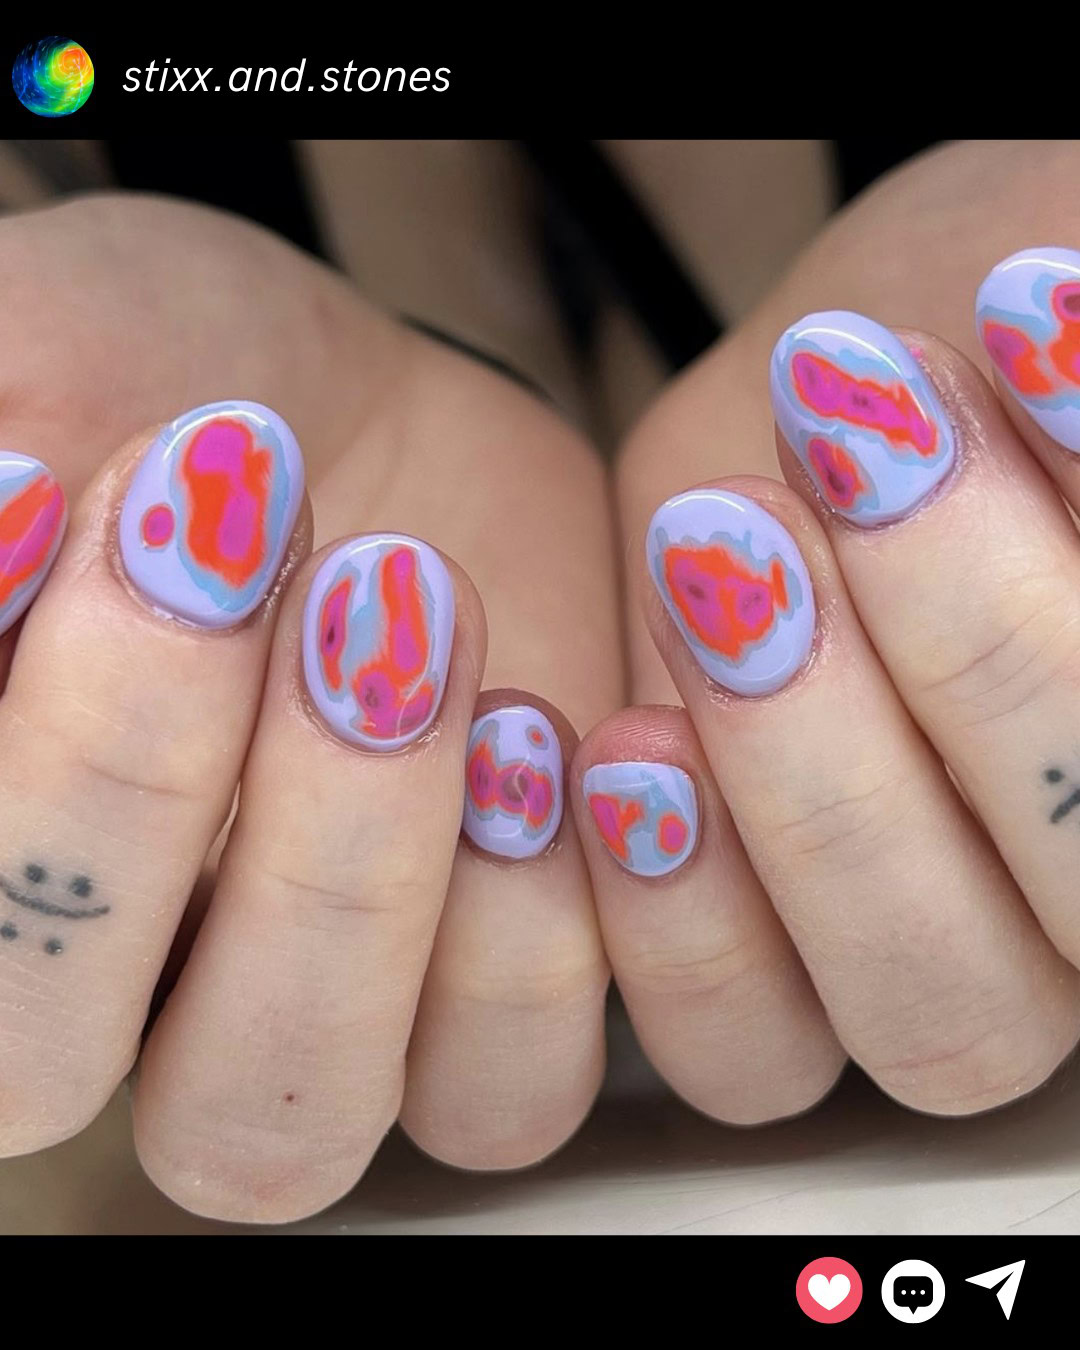
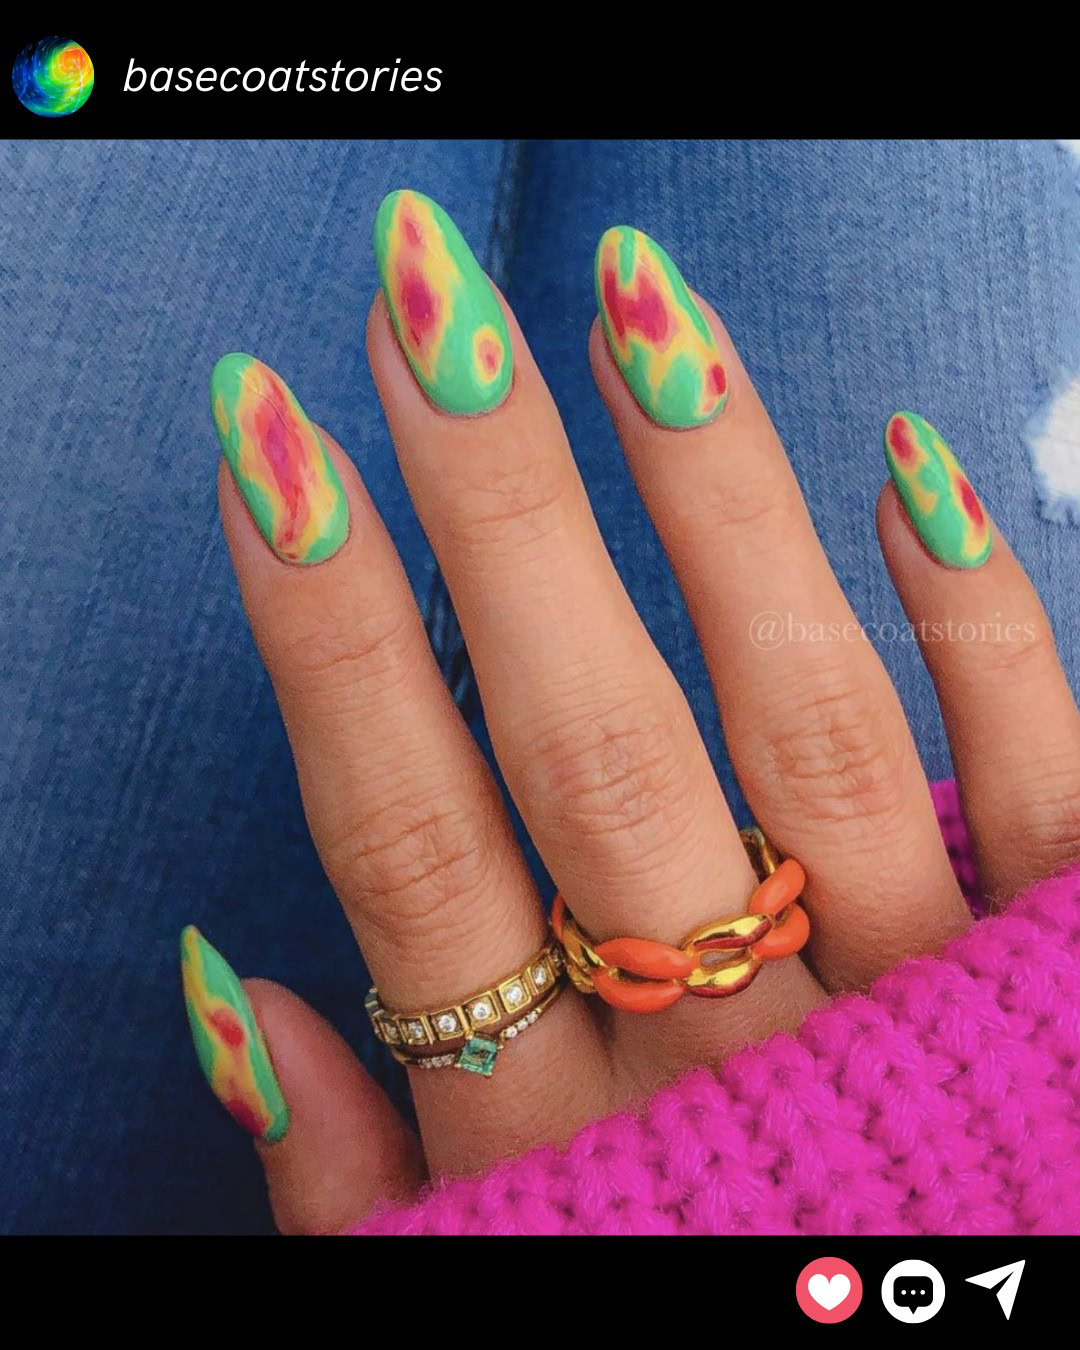
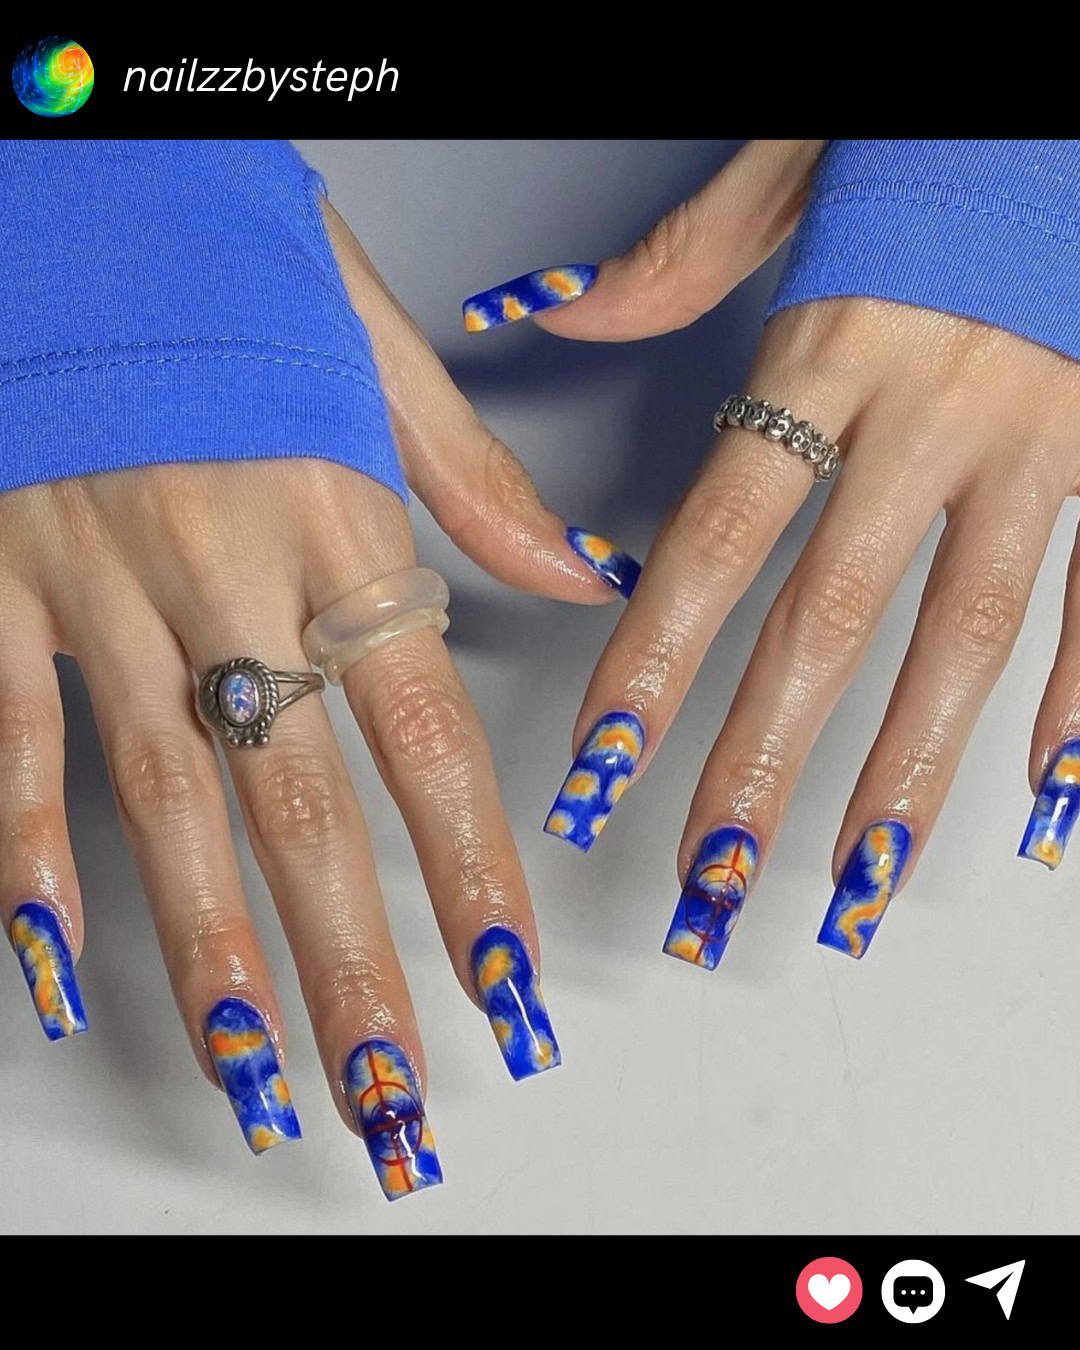
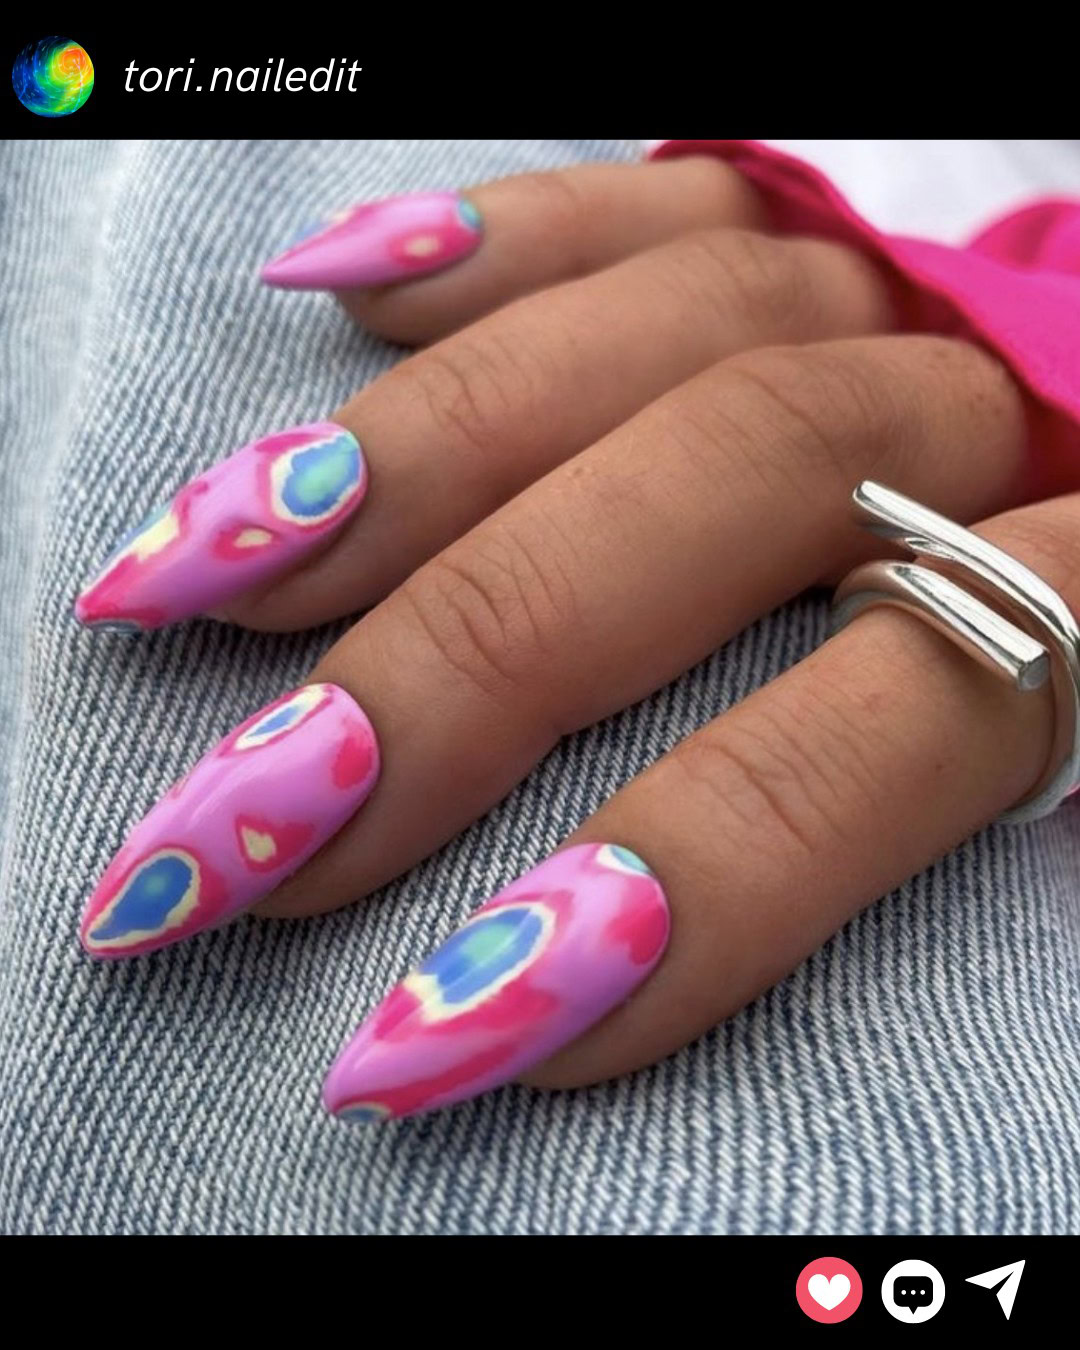
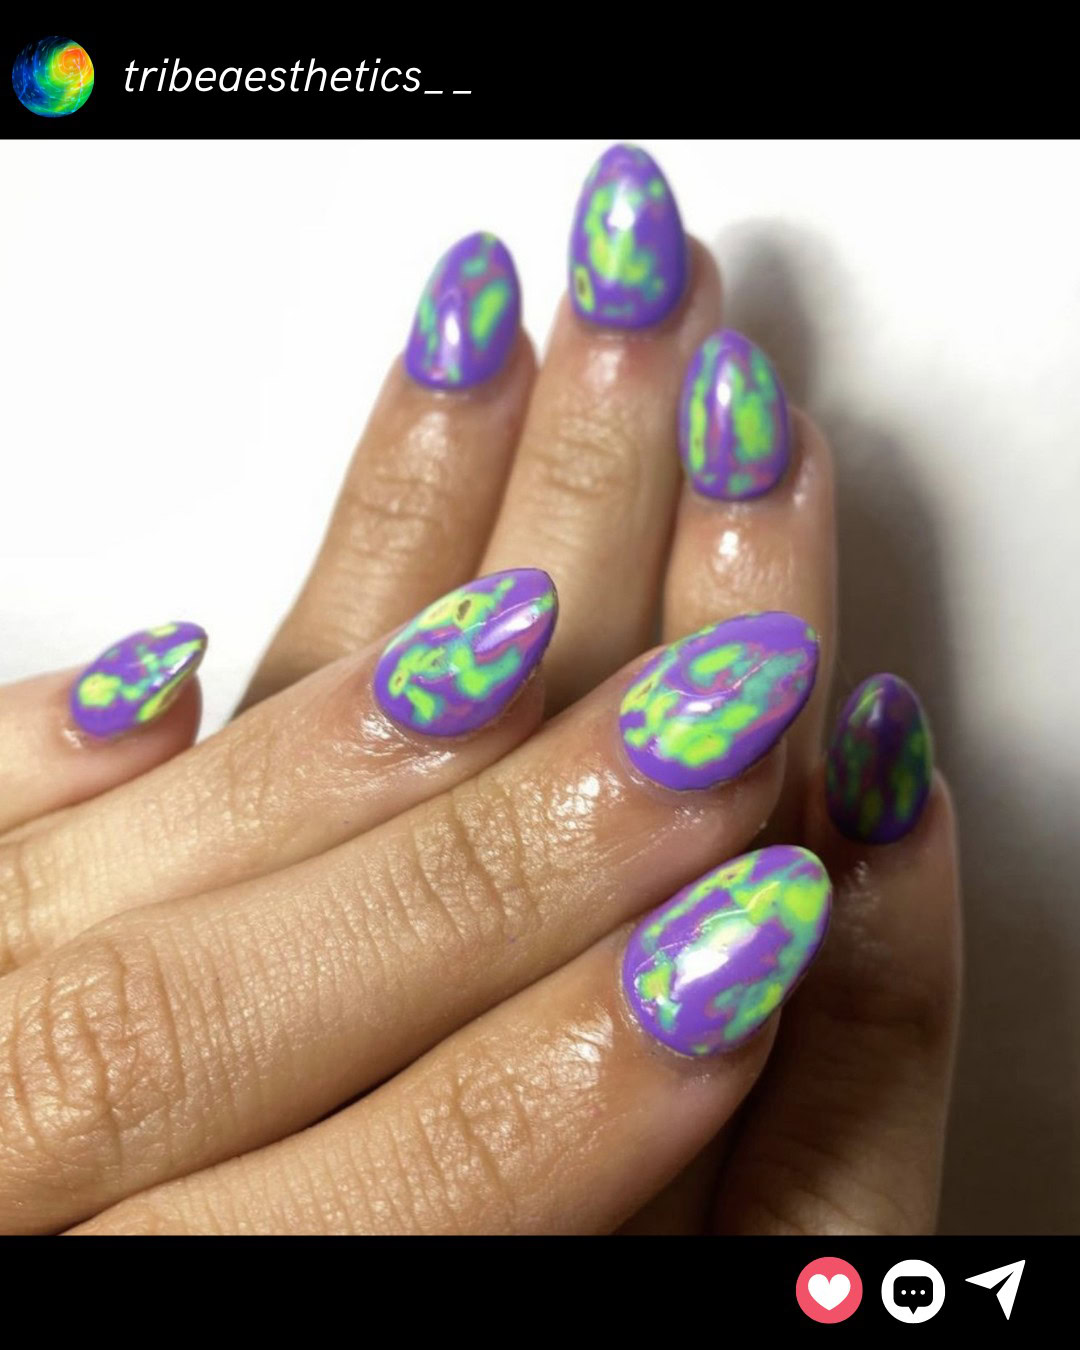
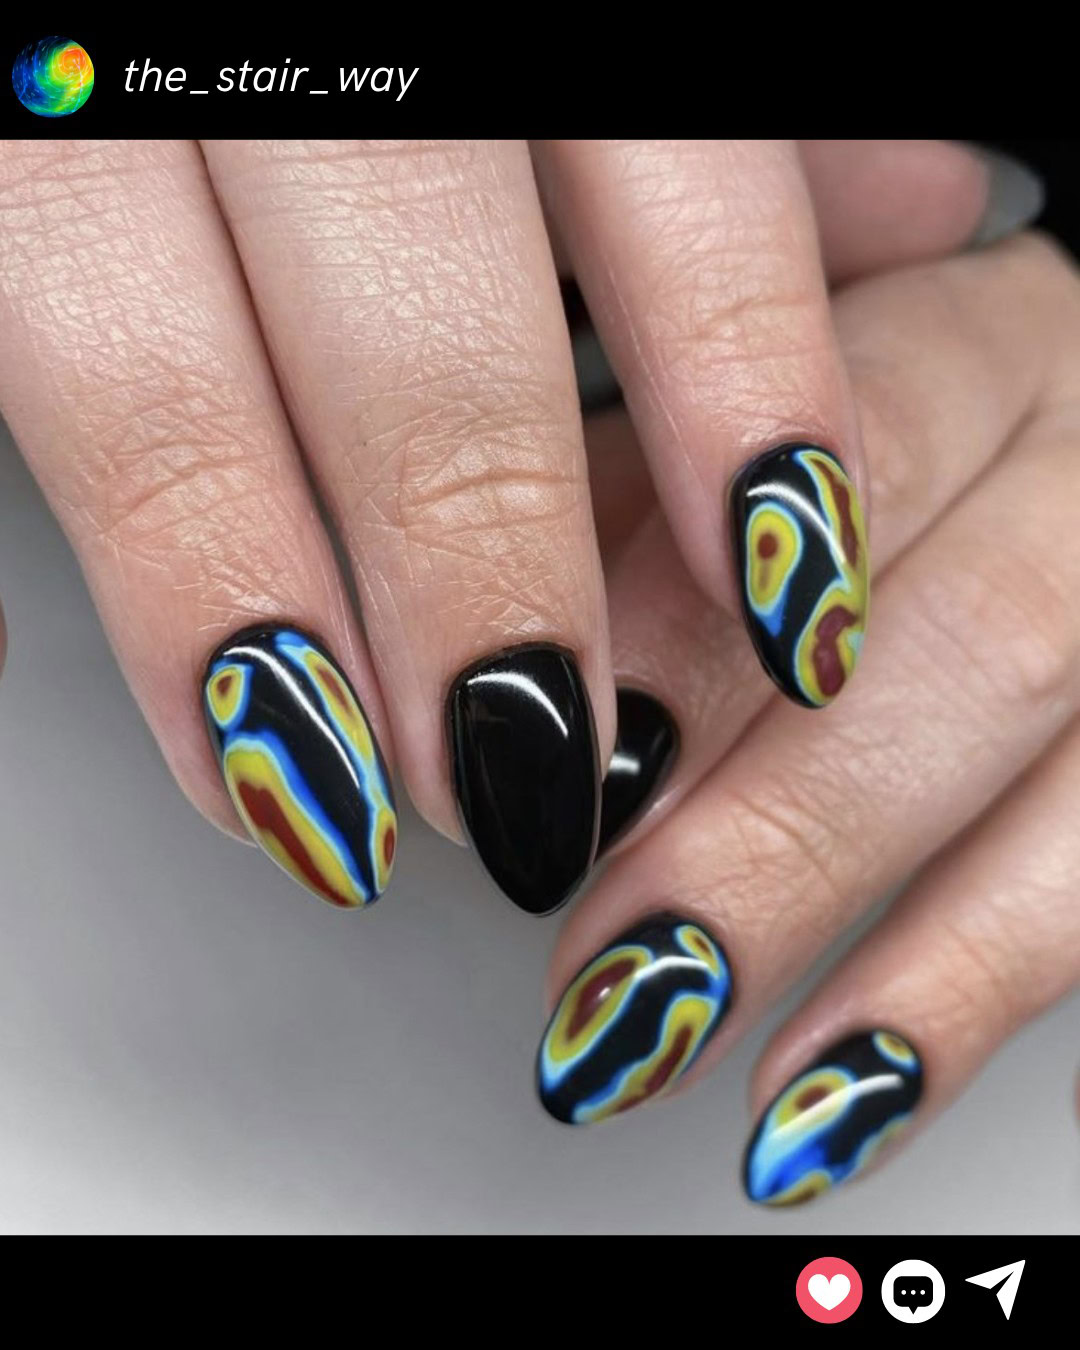
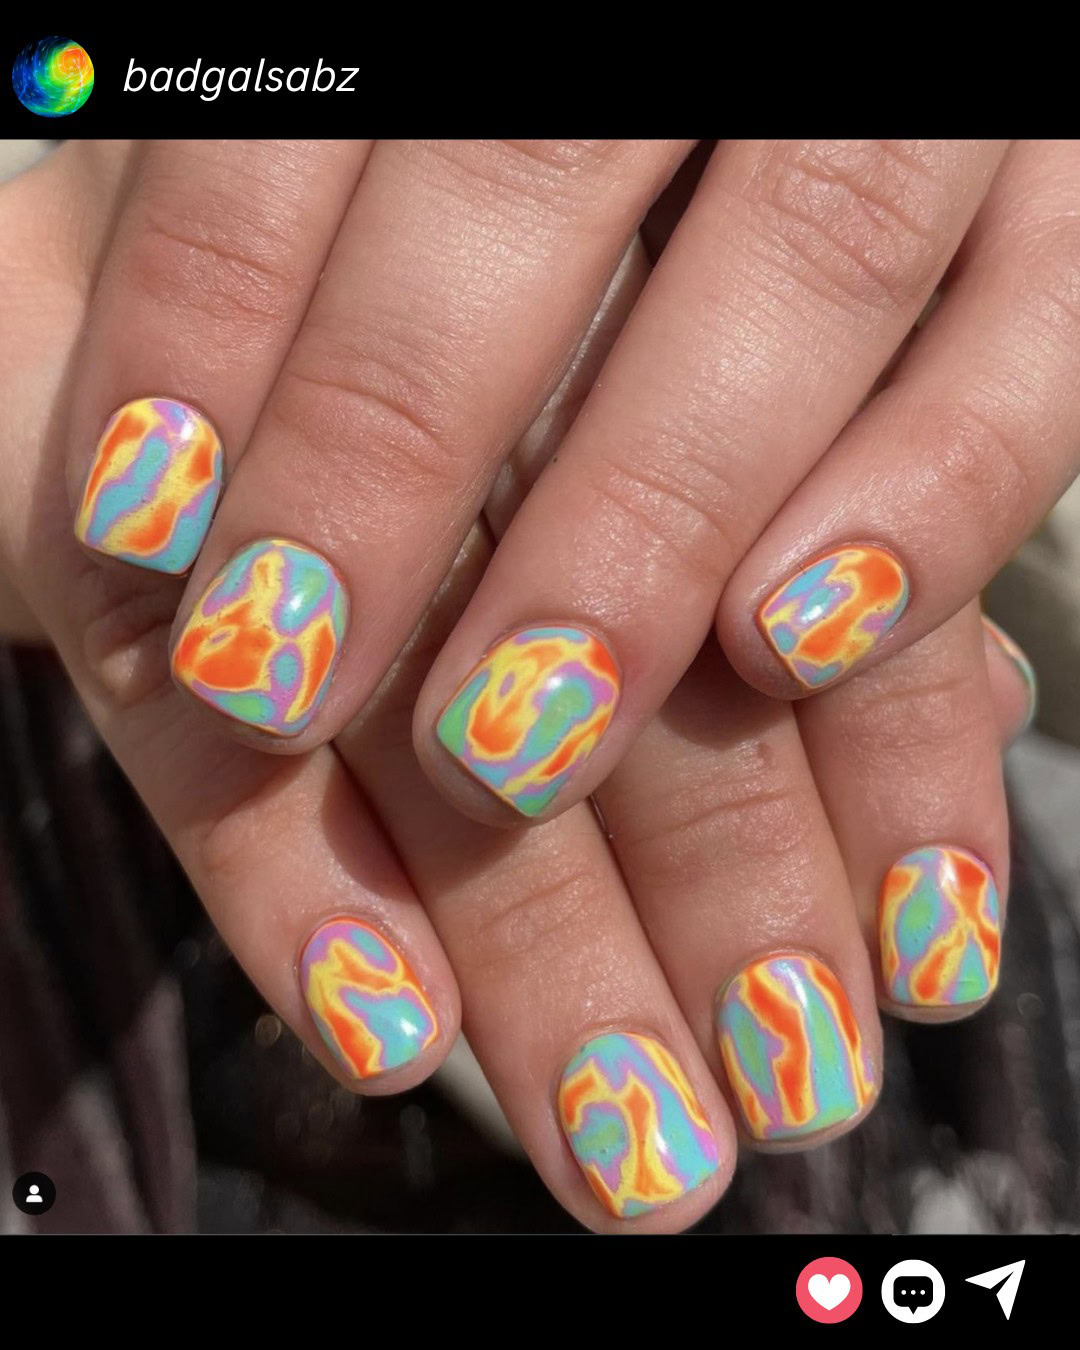
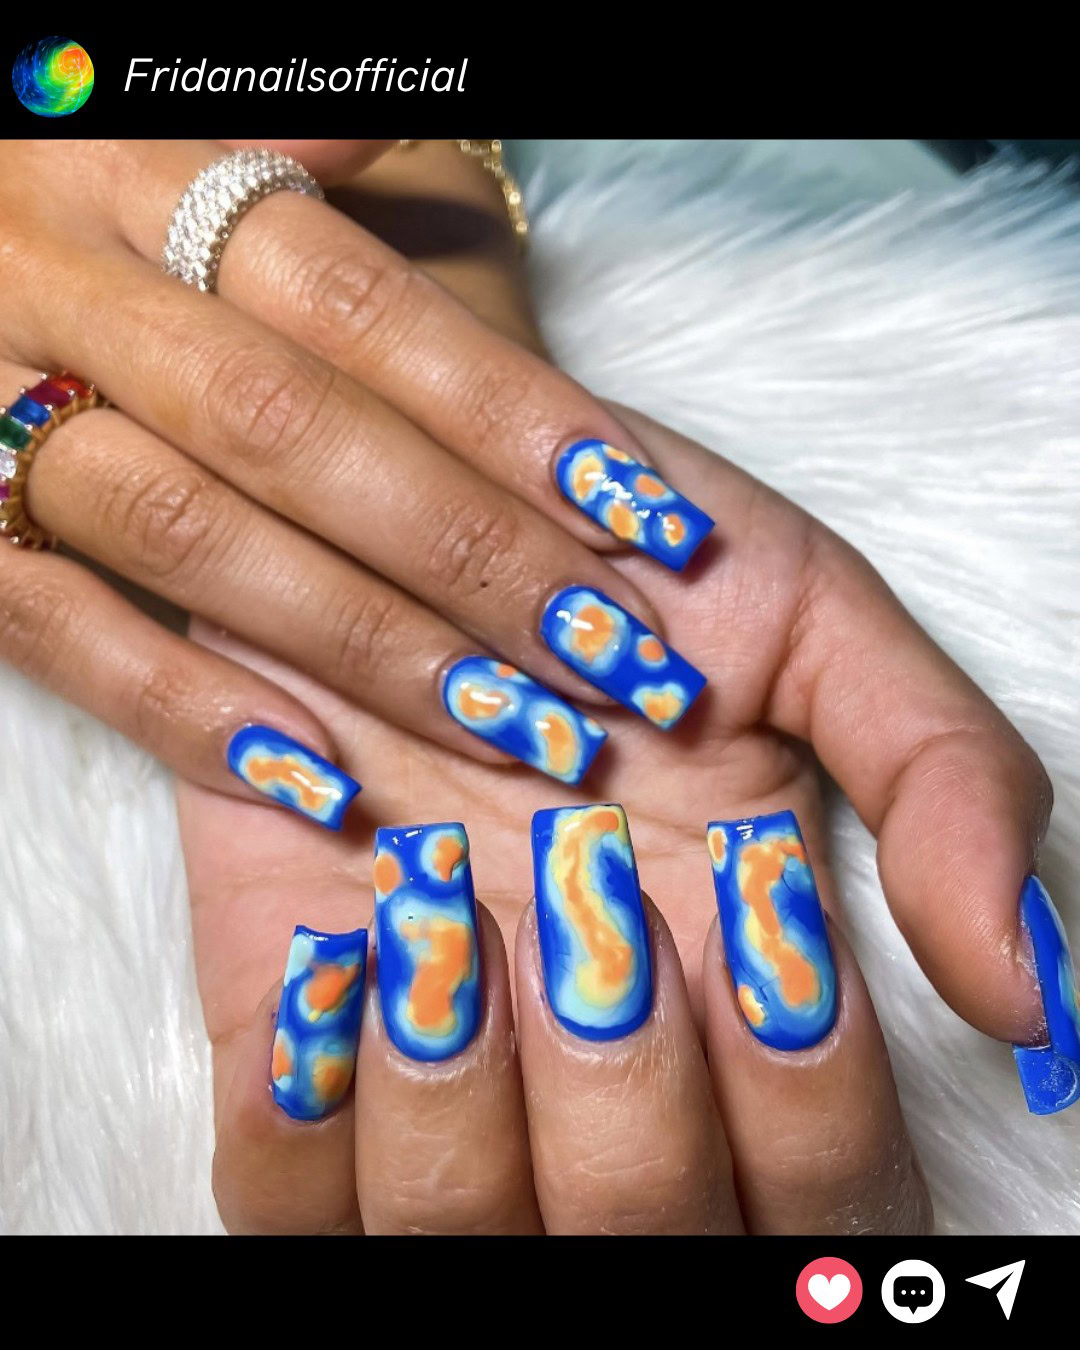
Thermal Map Inspired Nails at Home
Achieving the Thermal Map Nail Look:
Creating the thermal map nail look is easier than you might think, and it’s a fantastic way to play with colors and gradients. Here’s how you can achieve this bold and beautiful style at home or with the help of a professional nail artist:
- Gather Your Supplies:
- Base coat
- Multiple nail polish colors (red, orange, yellow, green, blue, purple)
- Makeup sponge
- Fine nail art brush
- Top coat
- Prepare Your Nails: Start with clean, dry nails. Apply a base coat to protect your natural nails and ensure the longevity of your manicure.
- Create the Gradient Base: Using a makeup sponge, apply stripes of different nail polish colors in the order you want them to appear on your nails. Dab the sponge onto your nails to transfer the colors, creating a seamless gradient effect. Repeat this step to build up the opacity and intensity of the colors.
- Add Details: Once the gradient base is dry, use a fine nail art brush to add intricate details, mimicking the lines and patterns seen on thermal maps. You can create swirls, waves, or contour-like lines in contrasting colors to enhance the thermal map effect.
- Seal the Design: Allow your nail art to dry completely before applying a top coat. The top coat will protect your design and give it a glossy finish.
- Clean Up: Use a small brush dipped in nail polish remover to clean any excess polish around your cuticles for a neat and polished look.
