This post may contain affiliate links. As an Amazon Associate I earn from qualifying purchases. If you click and buy, I may receive a small commission at no extra cost to you. Read our Disclosure Policy

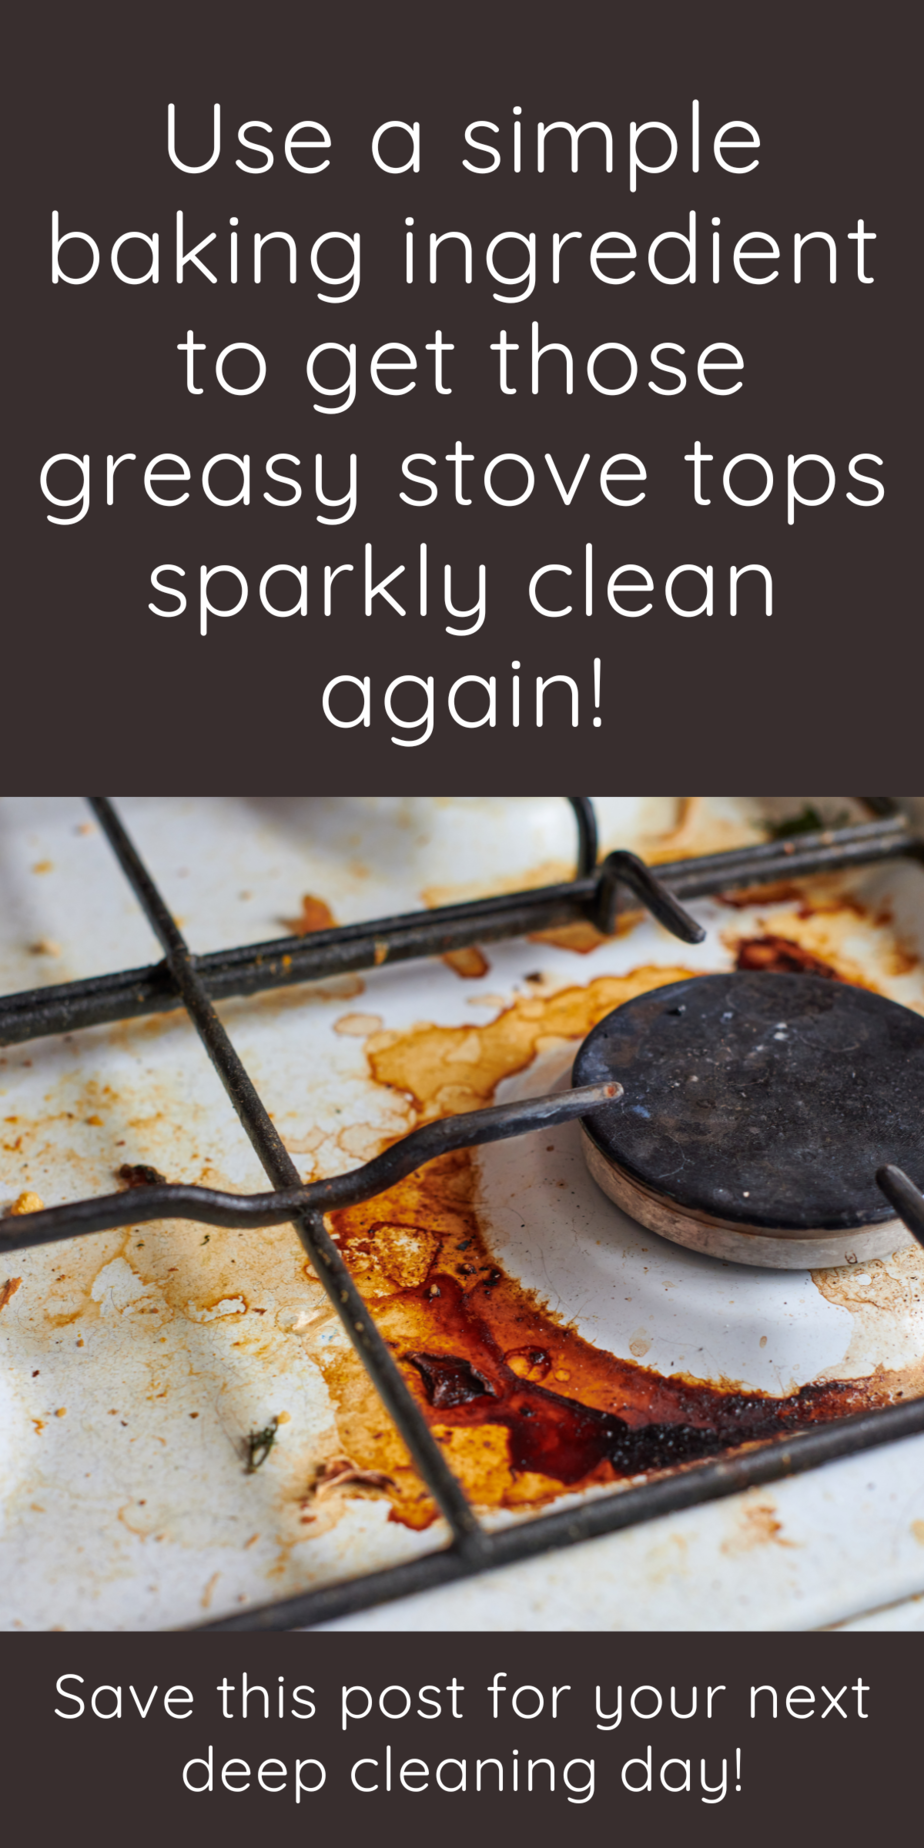
Confession time… your gas stove top is looking a bit, well, toasty Don’t worry, we’ve all been there. Those burnt-on food bits and greasy spots can be super stubborn, but I’ve got a fantastic method using just vinegar and baking soda. Let’s get your stove top back to its shiny, pristine glory in no time. Ready Let’s dive in!
Step 1: Gather Your Supplies
Before we start, make sure you’ve got everything you need:
- White vinegar
- Baking soda
- A spray bottle
- A bowl
- A scrub brush or sponge
- A soft cloth or paper towels
- Your favorite music playlist
Step 2: Remove the Grates and Burner Caps
First things first, turn up the volume on your playlist and take off those grates and burner caps. They need some love too, but we’ll get to them later. Just set them aside for now.
Step 3: Wipe Away Loose Debris
Grab a damp cloth or paper towel and wipe away any loose crumbs or bits of food from the stove top. This makes the cleaning process a lot easier.
Step 4: Spray with Vinegar
Fill your spray bottle with white vinegar. Now, generously spritz the entire surface of your stove top. Vinegar is a fantastic natural cleaner and will start breaking down that stubborn grime.
Step 5: Sprinkle Baking Soda
Here comes the fun part! Take your baking soda and sprinkle it all over the stove top. Make sure you cover all those burnt and greasy spots. The combination of vinegar and baking soda will create a fizzy reaction that helps lift off the dirt.
Step 6: Let It Sit
Patience is key! Let the vinegar and baking soda mixture sit for about 15-20 minutes. This gives the fizz time to work its magic on those tough stains.
Step 7: Scrub-a-Dub-Dub
Grab your scrub brush or sponge and start scrubbing. Focus on those particularly nasty spots, but don’t be too rough—you don’t want to scratch your stove top. The grime should start coming off pretty easily now.
Step 8: Wipe It Down
Once you’ve scrubbed to your heart’s content, take a damp cloth and wipe away all the baking soda and vinegar residue. You might need to rinse your cloth a few times to get everything clean.
Step 9: Clean the Grates and Burner Caps
Remember those grates and burner caps we set aside Time to clean them up! Spray them with vinegar and sprinkle with baking soda just like you did with the stove top. Let them sit for a bit, then scrub and rinse them clean.
Step 10: Final Touches
Give everything one last wipe down with a clean, damp cloth to make sure there’s no residue left. Dry the grates and burner caps thoroughly before placing them back on the stove.
Step 11: Enjoy Your Sparkling Stove Top!
Step back and admire your handiwork! Your stove top should be looking as good as new. Who knew cleaning could be this satisfying
Is your oven looking grimy too Find out how to make it sparkle again!


