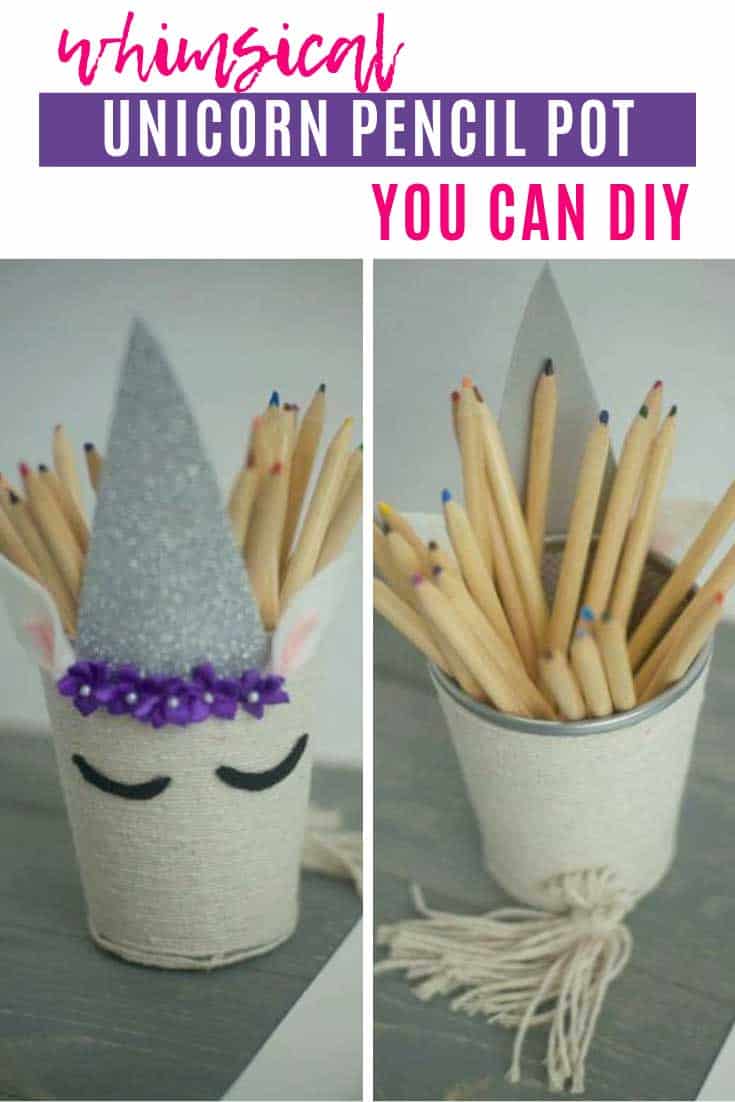
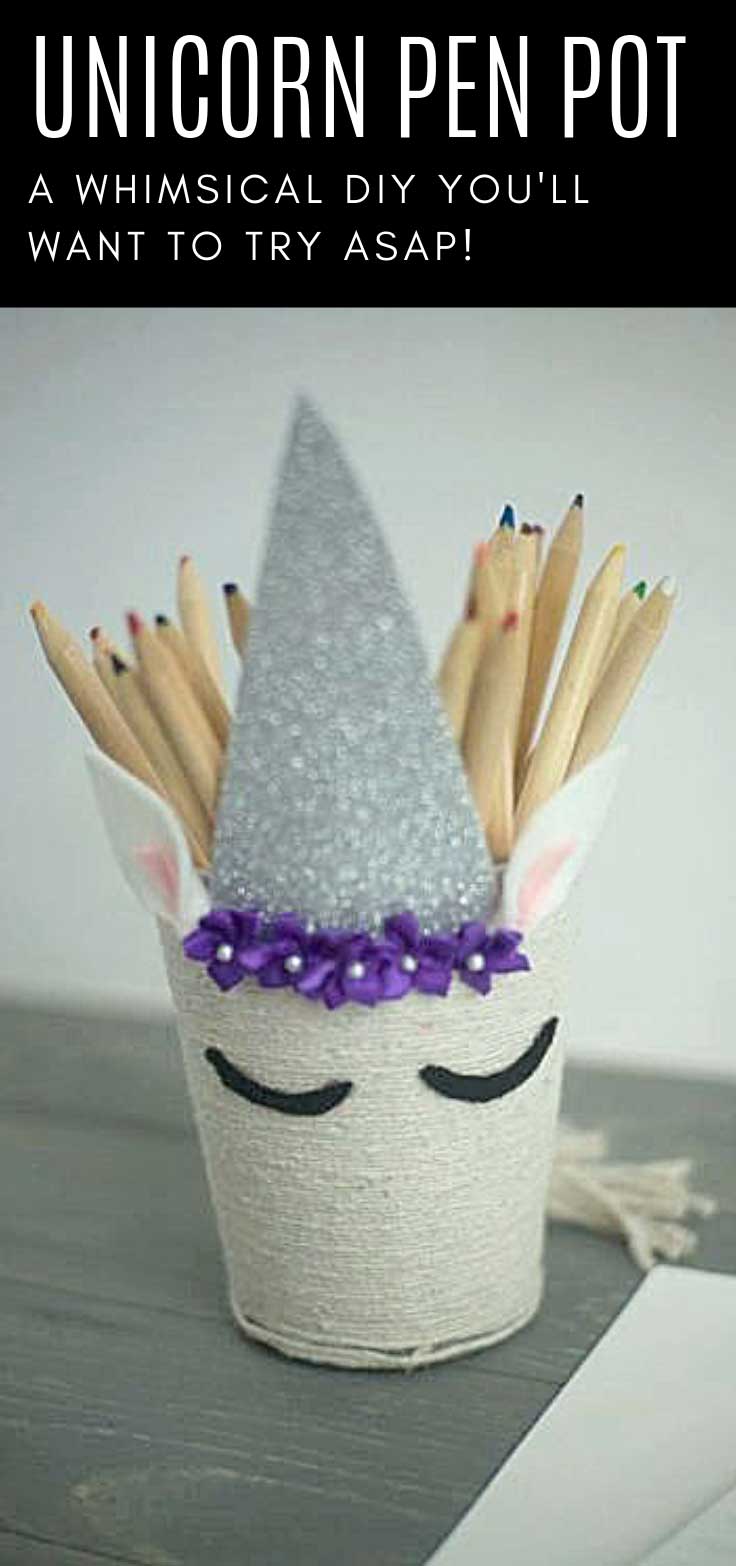
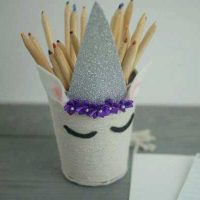
DIY Unicorn Pencil Pot
We know how much y’all love a good unicorn craft so today we have a special treat!
This post may contain affiliate links. As an Amazon Associate I earn from qualifying purchases. If you click and buy, I may receive a small commission at no extra cost to you. Read our Disclosure Policy
Just in time for those back to school crafting sessions we’ve got a video tutorial to show you how to make a unicorn pencil pot, using a boring wire mesh holder you can pick up from the Dollar Tree!
Your kids can help you make one to use at home, or maybe as a back to school gift for their teacher.

Supplies
You’ll also need a pair of scissors and your hot glue gun.
How to make your unicorn pencil pot
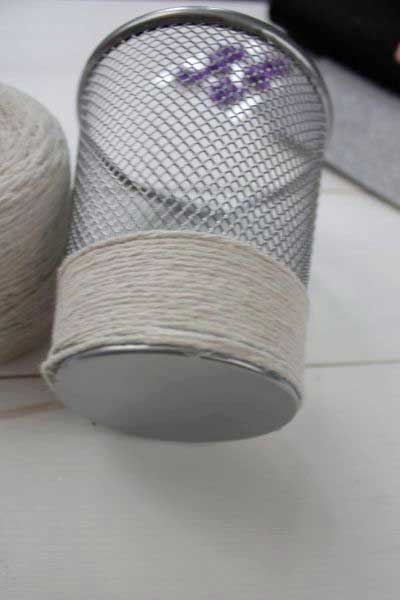
Place a small dot of hot glue on the base of the metal pen/pencil holder.
Stick one end of your twine to the glue dot.
Place another dot about an inch or so from the first, and stick the twine to it.
Keep repeating until the twine is wrapped around the entire base.
Now continue wrapping twine around the holder until you reach the top.
Finish by securing the end piece of twine to the holder with another dot of hot glue.
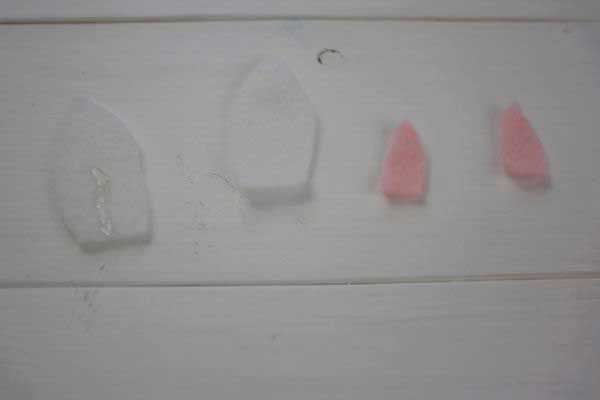
Take the white felt sheet, fold it in half, and cut out an ear shape. These don’t have to be perfect!
Repeat with the pink felt sheet, but this time create smaller ear shapes.
Place a small dot of hot glue to the base of each ear and fold the ends in.
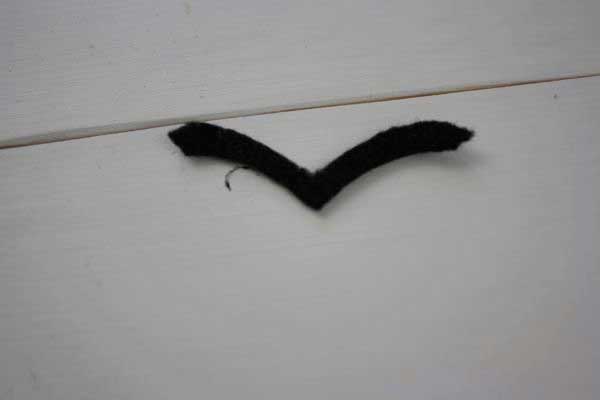
Fold the black felt sheet in half and cut two parallel curved lines to create eyes.
Cut them into two and trim the rough edges.

Cut a triangle shape from the glitter foam sheet to make the unicorn horn.
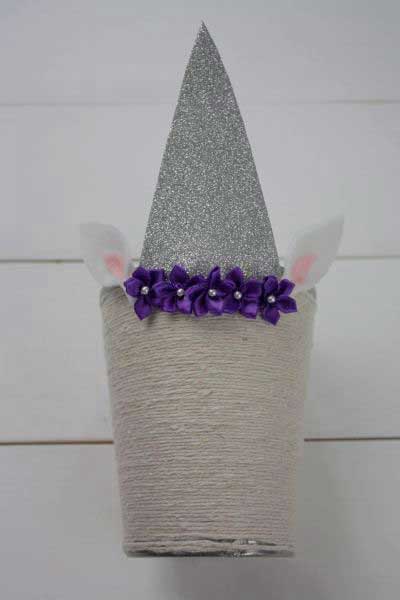
Using your hot glue gun, secure all of the pieces to the holder, including the ribbon flowers.
To make your unicorn’s tail you need to wrap the twine around four of your fingers multiple times.
Remove the twine from your hand and wrap the end of the twine about 3⁄4 of the way up. Then secure with a dot of glue.
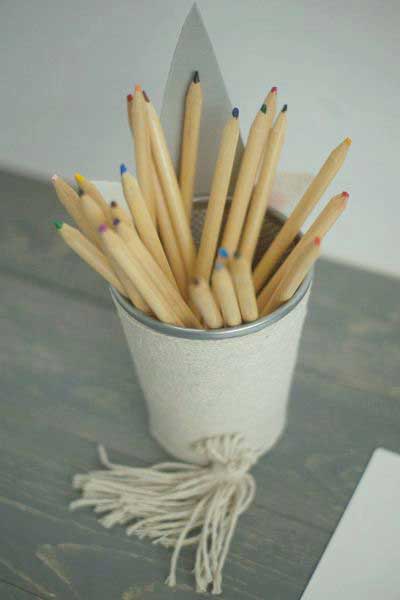
Cut the ends of the twine on the long end to create a “pompom” like tail and then secure it to the holder with a dot of glue.
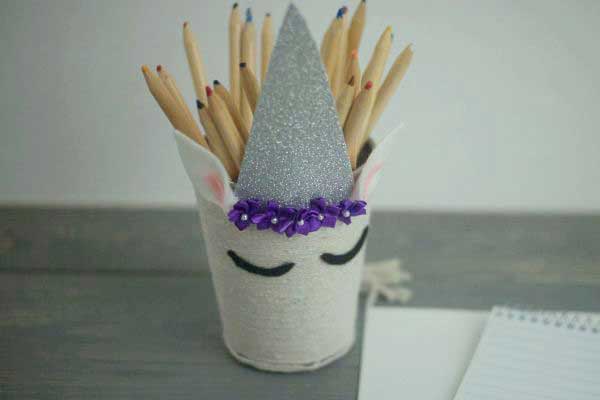
Fill your new unicorn pot with pencils and place it on your desk!
More DIY Ideas Here
DIY Unicorn Pencil Pot
Materials
Tools
- Scissors
- Hot Glue Gun
- Hot Glue Sticks
Instructions
- Place a small dot of hot glue on the base of the metal pen/pencil holder.
- Stick one end of your twine to the glue dot.
- Place another dot about an inch or so from the first, and stick the twine to it.
- Keep repeating until the twine is wrapped around the entire base.
- Now continue wrapping twine around the holder until you reach the top.
- Finish by securing the end piece of twine to the holder with another dot of hot glue.
- Take the white felt sheet, fold it in half, and cut out an ear shape. These don’t have to be perfect!
- Repeat step 7 with the pink felt sheet, but this time create smaller ear shapes.
- Place a small dot of hot glue to the base of each ear and fold the ends in.
- Fold the black felt sheet in half and cut two parallel curved lines to create eyes.
- Separate and trim the rough edges.
- Cut the glitter foam sheet into a triangle for the horn.
- Using your hot glue gun, secure all of the pieces to the holder, including the ribbon flowers.
- Wrap twine around four of your fingers multiple times.
- Remove from your hand and wrap the end of the twine about 3⁄4 of the way up.
- Secure with a dot of glue.
- Cut the ends of the twine on the long end to create a “pompom” like tail.
- Secure it to the holder with a dot of glue.