This post may contain affiliate links. As an Amazon Associate I earn from qualifying purchases. If you click and buy, I may receive a small commission at no extra cost to you. Read our Disclosure Policy
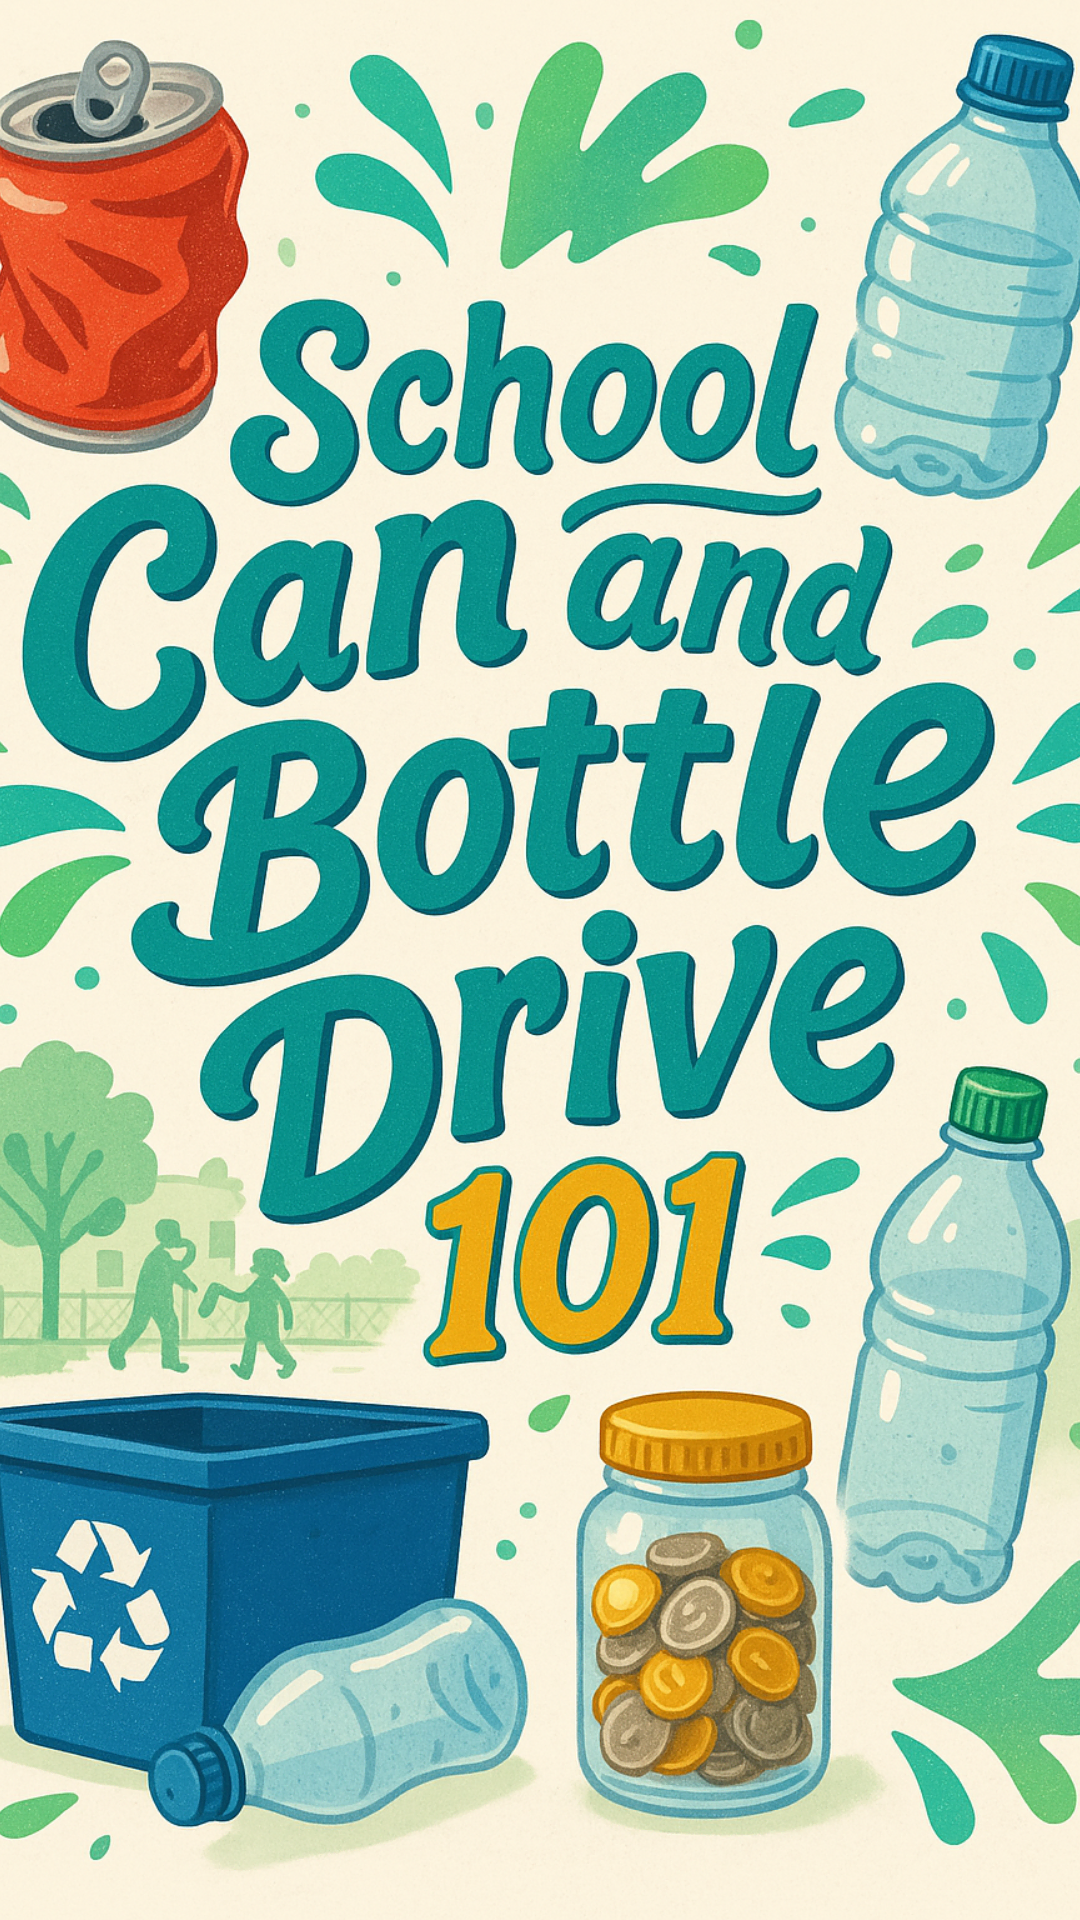
If your PTA is looking for a super simple, eco-friendly way to raise money without spending a dime—this is it. A can and bottle drive fundraiser takes something families already have at home (hello, soda cans and water bottles!) and turns it into cash for your school.
It’s easy to run, kid-friendly, and it sneaks in a little recycling education while you’re at it. Whether you host a one-day collection event or make it an ongoing effort, those 5¢ and 10¢ returns add up fast. And the best part Absolutely no baking, crafting, or ticket selling required.
Here’s everything you need to know to plan your own can and bottle drive fundraiser—and keep the whole thing clean, simple, and surprisingly profitable.
What Is a Can and Bottle Drive Fundraiser
A can and bottle drive fundraiser is exactly what it sounds like: families and supporters collect their returnable beverage containers—like soda cans, water bottles, and juice bottles—and donate them to your school. You then return those containers to a redemption center or use bottle return machines to get the deposit back.
Depending on your state, each container is worth 5¢ or 10¢. That might not sound like much—but collect 2,000 of them and you’ve got $100 in your PTA fund. No selling, no setup, just good old community teamwork (and a few sticky bins).
It’s a great fundraiser for Earth Day, back-to-school season, or anytime you want something low-effort but high-impact. Plus, kids love seeing how something as simple as a can can help buy books, equipment, or even fund a fun field trip.
How It Works (Step-by-Step)
One of the best things about a can and bottle drive fundraiser is how straightforward it is. Here’s how to get it rolling:
✅ Step 1: Choose Your Collection Style
You can go with:
- A one-day event (great for big participation and visibility)
- An ongoing collection (perfect for year-round fundraising)
- Or both—kick it off with an event and keep bins at school for continued donations
Step 2: Spread the Word
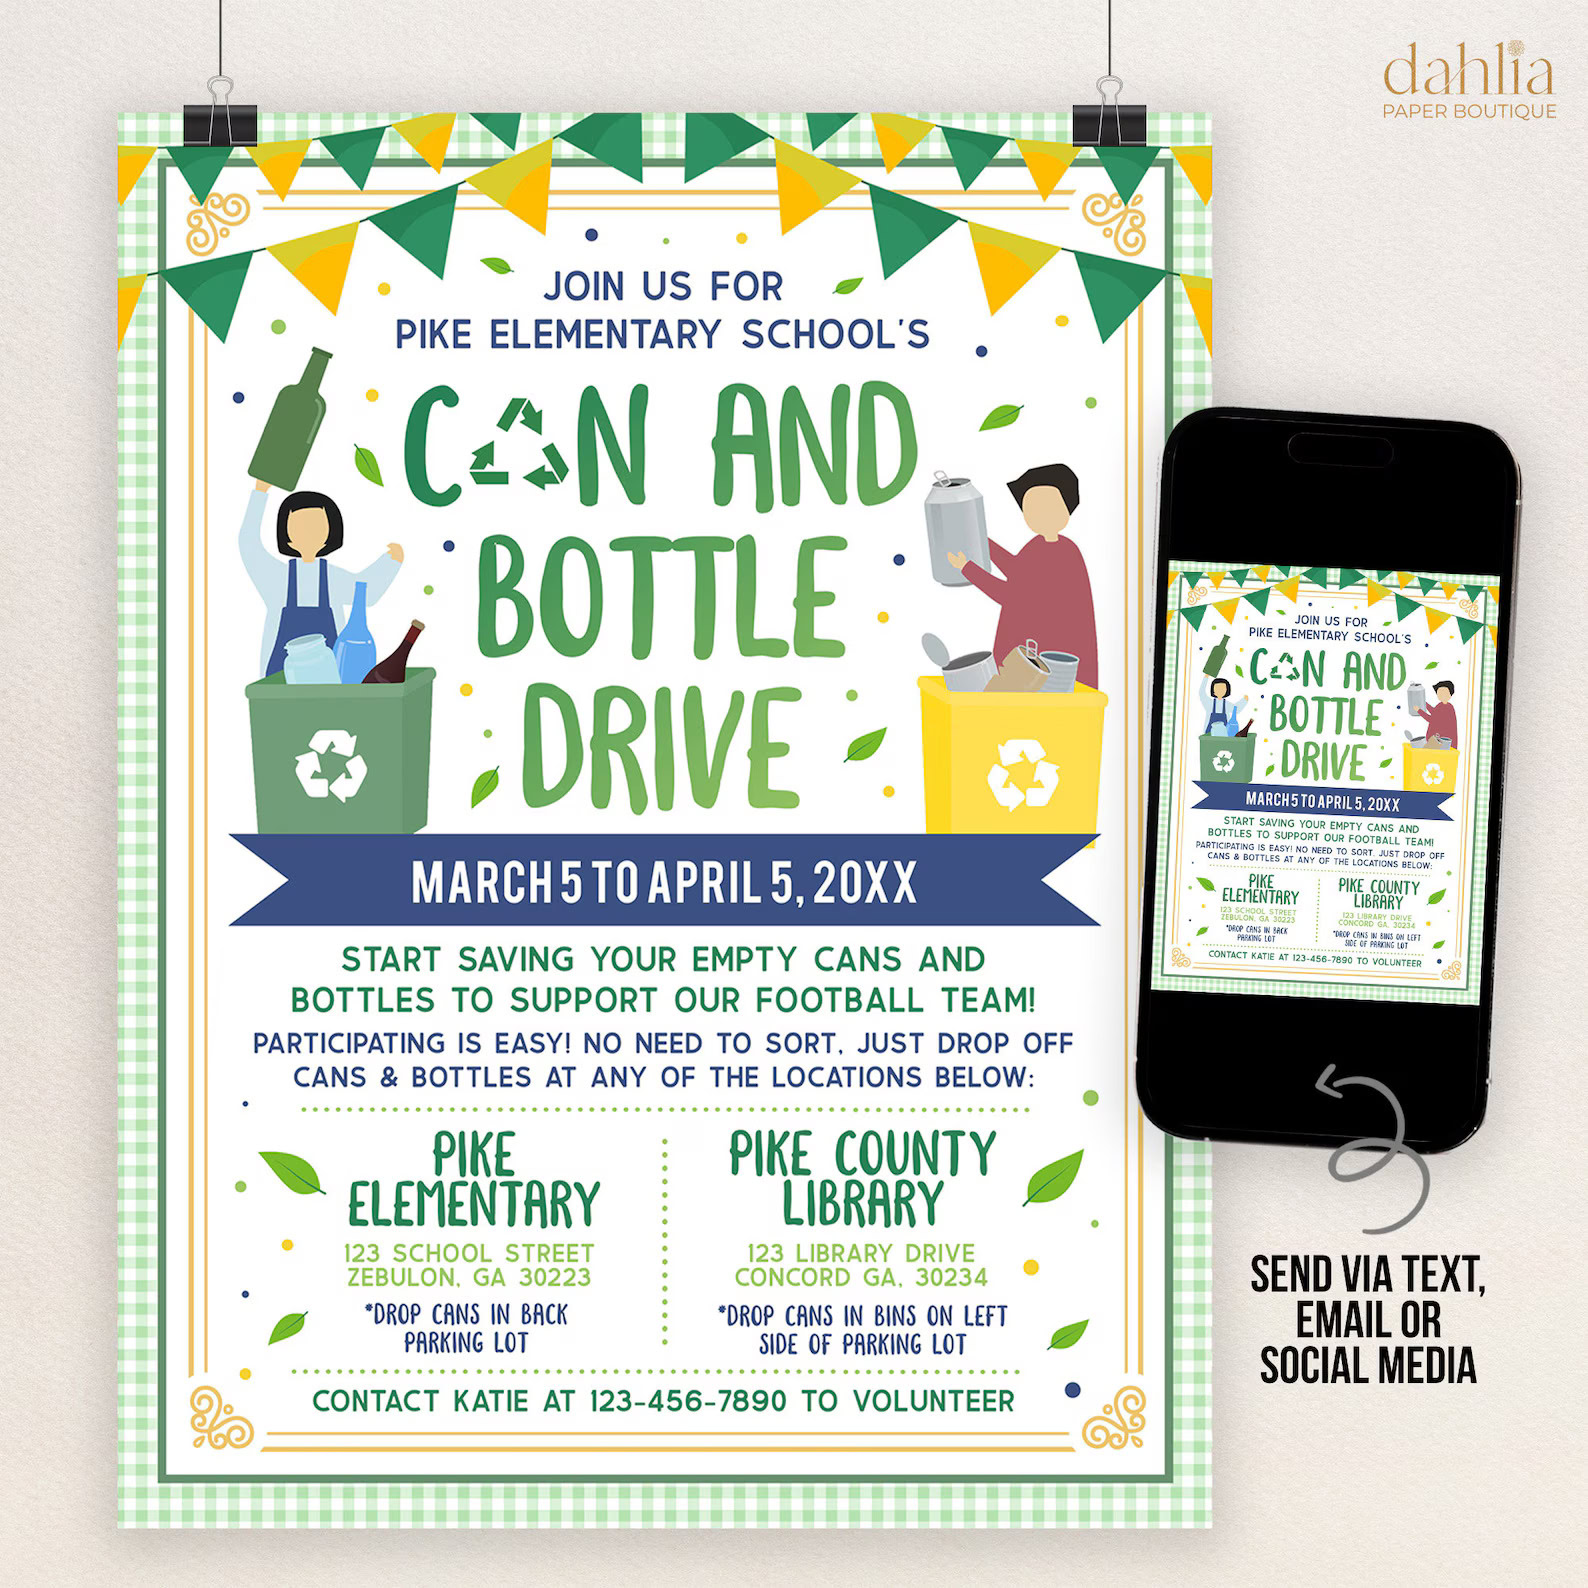
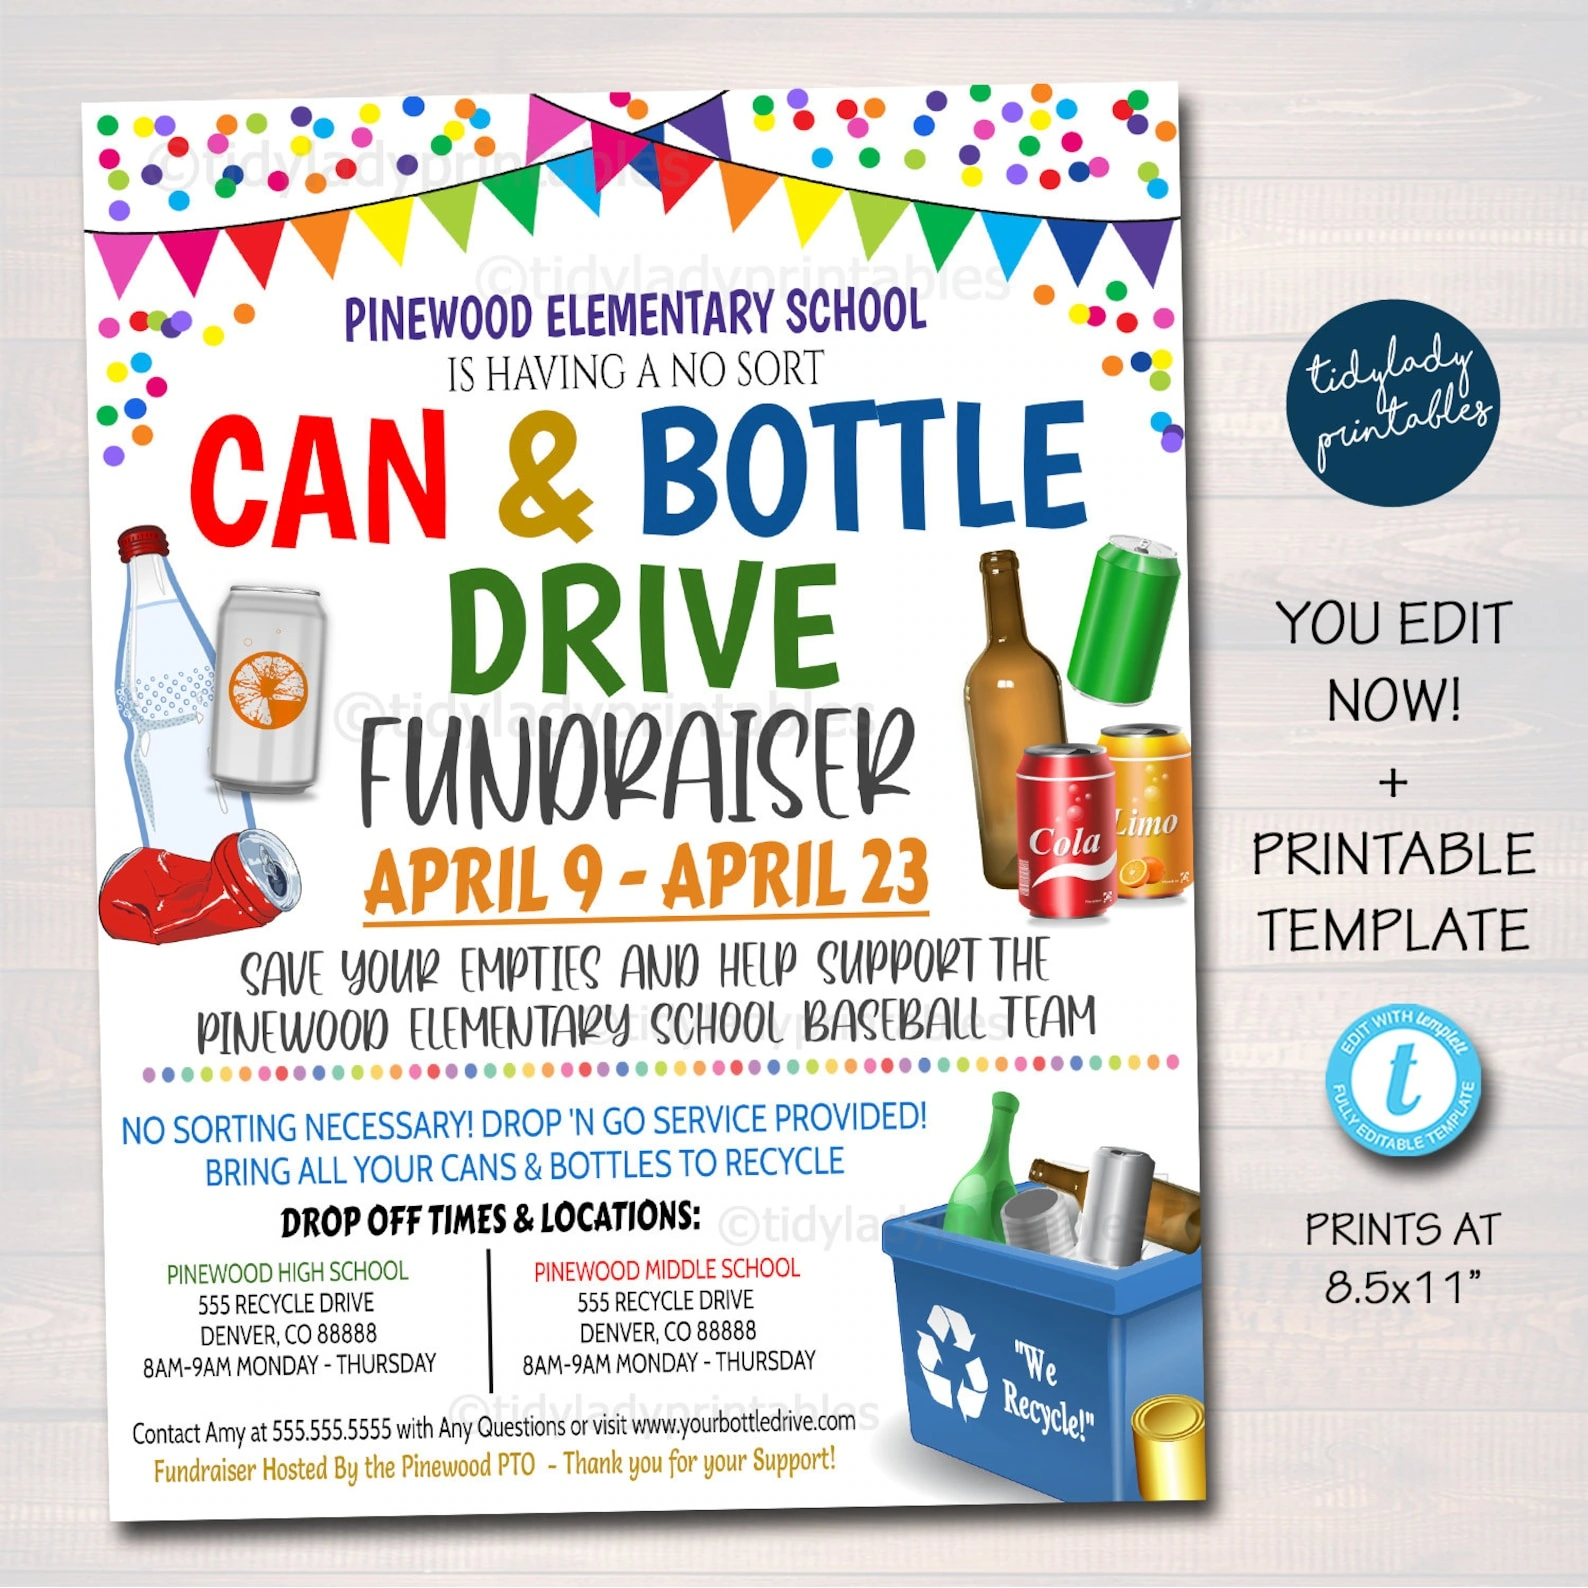
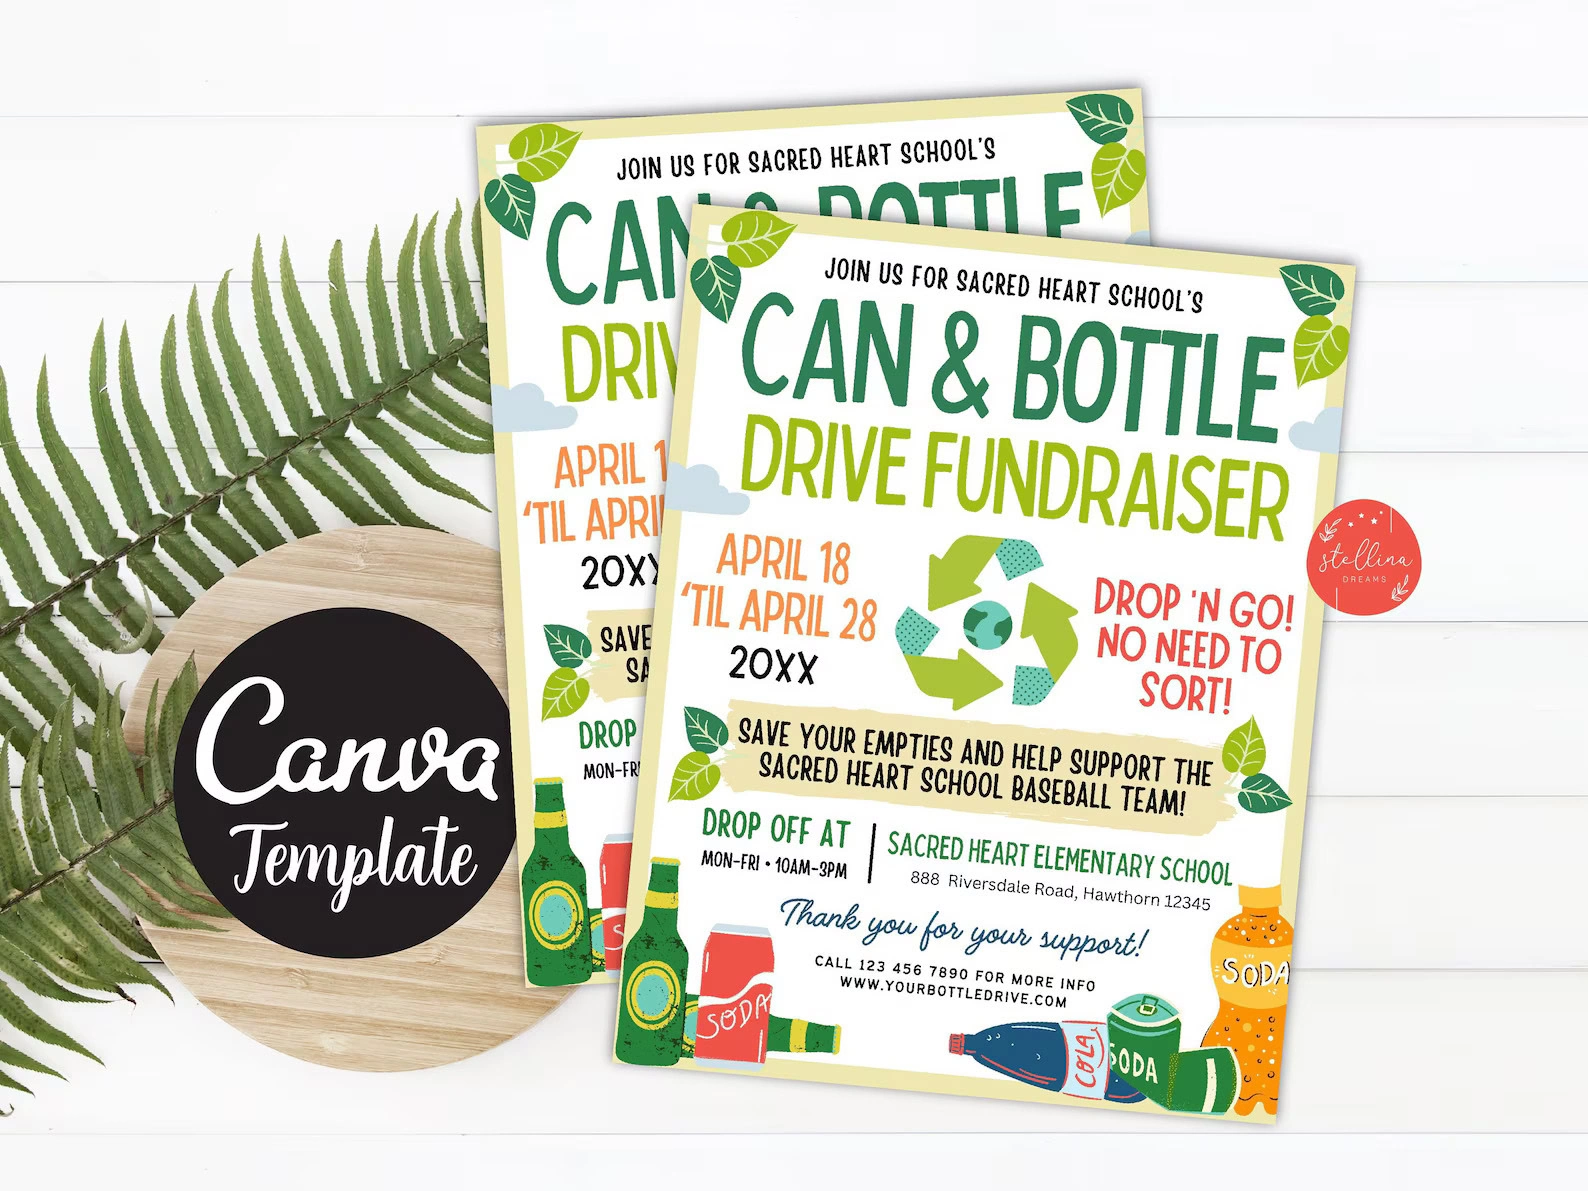
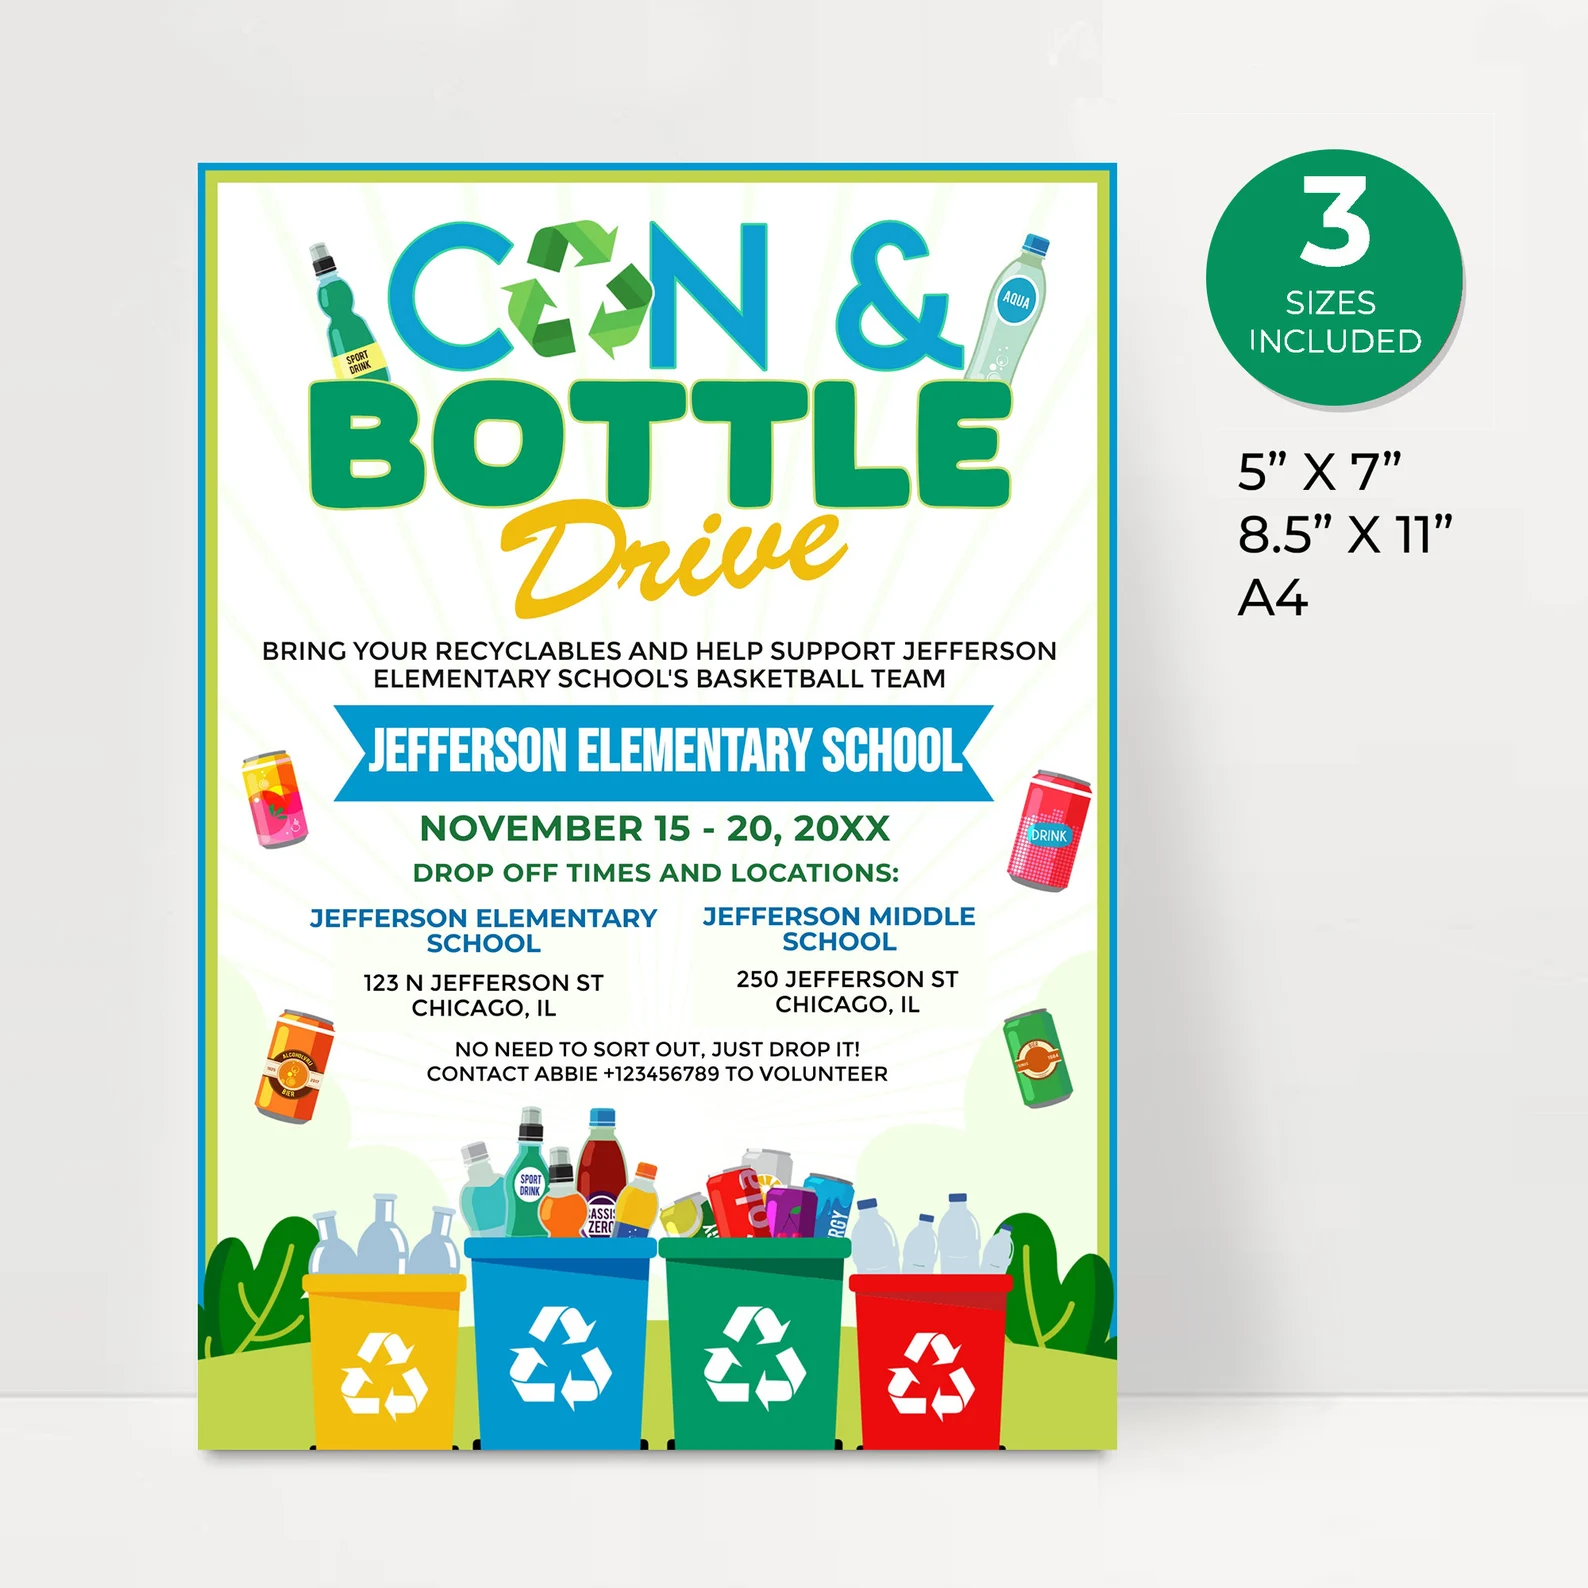
Announce the drive via flyers, the school newsletter, social media, and good old-fashioned word of mouth. Let families know:
- What kinds of containers are eligible
- When and where to drop them off
- How the money raised will help the school
️ Step 3: Set Up a Drop-Off Zone
Designate a safe, visible spot for collection. A few large bins or barrels lined with heavy-duty bags will do the trick. Make sure it’s accessible but secure from curious critters (or adventurous kids).
Step 4: Sort & Store
Rinse and sort as you go if you can—it makes returns quicker. Store full bags in a clean, dry place until you’re ready to return them.
Step 5: Return and Redeem
Take the collected cans and bottles to a redemption center or use your local bottle return machines. Some states even have bulk pickup programs—worth checking!
Step 6: Count Your Coins!
Deposit the return money into your PTA account and give your community an update: “Thanks to your donations, we raised $X for new library books!”
It’s that easy. No frills, no fees—just teamwork and a little recycling magic.
What Types of Containers Can Be Returned
Not all bottles and cans are created equal—so before families start dropping off every container in the recycling bin, it’s important to share what’s eligible for redemption in your state.
️ Look for the Label
In most states with bottle deposit programs, eligible containers will have a refund label like:
“CA CRV,” “NY 5¢,” “OR 10¢,” or “MI 10¢”
These are the items that can be returned for cash, typically at 5¢ or 10¢ per container.
✅ Usually Accepted:
- Aluminum soda cans
- Plastic water and juice bottles
- Glass beer bottles
- Sports drinks and iced tea bottles
- Energy drink cans
Usually Not Accepted:
- Milk jugs
- Wine or liquor bottles
- Soup cans or food containers
- Juice boxes or pouches
- Any bottle without a state redemption label
Pro Tip: Create a simple visual guide (even just a photo collage) to post on your flyer or collection bin that shows what to bring and what to skip.
If you’re not sure what’s eligible in your state, check your local government or department of environmental conservation’s website. You can even link it in your PTA newsletter to help families double-check before drop-off day.
Where to Host and How to Collect
Your collection spot doesn’t need to be fancy—it just needs to be accessible, safe, and easy to manage. The key is to make it as convenient as possible for families to drop off their bags of bottles and cans without turning your school into a sticky soda zone.
Best Places to Host Your Collection:
- School parking lot – great for weekend drop-offs or drive-thru style events
- Near the main entrance – set up a large, labeled bin or barrel where families can drop off as they walk in
- Inside the school – if space allows, place bins near the cafeteria or office
- At local events – bring collection bins to sports games, school concerts, or holiday fairs
Drive-Up Collection Days
Host a one-day (or monthly) “Drop & Go” event on a Saturday morning. Set up volunteers to unload bags from cars and give a cheerful thank-you. You could even combine it with a bake sale or coffee stand for extra fundraising!
Home Pickup (Optional)
If you’ve got volunteers with big trunks and big hearts, offer a can collection route for families who can’t drop off. Schedule a pickup day and let people sign up in advance.
♻️ Ongoing Collection Bins
Want to keep it running year-round Set up sturdy, labeled bins with signs that explain what to donate. Make sure someone checks and empties them regularly to keep things clean and odor-free.
Pro Tip: Choose containers with lids or keep bins under cover if they’ll be outside. Nobody wants a surprise puddle of juice at morning drop-off.
Tips for Keeping It Clean (and Not Gross)
Let’s be honest—used cans and bottles can get a bit… sticky. But with a few simple rules and smart prep, your collection area can stay clean, stink-free, and not attract every ant in a 3-mile radius.
1. Ask Families to Rinse Before Dropping Off
This is the biggest game-changer. Just a quick rinse of each bottle or can helps cut down on sugar residue, smells, and bugs. Include this reminder on every flyer and social post!
️ 2. Use Heavy-Duty Bags or Lidded Bins
Line your collection bins with strong garbage bags and secure lids if they’re outdoors. This keeps odors in, rain out, and prevents surprise spills.
3. Empty the Bins Regularly
Don’t let donations pile up for weeks. Assign a volunteer or rotate a “can monitor” to empty and store bags in a safe, dry place every few days.
4. Separate by Material (Optional but Helpful)
Some return centers want aluminum, plastic, and glass sorted ahead of time. If you’ve got the space, set up 2–3 clearly labeled bins to save time later.
5. Have Wipes and Gloves on Hand
Keep a cleanup kit near the collection zone—paper towels, wipes, gloves, and sanitizer. It’s a simple way to make volunteers feel a lot more comfortable handling donations.
Bonus Tip: A quick thank-you sign like “Thanks for rinsing—our noses thank you too!” adds a little humor and helps encourage cleaner drop-offs.
How to Raise More (Beyond Just Redemption Money)
While every nickel and dime from returned cans and bottles adds up, there are a few smart ways to boost your fundraising total without making things more complicated.
1. Accept Cash Donations
Not everyone drinks bottled beverages—but plenty of folks still want to support your school.
Place a donation jar at your collection point or add a QR code to your flyer for Venmo/PayPal contributions. Even a few dollars here and there adds up fast.
2. Add a Bake Sale or Coffee Stand
If you’re doing a one-day drop-off event, set up a small table with baked goods or hot drinks. Parents can grab a coffee and a cookie while unloading their bags—fundraising with frosting!
3. Hold a Class or Grade-Level Competition
Nothing motivates kids like a friendly competition. Offer a small prize to the class that collects the most (extra recess, a popcorn party, or a silly trophy they can proudly display).
4. Partner with Local Businesses
Ask nearby cafes, gyms, or offices if they’d be willing to collect their bottles and cans for your school for a week or two. Offer to pick them up—easy win for both sides!
️ 5. Add a Mini Raffle
Want to bring in a little excitement Combine your collection day with a small raffle—prizes could include gift cards, themed baskets, or donated items. Everyone who donates gets a ticket!
By adding just one or two of these fundraising boosts, you can easily double (or even triple) your total—without needing thousands of cans.
How to Promote the Can and Bottle Drive
A successful bottle drive comes down to reminders, visibility, and a little school spirit. The more people know about it—and remember to bring their empties—the more nickels roll in for your PTA!
Promote Through School Channels:
- Backpack flyers – Simple handouts with drop-off dates and what to collect
- School newsletter & PTA email – Add it to your regular updates with a fun header like “Sip, Rinse, Donate!”
- Posters around school – Place near entryways, classrooms, and carline pickup spots
- Morning announcements – Get students excited by sharing updates: “We’re up to 1,500 bottles!”
Go Big on Social Media:
- Create a countdown or reminder series (e.g. “3 days until Drop-Off Day!”)
- Post photos of your collection bin filling up
- Share your goal and progress: “Help us collect 5,000 cans = $250 for classroom supplies!”
- Tag any business partners or sponsors to spread the word wider
Theme It Up:
Give your drive a fun name—like “Cans for Classrooms,” “Bottles for Books,” or “Pop for the Playground.” A catchy theme makes it more memorable and gets kids on board.
Highlight the Impact:
Make sure families know where the money’s going! “Every 100 cans helps us buy one new book for the school library” gives the fundraiser meaning and keeps people motivated.
Thanking Your Collectors and Supporters
Once your can and bottle drive wraps up, it’s time to celebrate everyone who pitched in—whether they brought in bags of empties, helped with sorting, or just cheered you on from the staff room.
Shoutouts to Include:
- Top classes or grades – Share who collected the most and what they’ve won
- Volunteer helpers – Even just a thank-you email or a quick treat goes a long way
- Families and community members – Thank them in your newsletter and on social media with photos or stats
Share the Results:
Post fun numbers like:
- “We collected 3,210 bottles and cans = $160 for our art supplies fund!”
- “Thanks to your support, we’re now one step closer to our playground goal!”
Reward the Effort:
If you ran a class competition, hand out certificates, extra recess, or something silly like a “Golden Can” trophy. It doesn’t have to be fancy—just fun.
And Keep the Momentum Going:
Let families know when the next drop-off day is or if you’ll be running this as a monthly or year-round fundraiser. Momentum is everything!
Pro tip: Snap a group photo of volunteers with the bags or bins—everyone loves a good “we did it!” moment.
All the flyers you need for a full year of fundraisers!

