This post may contain affiliate links. As an Amazon Associate I earn from qualifying purchases. If you click and buy, I may receive a small commission at no extra cost to you. Read our Disclosure Policy
How to organize your freezer and save money by knowing exactly what’s in there!

Today we’re going to look at how to organize your freezer, because if you’re anything like me you’re not quite sure exactly what you have in there, or how long its been in there!
As always we’ll start with a declutter, and then make a freezer food inventory which will help you to avoid throwing $$ away on wasted food, and finally we’ll take a look at some clever hacks and storage solutions you can use to organize your freezer like a pro!
[one_half padding=”0 10px 0 0″]
[toc]
[/one_half]
[one_half_last padding=”0 10px 0 0″]
Freezer friendly labels make it easy to find what you’re looking for
[/one_half_last]
Organizing your freezer starts with decluttering
If you’ve been following along with any of our other organizing your kitchen articles you will know that we ALWAYS start by decluttering what we already have, and organizing a freezer is no different!
The decluttering steps are pretty much the same as the ones we followed when organizing the refrigerator:
This dry erase board sticks to your freezer so its perfect for keeping track of what’s in there!
- Prepare your workstation. You’ll need an empty countertop, some trash bags and food recycling bags (if you use them). Then fill the sink with warm soapy water.
- Empty the freezer. Take out every single item from your freezer and lay it out on the countertop.
- Trash or recycle anything that is past its sell by date, or could be classed as a UFO (Unidentifiable Frozen Object!). Note you shouldn’t cold compost frozen food, but you can hot compost it if you allow it to defrost first and chop up any larger items.
- Group the other items together. For example meat, vegetables, baking etc to make it easier to put back in.
- Make a freezer inventory. Since food lives in your freezer for a lot longer than your fridge now is a great time to take an inventory of what you have in there. If you want to add the list to your Home Management Binder you can print out this freezer inventory list Or if you’d prefer to have the inventory right there on the freezer door try this clever magnetic whiteboard!
- Clean your shelves. Now remove the shelves and any drawers or ice cube bins and give them a good wash in the sink. Just make sure the glass isn’t too cold, or your water too hot or you could shatter the glass and we don’t want that to happen!
- Don’t forget the inside. Use a damp cloth to wipe down the inside of the freezer too.
- Refill your freezer. Now put the shelves and drawers back in and add your food items by group (just put them in for now, we’ll organize them in the next step).
- Don’t forget the outside. While you’re here give the outside of your freezer a wipe down with a damp cloth, and dry with a microfibre cloth or kitchen paper towel.
- Reward yourself for a job well done!
The best way to organize a freezer: Tips, tricks and hacks
Now you know what food items you have we can take a look at the best way to organize a freezer.
Think like a grocery store
Put meats together into a freezer-safe container to catch drips. Clean it regularly.
1. Group similar items together. The best way to store food in your freezer is in groups, so that you can lay your hands on what you want quickly and easily, without having the door or lid open for too long.
If it works at the grocery store it can work at home right
2. Live by the First in First Out Rule.The other tip you can take from the store is the First in First Out rule, which means you eat the food that ‘s been in the freezer the longest first.
When you get home from the grocery store, or after you’ve finished a batch cooking session, or just created some leftovers, put those new items at the back of your group, or the bottom of the stack.
3. Raw meats belong at the bottom. As you’re looking at your freezer and thinking about the best places to put each group of food remember that raw meats need to go right down at the bottom, so you don’t risk and drips contaminating anything else.
It’s a good idea to store similar meats together in a plastic container which can be removed and cleaned regularly. Your meat may drip as it is freezing, it’s not just something to consider if the meat has accidentally defrosted in there.
4. Don’t store your ice cream in the door. As with your fridge the freezer door is the warmest spot, so don’t go putting your ice cream in there! Instead use those shelves to store hardier items like breads, flour, nuts, baggies of ice cubes and of course your ice packs.
How to make more room in your upright freezer
Don’t forget that you can move your shelves around to make room for your groups, or you could even take them out if you think that would make the space work better.
This is true for your ice bin too, if you’re not a heavy ice user you could store that bin somewhere else and just put baggies of ice in the freezer door instead, or use reusable ice cubes!
How to keep your frozen food fresh for longer
The whole point of a freezer is that it gives you long term storage for all kinds of food, but that is only the case if you store the food properly in the first place. If you use cheap sandwich bags, or just leave the food in the opened cartons from the store it’s going to get frost bite and spoil very quickly.
1. Protect and then group foods together. We believe that the best way to organize both an upright and a chest freezer is to protect the individual food item, and then store it in a freezer friendly container with other similar foods so they are easy to find.
2. Freeze individual portions. And you most definitely want to freeze food in individual portions (or enough for one family meal), because if you buy six pounds of bacon from Costco and throw it in your freezer you’re going to have to defrost and eat the whole six pounds in one sitting!
If you like to freeze sauces check out this really cool hack for making divided portions in one ziplock bag that you can just pop out next time you need to cook with the sauce!
3. Use the correct tools for the job. Using freezer friendly baggies or a vacuum sealer are our favourite ways to protect food in the freezer for two reasons.
Firstly they fit nice and snug around the food which helps to prevent freezer burn.
And secondly you can freeze food flat so that it then stands up in a container in your freezer (think books on a book shelf) which maximises available space and makes it really easy to find what you’re looking for.
Seal food for the freezer in two simple steps Gallon sized freezer bags
 Pint sized freezer bags
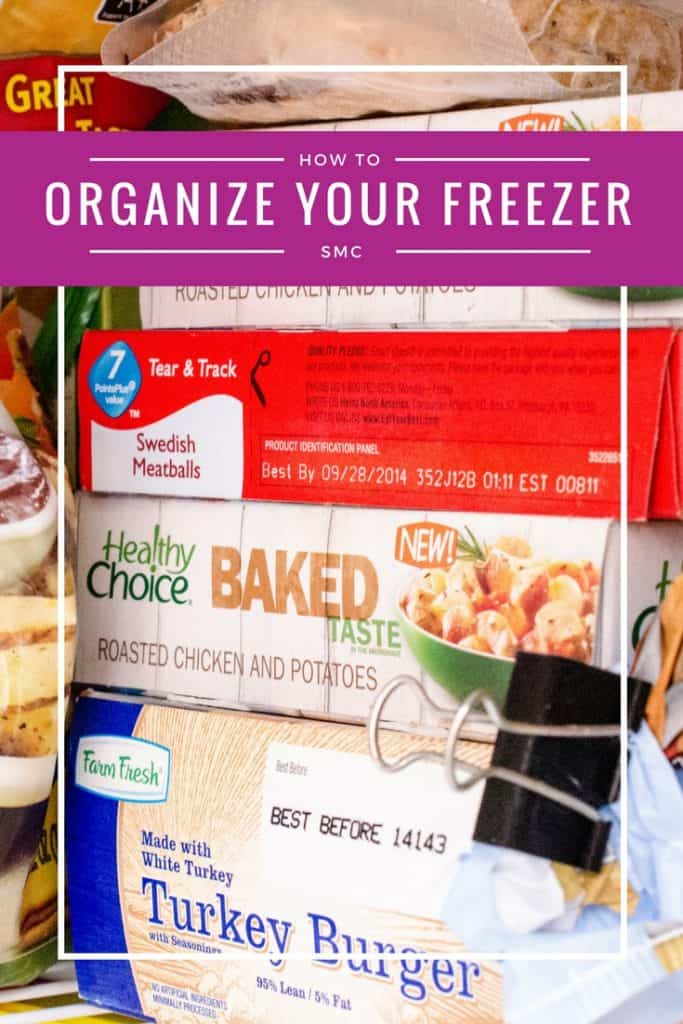
4. Replace the cardboard containers. If you buy frozen food from the store and it comes in a cardboard container you need to transfer it to a freezer bag or vacuum seal it because there is way too much air in a cardboard container especially once you start removing items and the food will spoil quickly.
5. Label with date and contents. You will need to label everything clearly because you don’t want any more of those UFOs lurking in the back of your freezer! Use freezer friendly labels like these and make sure the labels face outwards so it’s easy to check them.
6. Stop your veggies escaping. If you’re buying frozen veggies or fries in a bag then you can leave them in there. Just use sealing clips like these to stop the food escaping into the freezer.
Or check out this clever way to store frozen veggies or smoothie fruits… in a milk carton! Not only do they line up neatly in the freezer you can easily pour out just what you need too. Just make sure you grab a sharpie and write on the lid what’s in each carton.
7. Use freezer friendly containers. Once you have all of your food items individually packaged you’ll need some freezer friendly containers to store them in so everything stays nice and orderly.
It’s so tempting to just grab some plastic containers that you have waiting to be used at home, but I tried that and the plastic cracked because they couldn’t stand the cold. Trust me it’s better to invest in the right tools for the job!
Clear freezer friendly plastic container Freezer friendly wire basket
 White freezer friendly plastic container
Organizing a chest freezer
How you organize a chest freezer is slightly different to an upright freezer because you want to maximise the storage while still being able to access the food right at the bottom of your deep freezer.
As always you need to individually pack your food in airtight packaging to avoid frost bite.
Then you need to think creatively about how to create two levels in your freezer.
1. Reusable shopping bags are perfect for grouping foods together on the bottom level of your freezer. They are inexpensive and large enough for storing joints of meat and other wholesale bulk buys.
2. You can create a top level in your chest freezer for items you use more often using freezer friendly baskets or containers. Just measure your freezer and then it’s a case of mixing and matching storage solutions to fit in the space.
Wire basket Deep wire basket
 Brightly coloured storage containers
Don’t forget to make an inventory of what you’ve stored in your chest freezer, and make a note of whether it’s on the top or bottom level so its easy to find.
Check out this foods you can freeze list
Now you have a nice organized freezer you probably have a lot more room in there than you did before, and since it’s more energy efficient to keep your freezer full check out this “foods you can freeze” list to see what else you can put in there!

Source
And there you have it. How to organize your freezer like a pro and save money by knowing exactly what’s in there!

Image Credit: Food in the freezer by m01229 | CC BY 2.0 | Text overlay added


