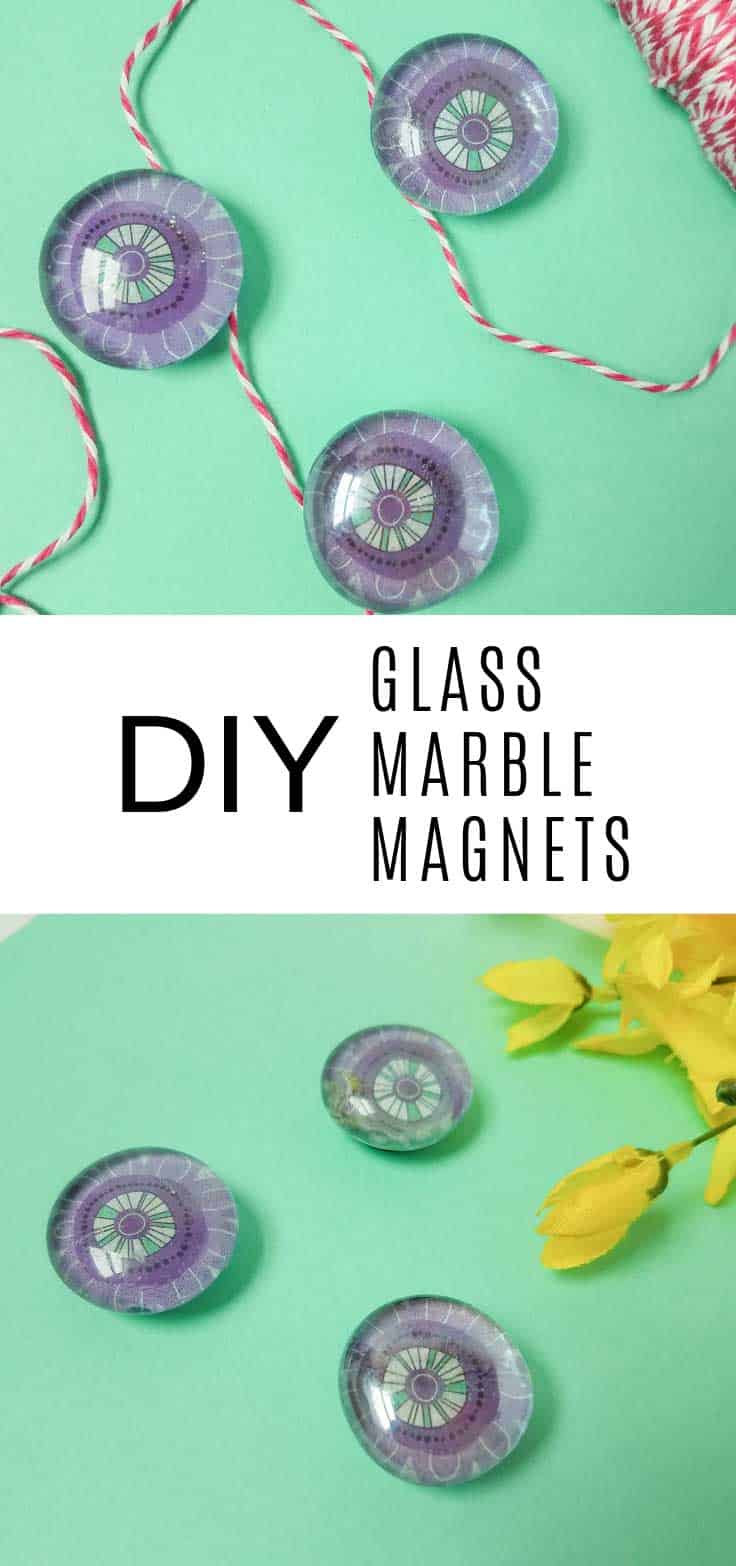
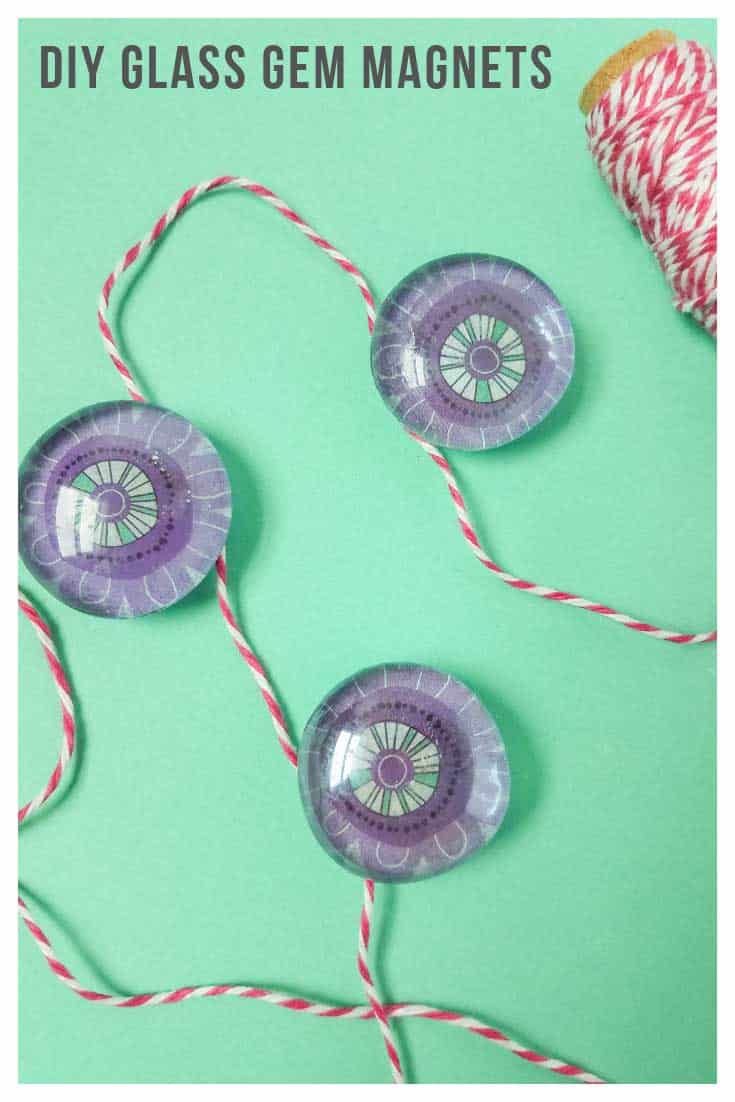
DIY Glass Gem Magnets
Y’all love our collection of DIY fridge magnets and readers have been asking “how do you make a glass gem magnet” So that’s the DIY project we have for you today!
This post may contain affiliate links. As an Amazon Associate I earn from qualifying purchases. If you click and buy, I may receive a small commission at no extra cost to you. Read our Disclosure Policy
Whether you call them glass gems or glass marbles they’re the perfect choice for making refrigerator magnets because you can personalize them to match your kitchen decor.
They make great gifts too, because everyone needs a pretty magnet in their life right!
Supplies
- Clear gems with flat bottom
- Scrapbook / Designer paper
- Mod Podge
- Round magnets with adhesive back
- Pencil
- Scissors
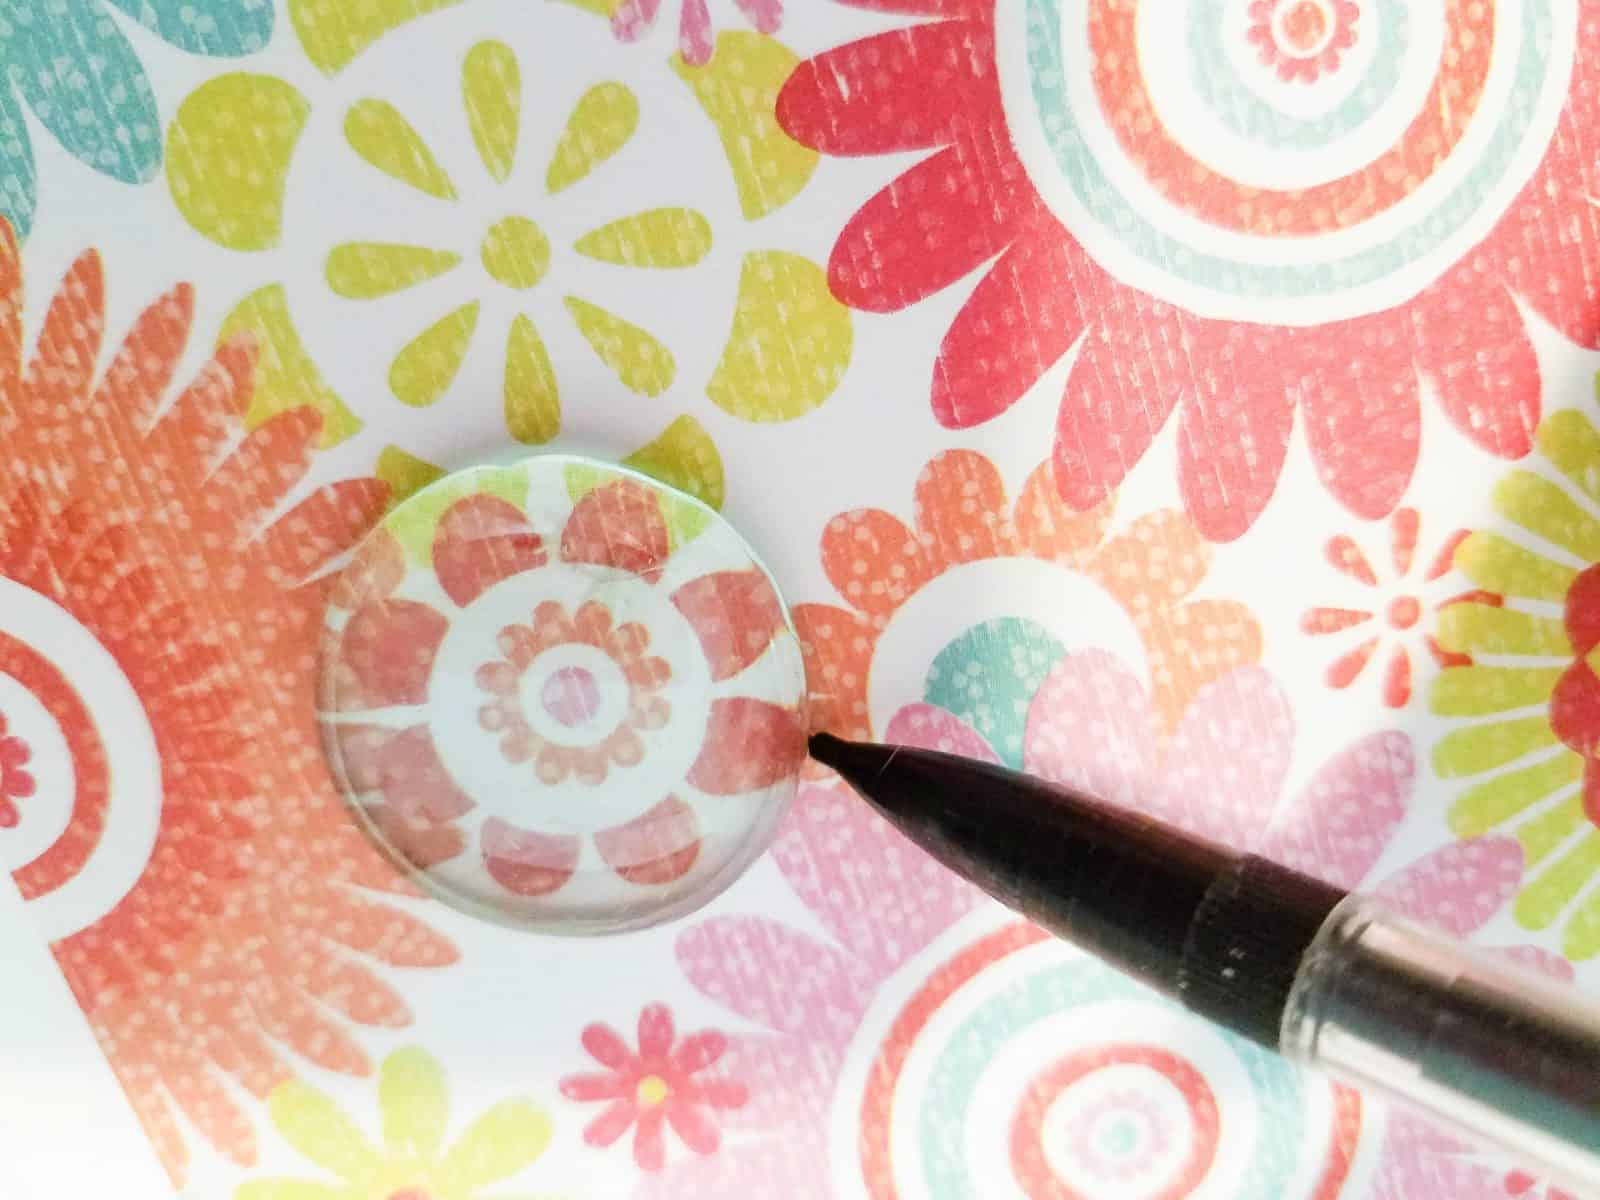
1. Pick out your paper and draw around the gem
This project is perfect for using up those scraps of designer paper you’ve been holding on to!
When choosing a design think about the color scheme in your kitchen or office if you want to match the decor.
And remember those glass gems are pretty small so a paper with a small pattern on is a good idea.
Once you’ve picked out your paper simply place one of the gems over the part of the design that you want to show through and draw around it with your pencil.
2. Cut out your circles
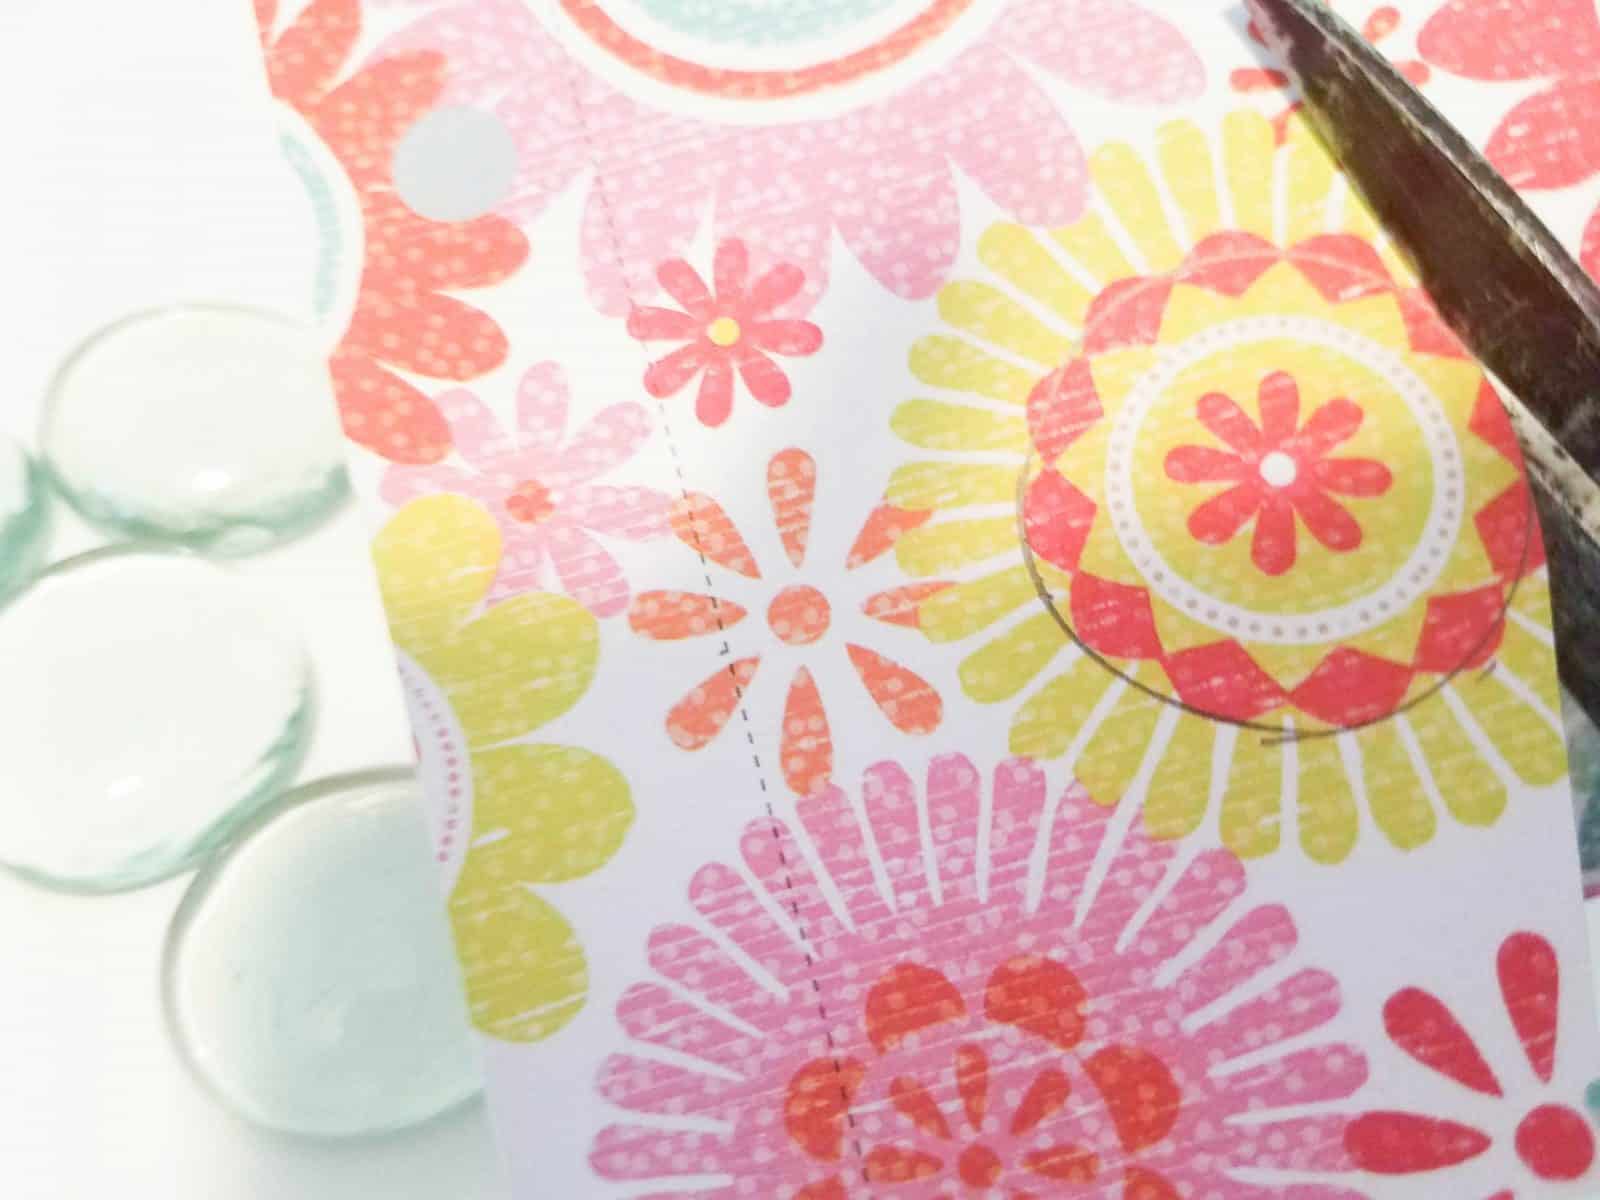
When your circles are drawn out cut around them carefully with your scissors.
If you happen to have a 25mm circle punch in your craft kit you could use that to make perfect circles.
If you wanted to make monogram magnets now is the time to add your letter to the paper circle. You could hand letter it, or use a stamp or a sticker.
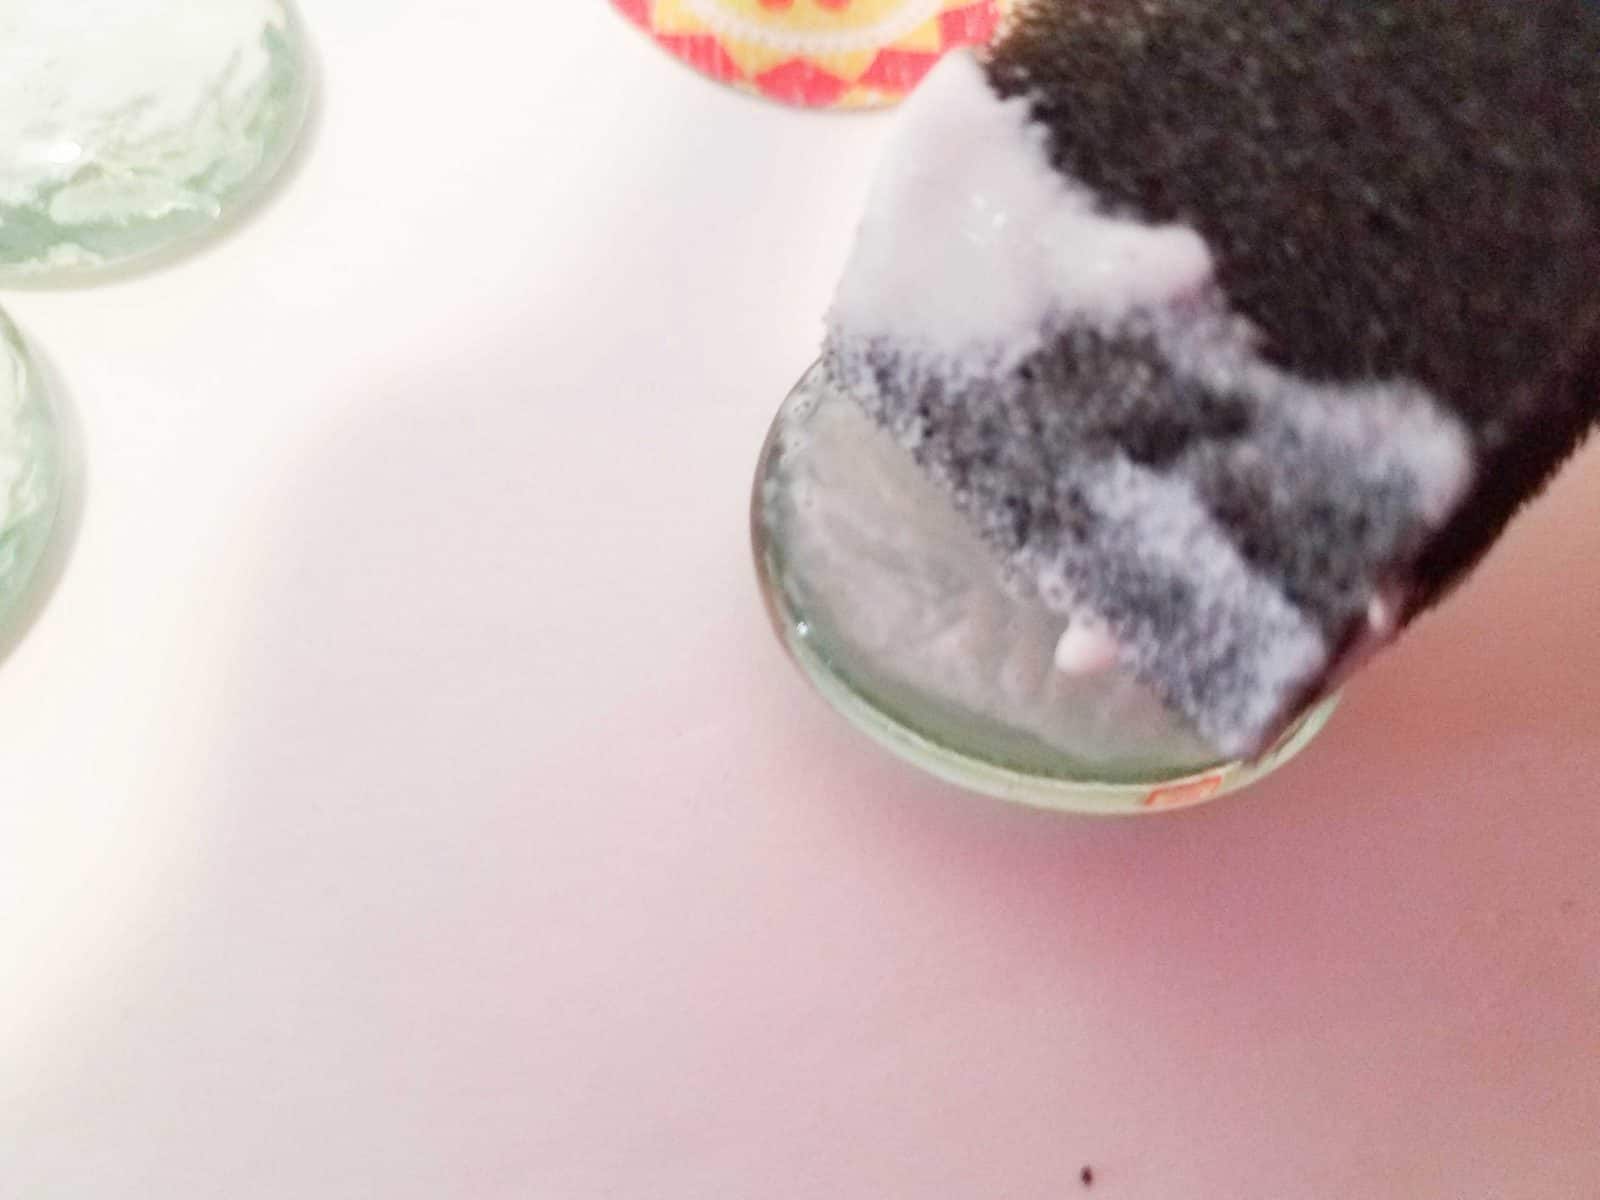
3. Apply a layer of Mod Podge
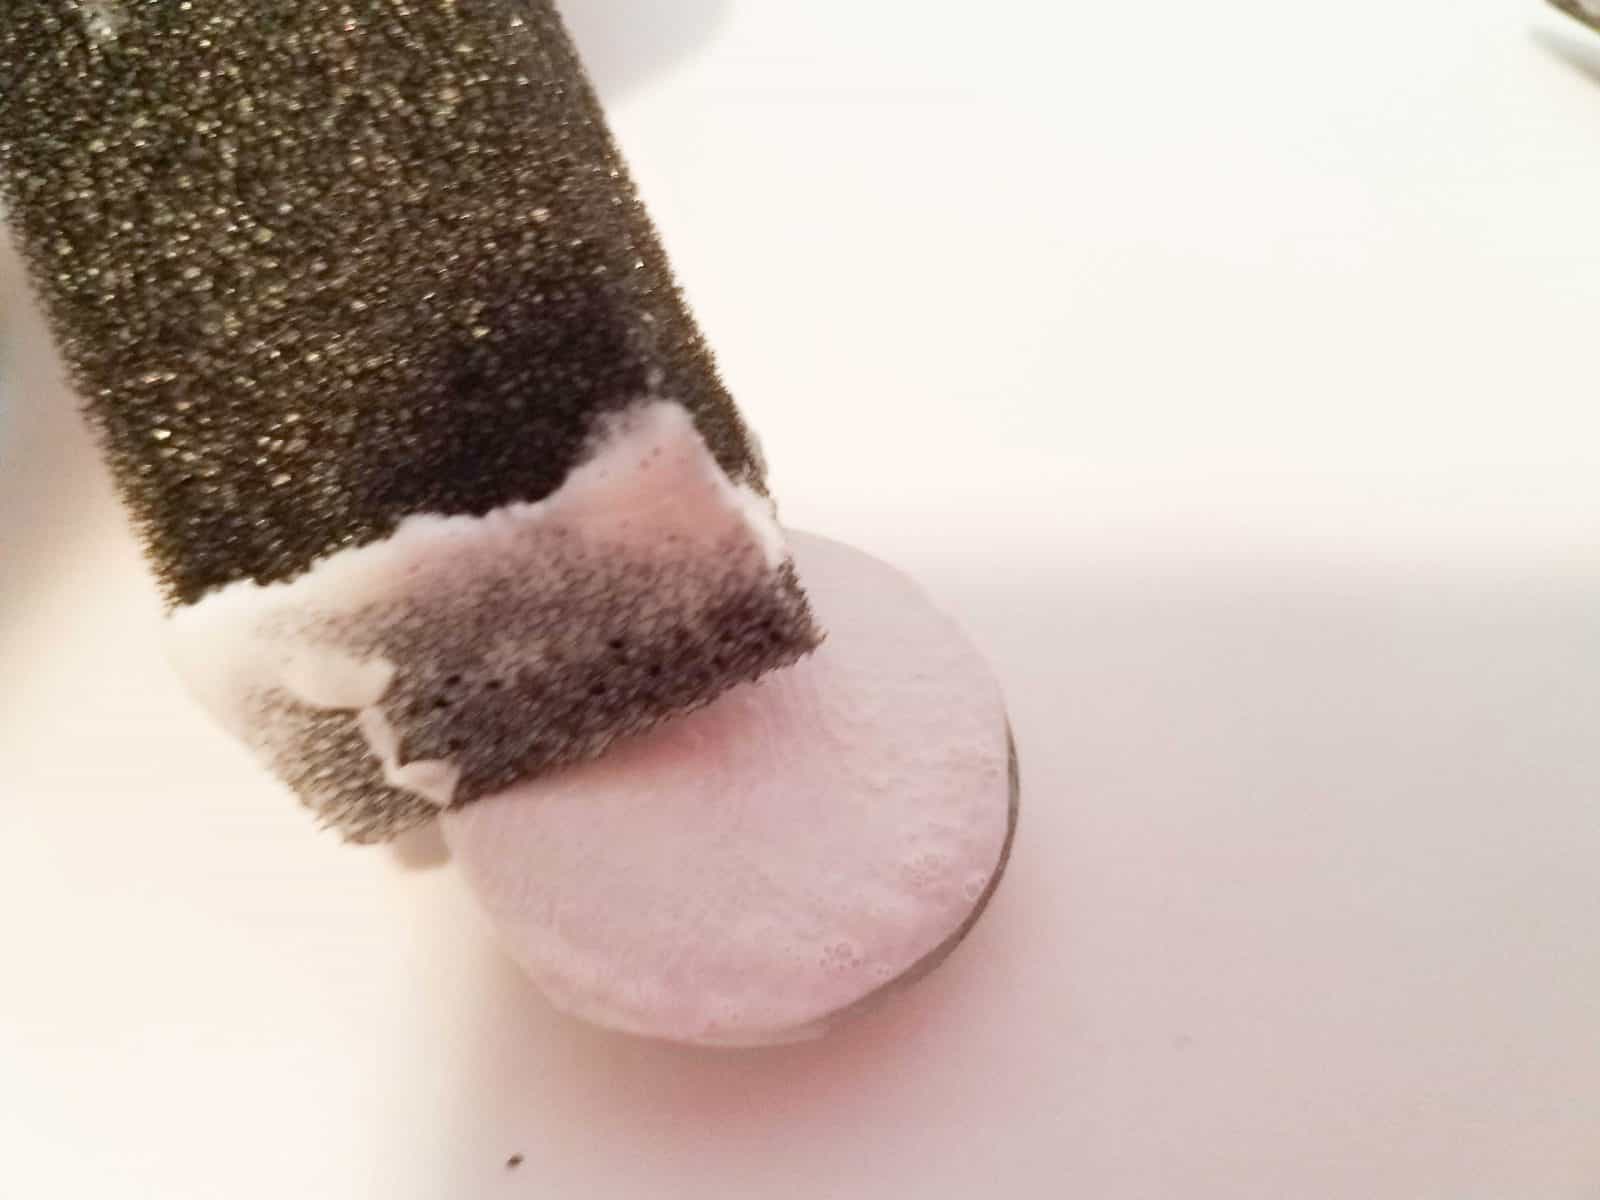
Now it’s time to add a layer of Mod Podge to the back of your gem. Make sure you cover it all.
4. Position your paper circle and fix with more Mod Podge
Now carefully position your paper circle, with the pattern side down onto the gem, and then add another layer of Mod Podge to the back.
Set your gems aside until they are dry.
5. Add your magnet to the back
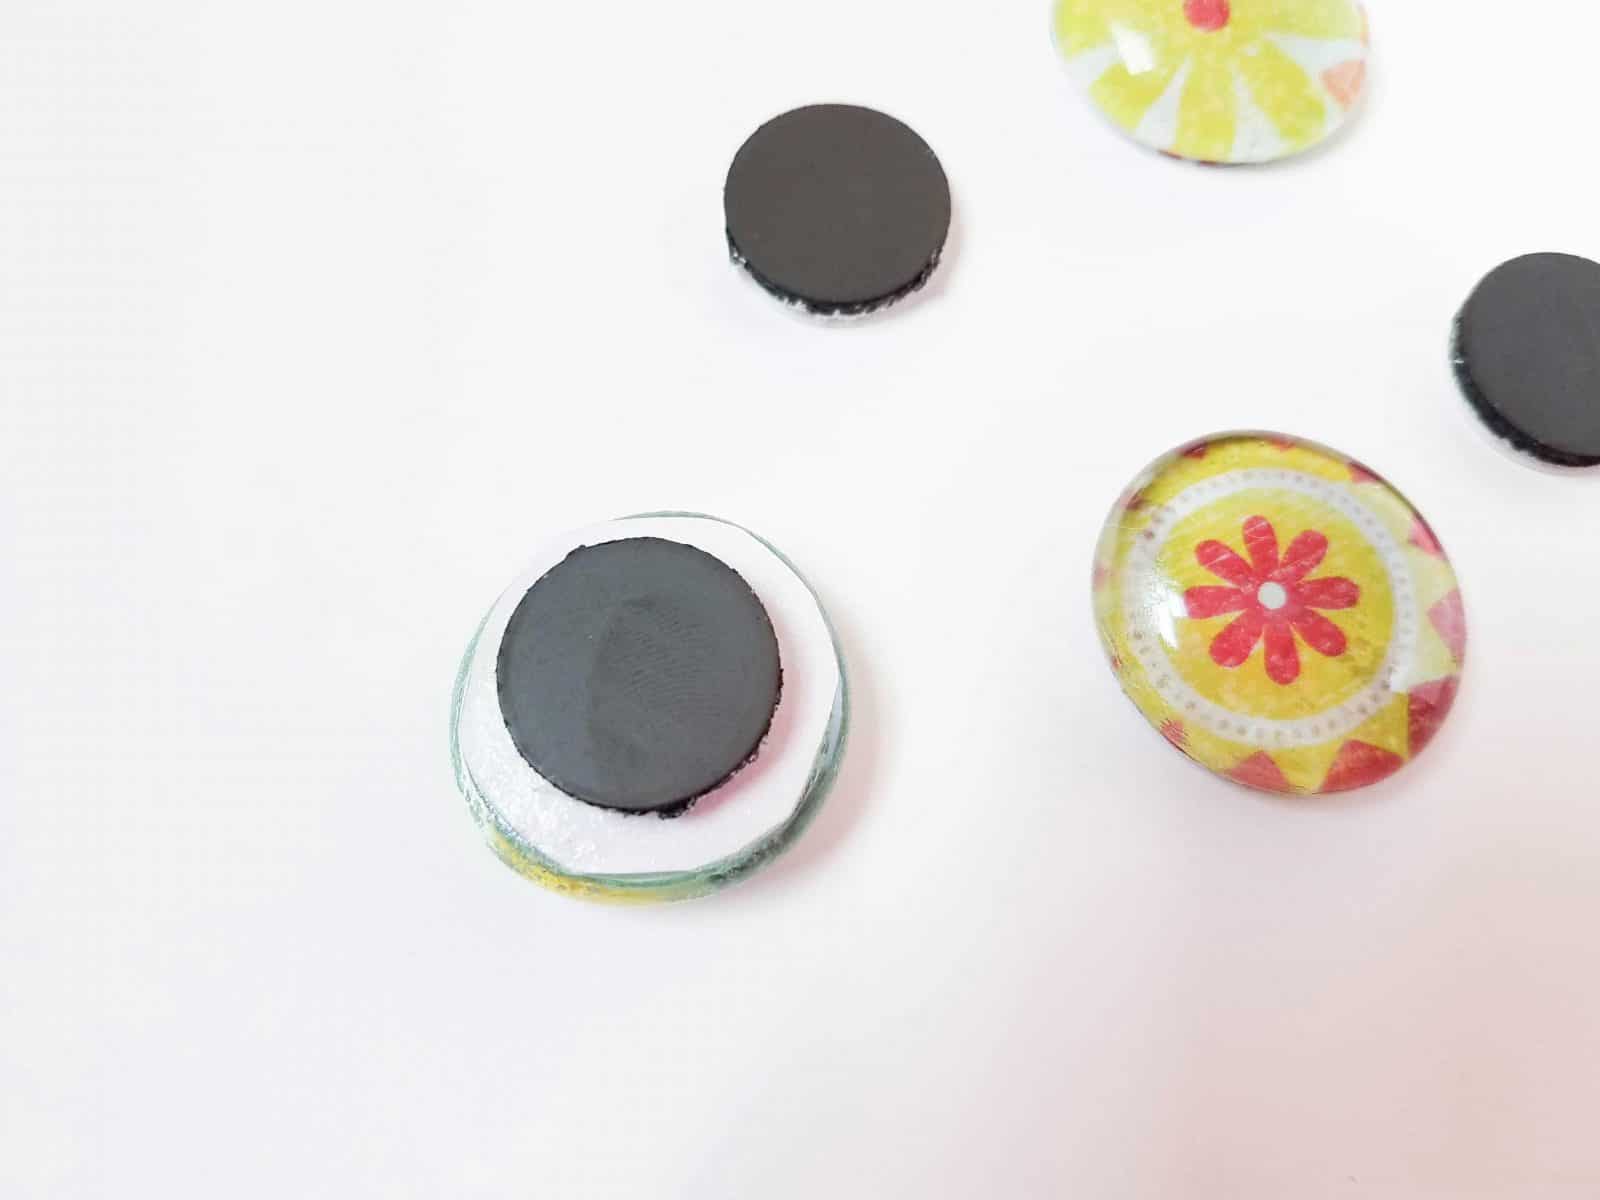
When your Mod Podge is completely dry (don’t rush it!) you can peel the paper off the back of your magnet and stick it onto the back of the gem.
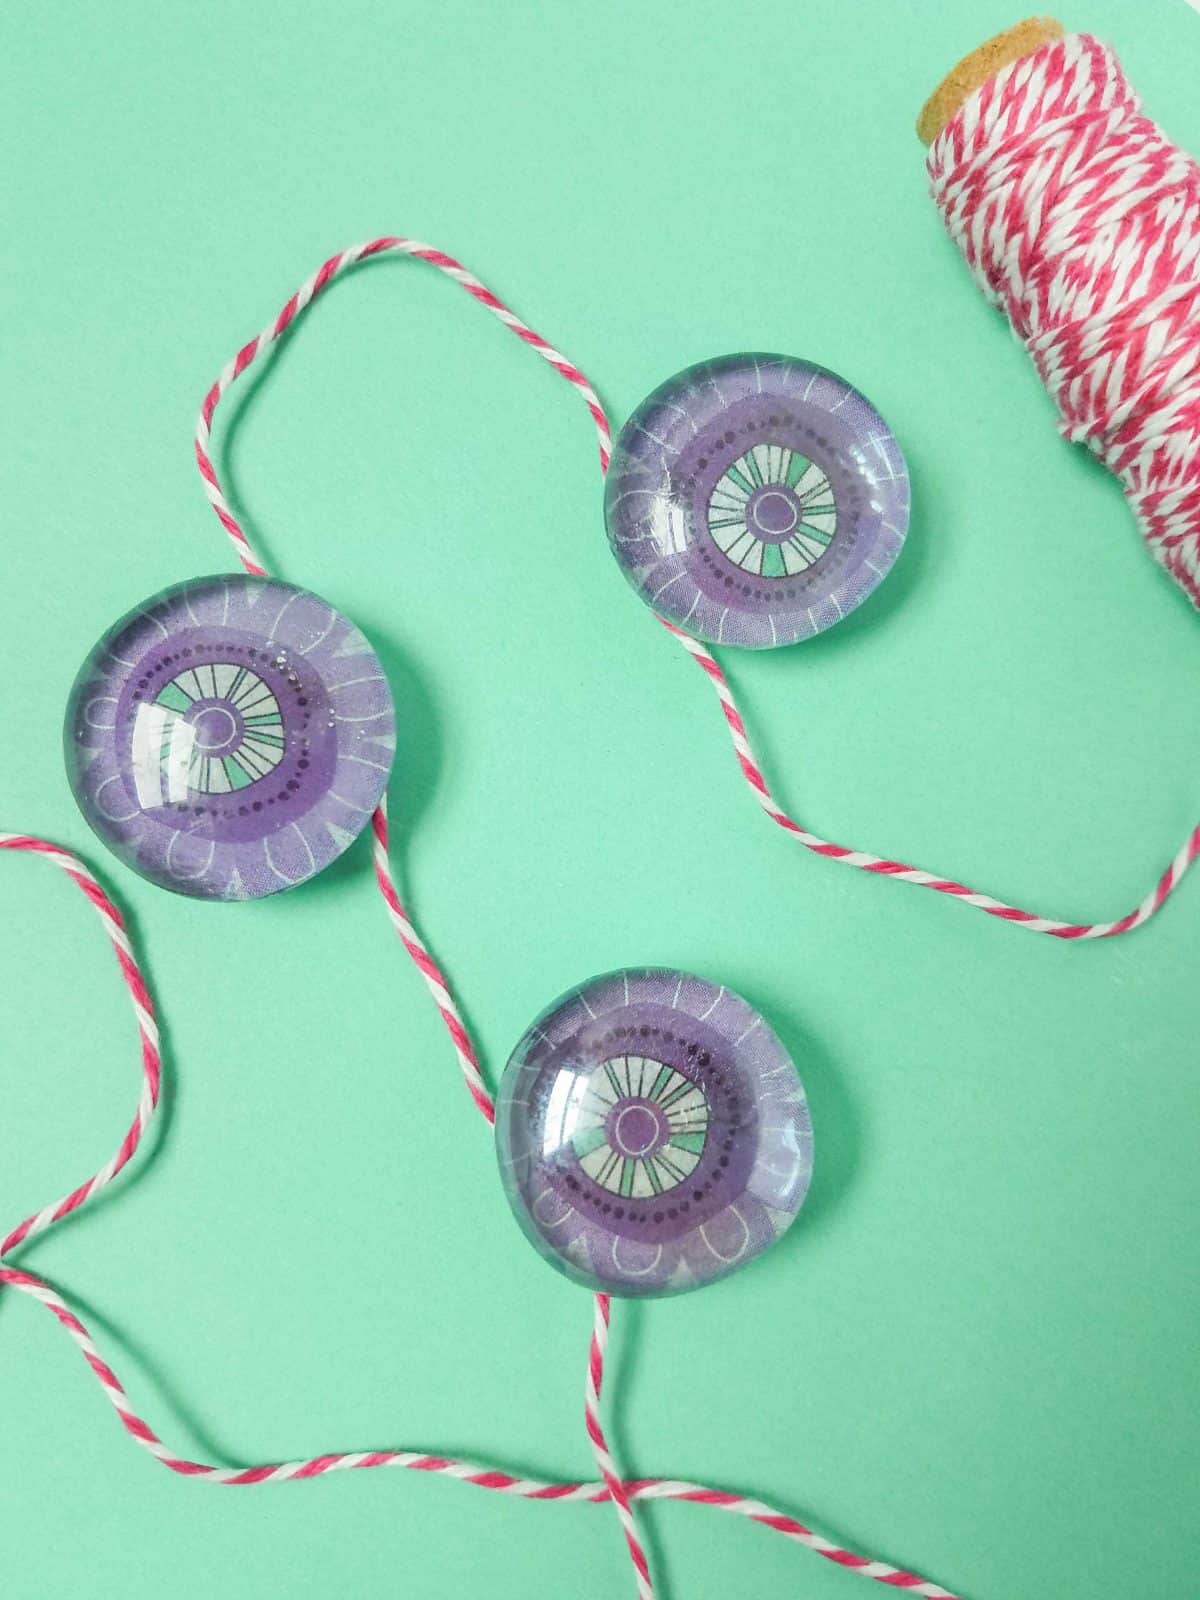
6. Stick on the fridge and admire your new glass gem magnets!
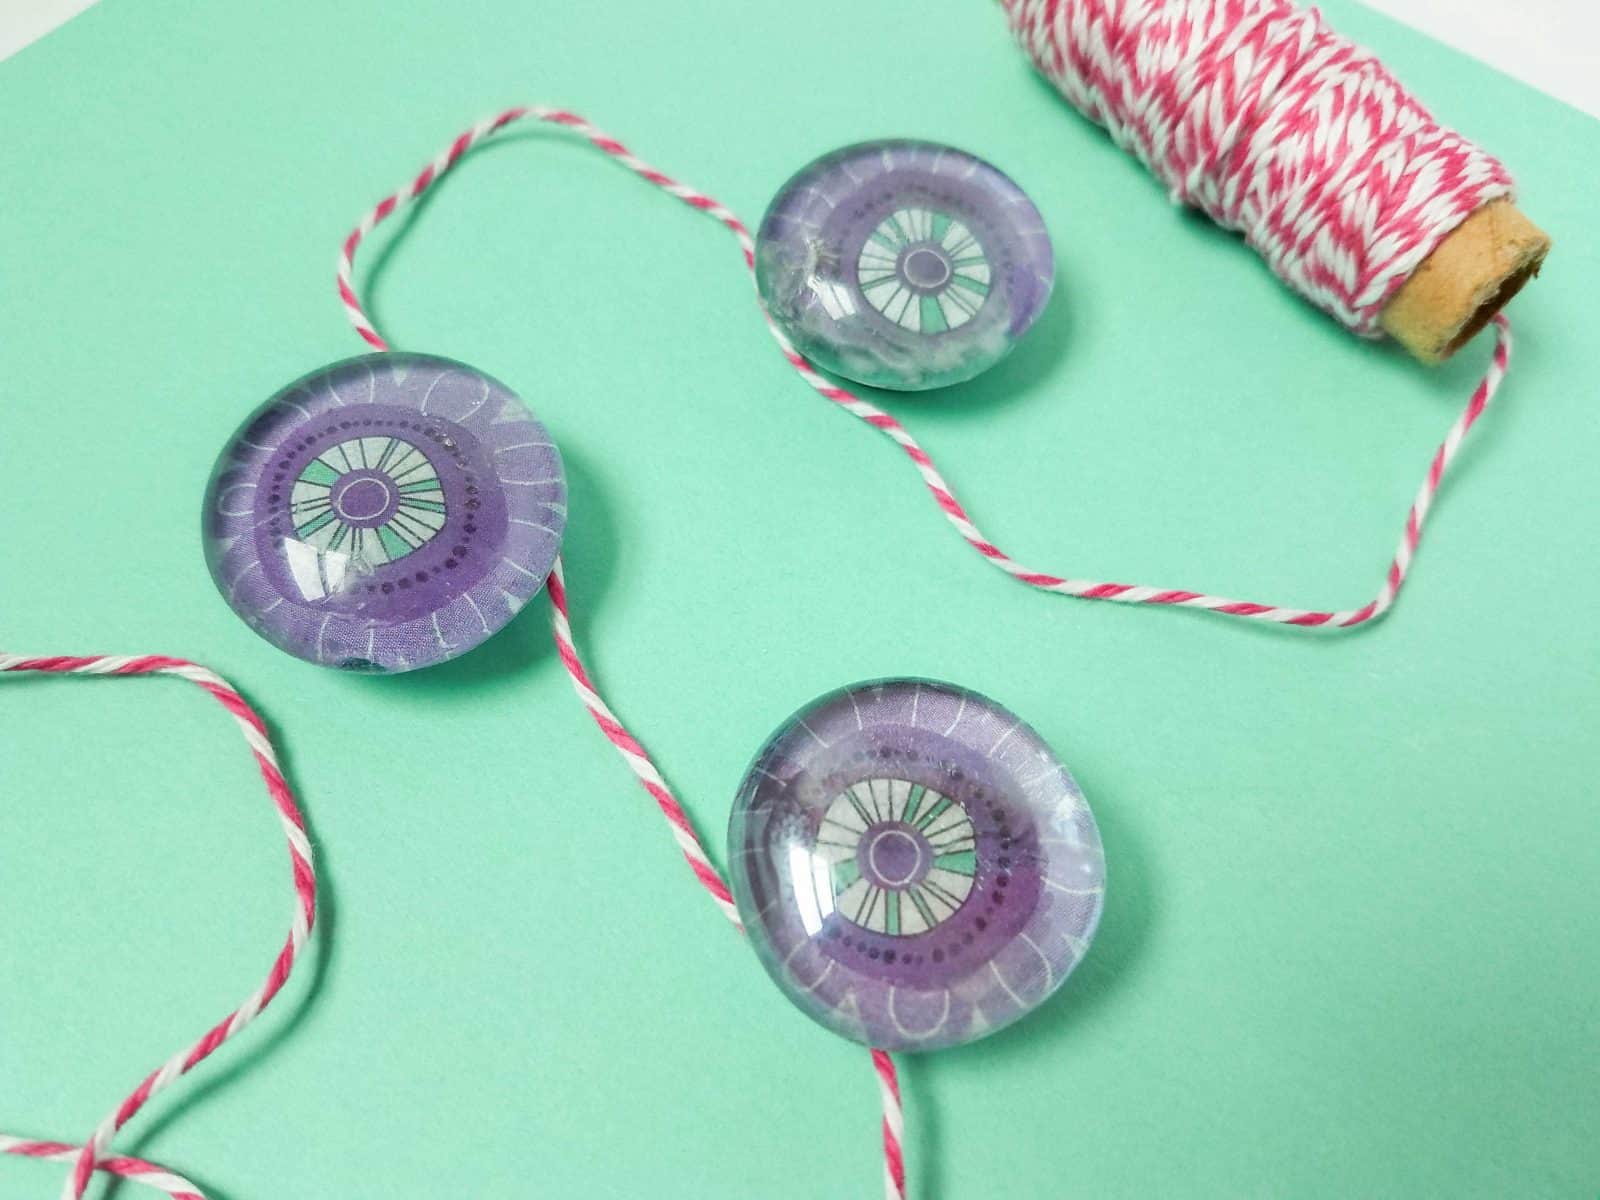
And that’s it! You’re all done. You can attach your magnets to your fridge or your magnet board.
This project is super simple and doesn’t take much time at all. Why not make some seasonal magnets for Valentine’s, Easter, Halloween or Christmas
They make great gifts and stocking stuffers too.
Just remember that the glass gems are small, and magnets and children do not mix so keep them up out of reach of any little ones.
More DIY Ideas Here

DIY Glass Gem Magnets
Tools
- Scissors
- Pencil
Instructions
- Place a clear gem on the designer paper, right over the design that you want to show on it.
- Using a pencil, trace the form of the gem.
- Cut out the form you traced with the scissors.
- Apply a coat of Mod Podge to the gem.
- Place the paper form cut out onto the gem, design side down.
- Apply a layer of Mod Podge over the paper form and let dry.
- Remove the backing from the magnet and adhere to the back of the gem.
- Put on the refrigerator or other magnetic surface.