This post may contain affiliate links. As an Amazon Associate I earn from qualifying purchases. If you click and buy, I may receive a small commission at no extra cost to you. Read our Disclosure Policy
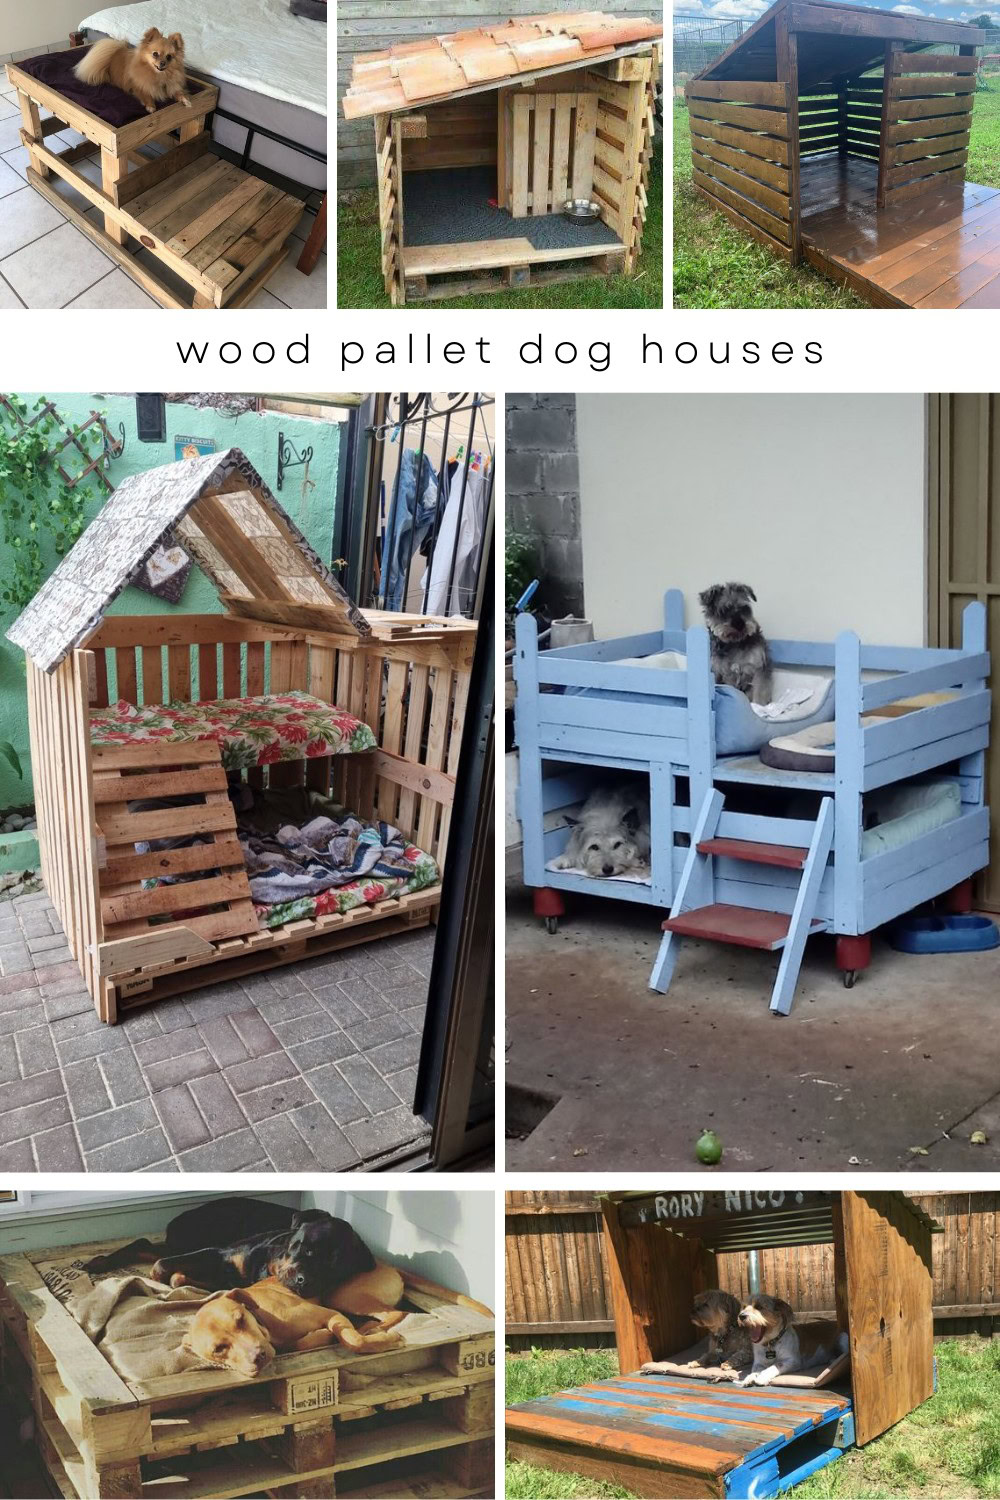
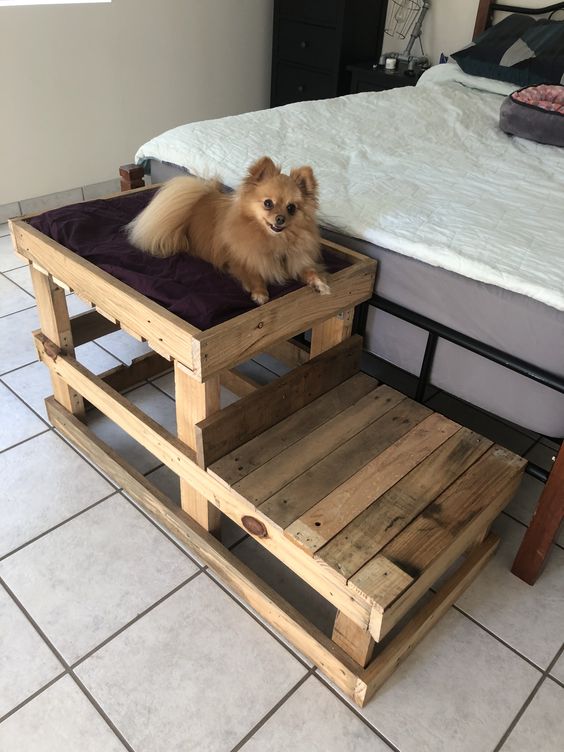
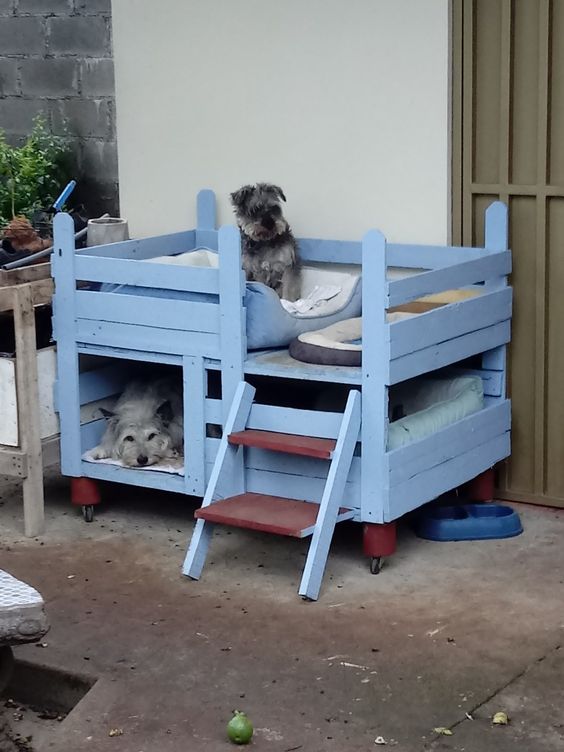
Looking to spoil your pup with a custom-built dog house or bed✨ Learn how to transform pallets into a cozy haven for your furry friend with our step-by-step guide. These projects are perfect for both beginner and seasoned DIY enthusiasts, offering creative and budget-friendly solutions.️ Check out our collection of inspiring designs and video tutorials to craft a warm, secure, and stylish retreat that complements your outdoor space beautifully! #DIYDogHouse #PalletProjects #FurryFriendHaven
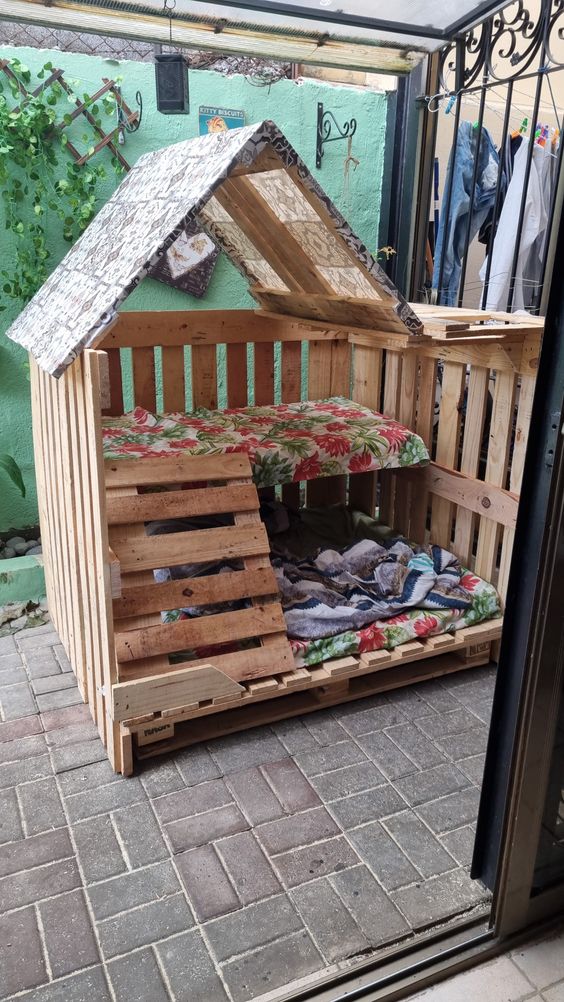
Can you make a dog house from wood pallets
Yes, you can make a dog house from wood pallets. Pallets provide a cost-effective and sturdy material, making them ideal for constructing a durable and customizable dog house with minimal tools and materials.
Are Wooden Dog Houses Warm
Yes, wooden dog houses can provide warmth and insulation, especially if they are properly constructed and sealed. Wood is a natural insulator, and adding additional insulation like straw, foam, or blankets can help keep your dog warm during colder months.
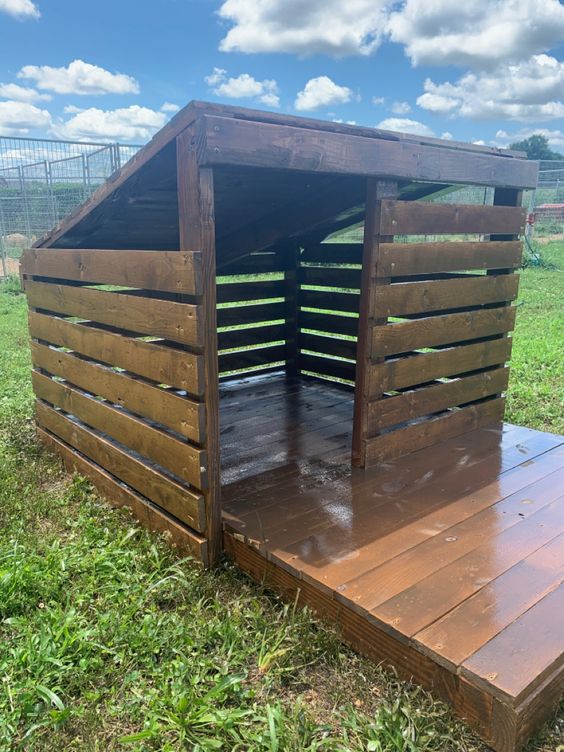
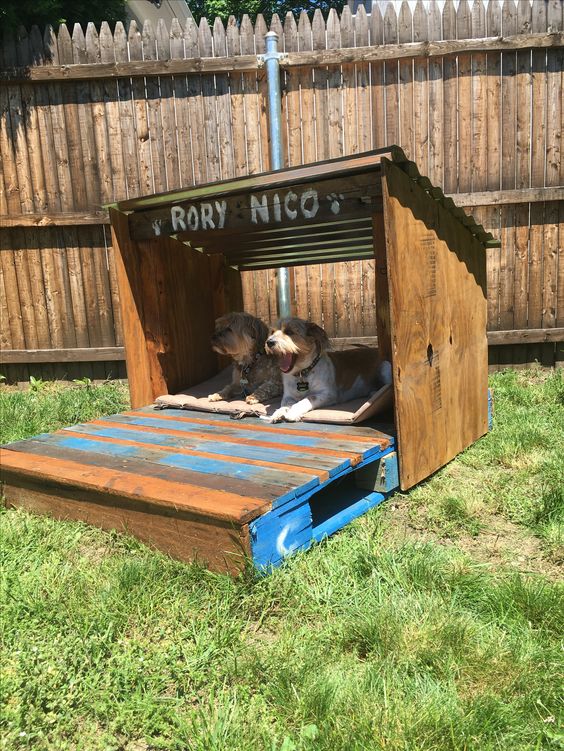
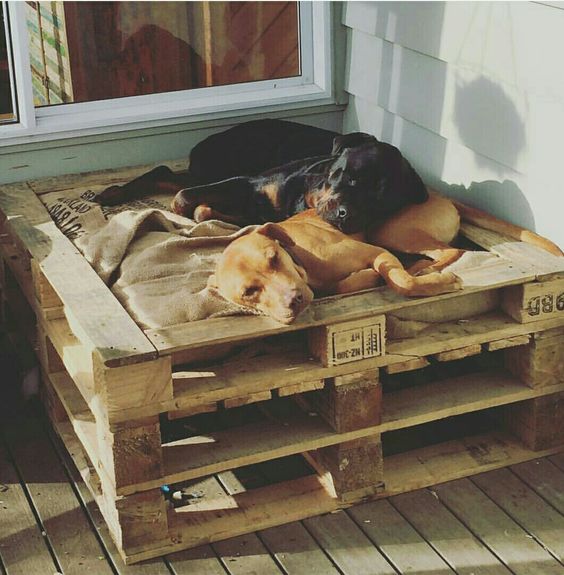
Does a Dog House Need Ventilation
Yes, a dog house needs ventilation to ensure proper airflow and prevent moisture buildup. Proper ventilation helps regulate temperature, reduces the risk of mold and mildew, and ensures that your dog has a fresh and healthy environment. You can achieve this by incorporating small vents or openings near the top of the walls.
Should a Dog House Be Raised Off the Ground
Yes, raising a dog house off the ground is recommended to prevent moisture from seeping in, improve insulation, and provide better air circulation. Elevating the structure also helps keep the interior dry and protects against pests and cold drafts. You can raise the dog house using a wooden pallet base or by attaching legs or feet to the bottom of the house.
How to Make a Dog House from Pallets
Materials Needed
Before you begin, gather the following materials:
- Pallets: You’ll need at least two standard-size pallets (48″ x 40″). Look for pallets in good condition without any cracks or rot.
- Tools:
- Circular saw or handsaw
- Drill with screwdriver bits
- Hammer
- Pry bar or crowbar
- Measuring tape
- Square
- Pencil
- Sandpaper or electric sander
- Safety goggles and gloves
- Fasteners:
- Wood screws (1.5” to 2”)
- Nails (1.5”)
- Wood glue (optional)
- Roofing Material:
- Plywood sheet (for the roof)
- Roofing felt or shingles (optional)
- Finishing Materials:
- Exterior paint or wood stain
- Paintbrush or roller
Step 1: Preparing the Pallets
- Disassemble the Pallets:
- Use the pry bar to carefully remove the slats from the pallet frames.
- Take care not to split or damage the wood while prying them apart.
- Remove any nails left in the wood using the hammer or a nail puller.
- Sand the Wood:
- Use sandpaper or an electric sander to smooth all surfaces.
- Focus on removing any splinters and rough edges to ensure safety for your dog.
Step 2: Constructing the Base
- Measure and Cut the Base:
- Determine the size of your dog house based on your dog’s size. A typical size is about 24″ x 36″.
- Cut pallet wood planks to the desired length using a saw.
- Assemble the Base:
- Lay out the cut pieces side by side to form the base.
- Use additional wood pieces to reinforce the structure by screwing them perpendicular underneath the planks.
Step 3: Building the Walls
- Cut the Wall Pieces:
- Measure and cut the vertical slats for the walls. Typical wall height can be around 24″ to 30″.
- Assemble the Walls:
- Start with the back wall by aligning the slats vertically and attaching them to horizontal supports.
- Repeat this for the two side walls, ensuring they fit the dimensions of the base.
- Attach the Walls to the Base:
- Secure the back wall to the base using screws.
- Attach the side walls to the base, ensuring they are flush with the back wall.
- Front Wall with Door Opening:
- Assemble the front wall, leaving an opening for the door.
- The door should be wide and tall enough for your dog to enter comfortably (e.g., 12” wide x 16” tall).
- Reinforce the door frame with extra wood for stability.
Step 4: Constructing the Roof
- Design the Roof:
- Choose between a flat or sloped roof. A sloped roof is better for rain runoff.
- Measure and cut the plywood sheet to fit the top of the dog house.
- Attach the Roof:
- Secure the plywood to the top of the walls with screws.
- If using a sloped design, ensure the slope allows water to drain off.
- Add Roofing Material:
- Cover the plywood with roofing felt or shingles for weatherproofing.
Step 5: Finishing Touches
- Paint or Stain:
- Apply exterior paint or wood stain to protect the wood from the elements.
- Use a paintbrush or roller for an even finish.
- Add a Door Flap (Optional):
- Consider adding a door flap made from rubber or fabric for extra insulation.
- Inspect for Safety:
- Ensure all screws and nails are secure and not protruding.
- Double-check for any sharp edges or splinters.
Step 6: Placing the Dog House
- Location:
- Place the dog house in a shaded area of your yard to keep it cool.
- Ensure it’s on a flat, stable surface.
- Insulation (Optional):
- Add blankets or bedding inside for extra comfort.


