This post may contain affiliate links. As an Amazon Associate I earn from qualifying purchases. If you click and buy, I may receive a small commission at no extra cost to you. Read our Disclosure Policy
On a recent trip to the zoo Miss E was fascinated by the butterflies and would quite happily have stayed in the Butterfly House all day. Back home I wondered how I could combine her new found love for butterflies with her other love of painting and crafting.
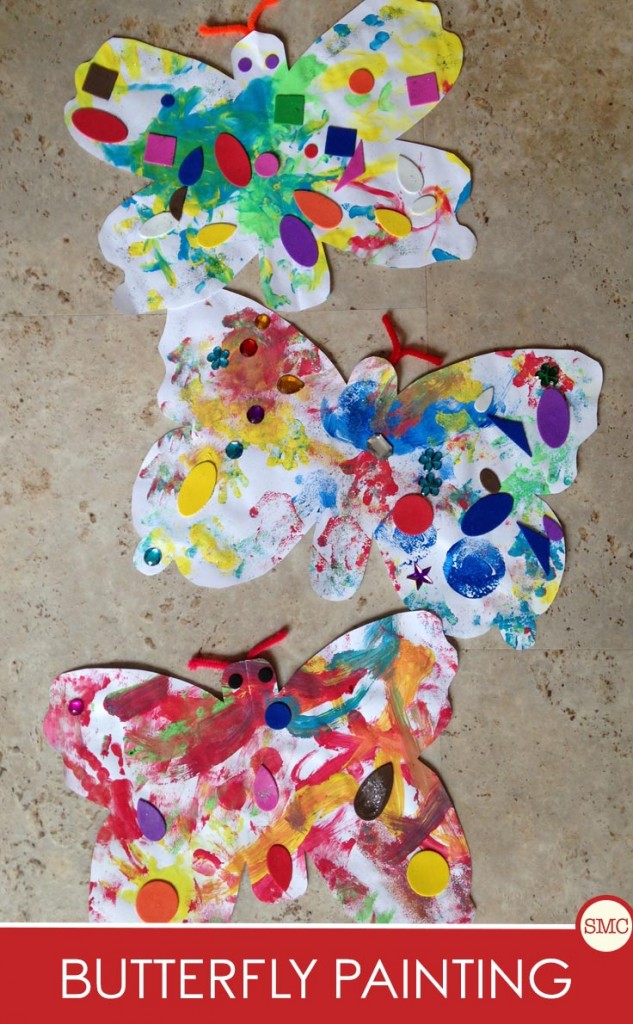
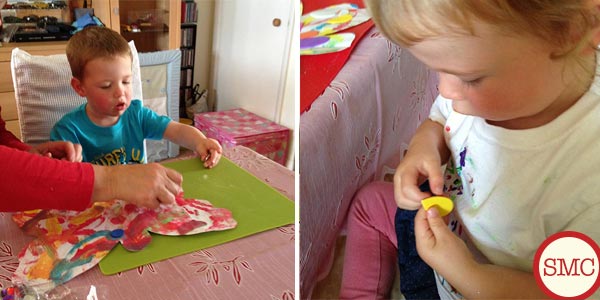
This butterfly craft is what I came up with. It turned out to be a lot of fun. Master J was happy enough to sit and join in long enough to decorate one butterfly (with some help from Nanny) and Miss E loved it so much she wanted to make two!
See also…
- Owl Crafts for Kids: 10 Crafts to Make at Home
- Fabulous Flower Crafts that Moms Will Love!
Butterfly Painting Craft
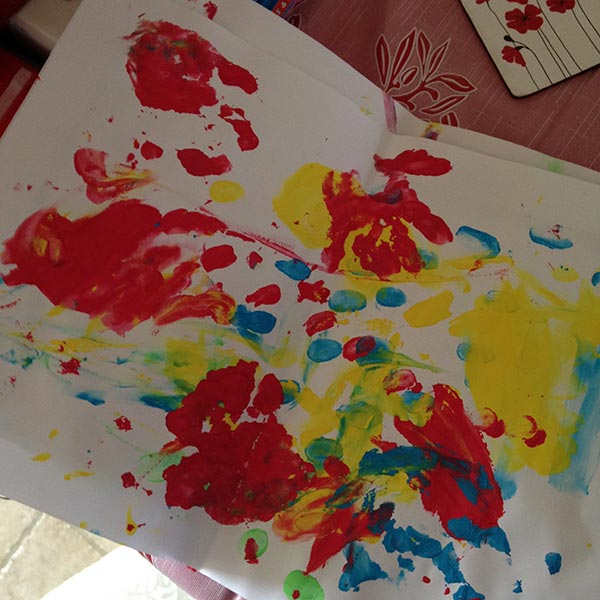
Step 1 – Paint a Large Sheet of Paper
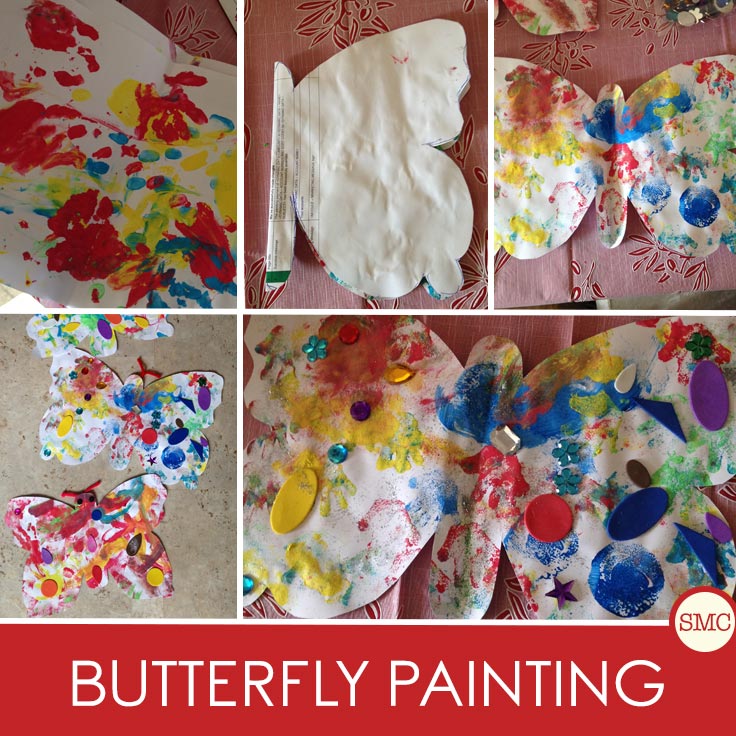
The first thing your child needs to do is paint on a large sheet of paper, we used A3 paper and poster paints. They can get as creative as they like, just make sure they cover as much of the paper with paint as they can.
Of course you can halve them paint on one half of the paper and then fold it over to make the butterfly’s pattern nice and symmetrical.
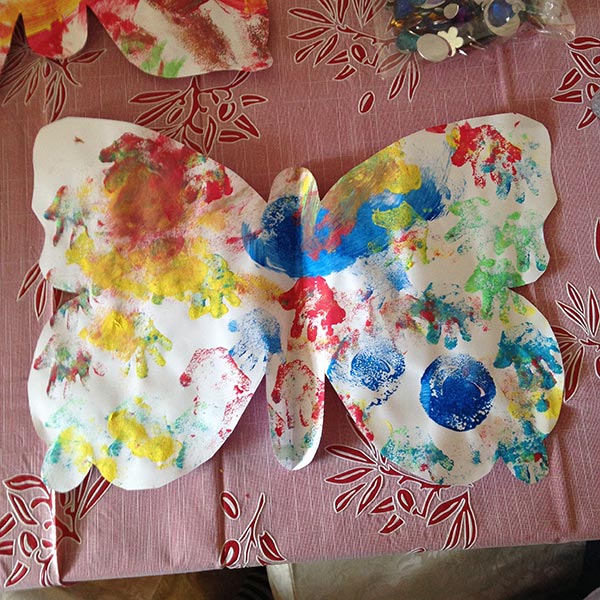
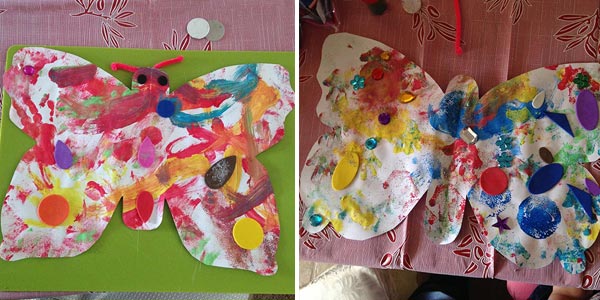
Or you can do what I did and just take a painting they had done previously. We had these hanging up on our wall and while looking at handprints is lovely I thought they would look prettier as butterflies than just boring rectangles!
If you choose to go down the symmetrical route you will have to wait for the paint to dry before you move onto the next steps (another reason why I opted to use existing paintings, since my kiddos currently have issues with waiting!)
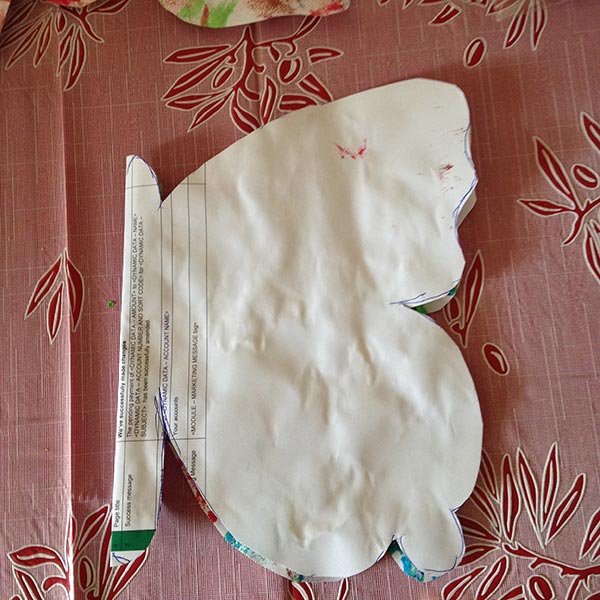
Step 2 – Fold Paper in Half and Cut Out A Butterfly
If your child is old enough this part of the activity is great for scissor practice, or you can just cut out the butterfly shape yourself.
I folded the paper in half, and then sketched out a butterfly shape in pencil. I just looked at a picture in a book and tried to make the wing shape as interesting as possible. Then you just need to cut out your butterfly.
Step 3 – Decorate Your Butterfly
You could leave your painted butterflies as they are and they would look beautiful, but we decided to go one step further and do some fine motor skill practice by decorating our butterflies.
We used some peel back foam stickers in lots of different shapes, and we also glued on some fabulous sparkly jewels. Then we used a glue stick to put glue around the edges of the butterfly wings and sprinkled on some glitter for good measure!
To finish off each butterfly I twister a pipe cleaner and added some sellotape to the back of their head to create their antennae.
Step 4 – Admire Your Beautiful Butterflies
And then when all your hard work is done you can step back and admire your beautiful butterflies! We have ours hanging on our giant pin board for everyone to see, but they would make great gifts for grandma too.
Here’s another idea: if you made smaller versions using an A5 piece of paper you could stick them onto the front of a piece of card and they would make fabulous birthday or thank you cards.
This Big Art painting with wheels is one of the Paint-A-Thon of 101 Painting Ideas for Kids shared over at Emma Owl. During the month of August, there were be a few different painting ideas added every single day! Take a look at them all!
If you enjoyed this Butterfly Painting Activity for Toddlers why not check out some of our other art and craft for kids ideas like this collection of owl crafts or these gorgeous flower craft ideas too!
~Clare, currently pinning to Art and Craft for Kids – Inspiration
[text-blocks id=”end-post-list-kids”]

